

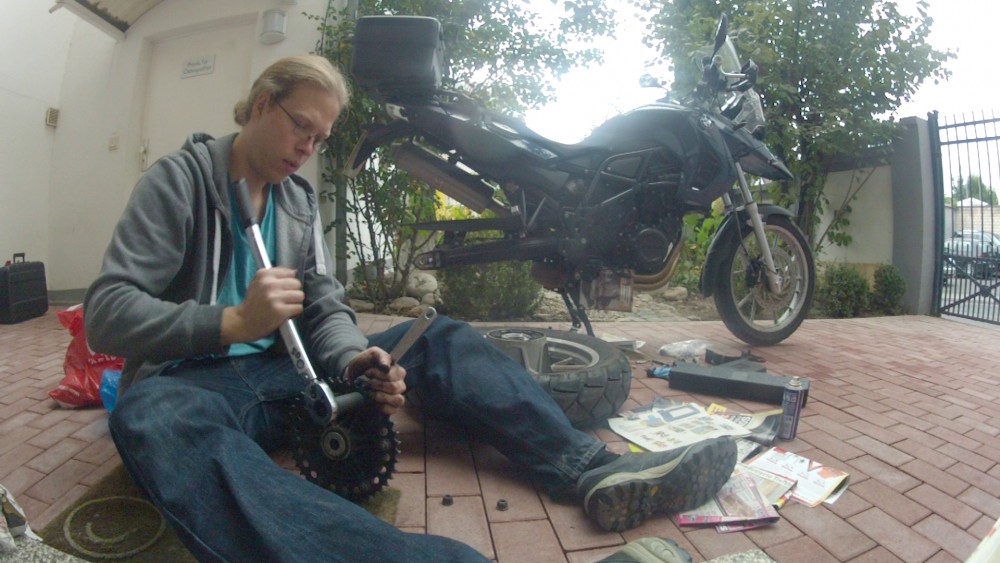
The weekend after my chain had snapped I went about changing it.
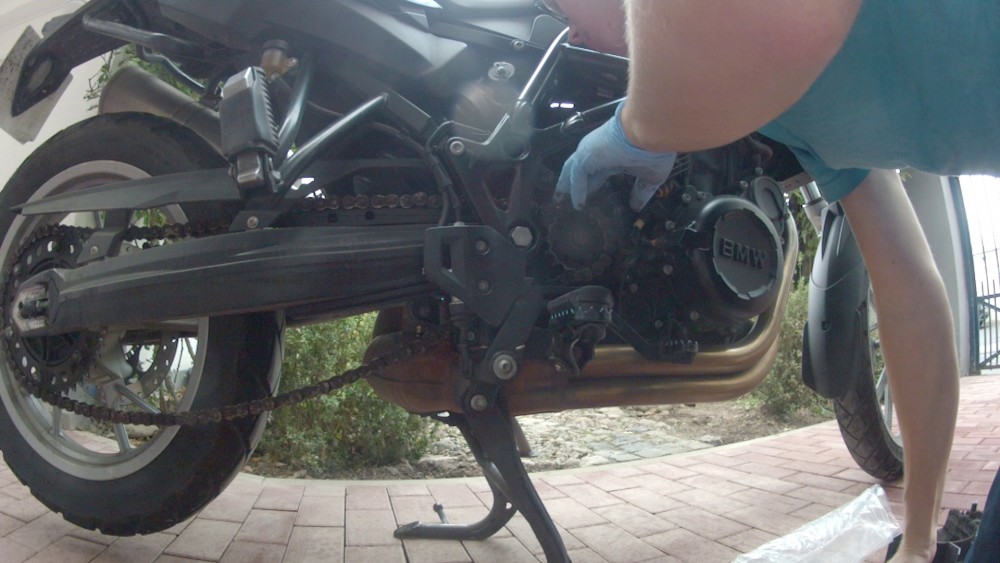
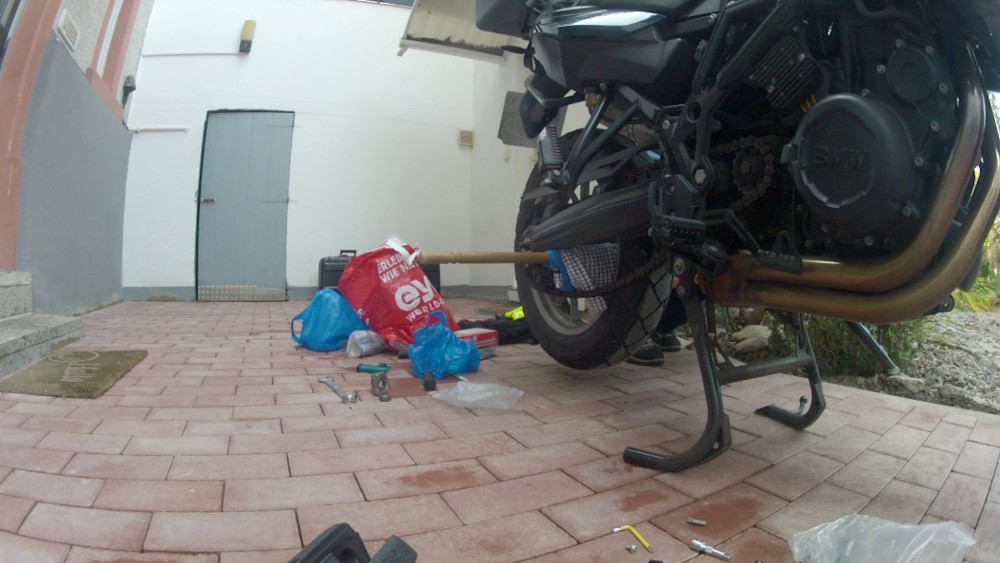
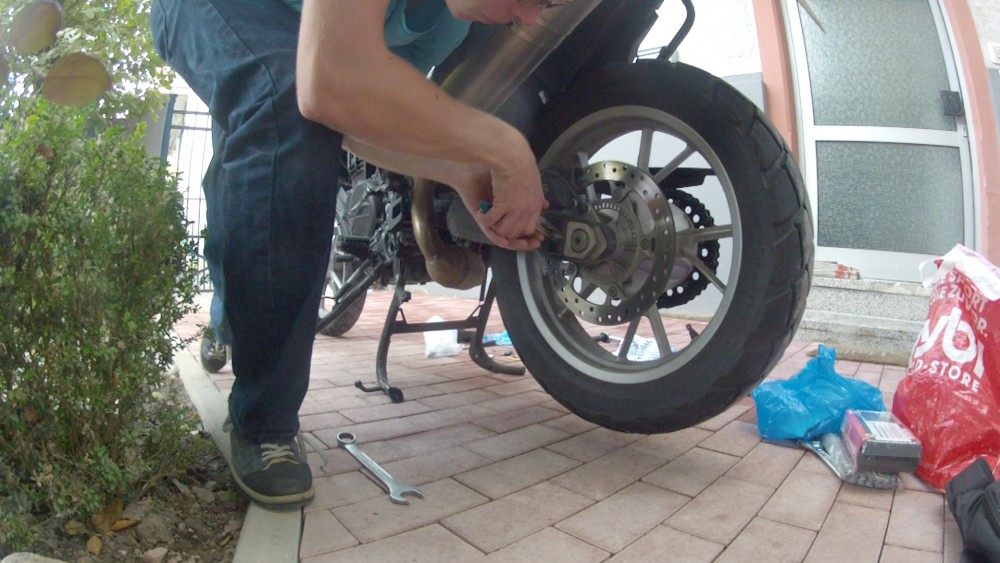
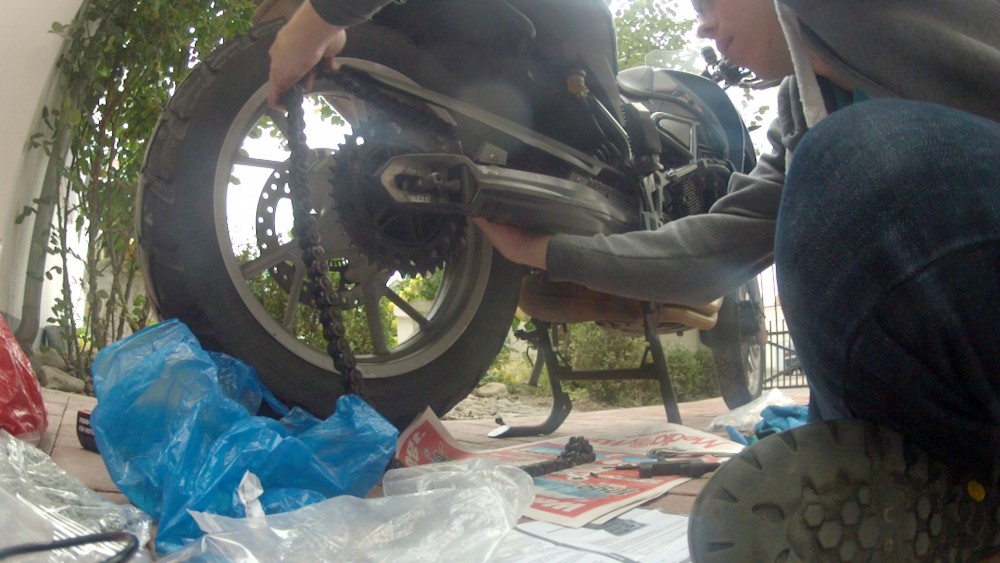
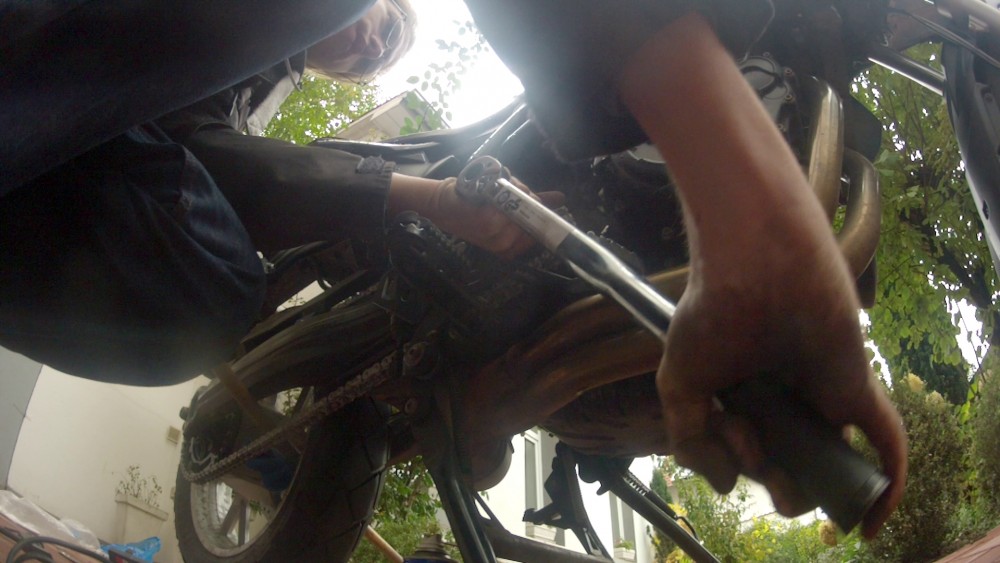
I started by loosening the screw of the front sprocket. To do that I put a broomstick with cloth wrapped around it through the rear wheel. It stops the wheel from turning when you yank on the front sprocket screw to get it to loosen while in neutral. You could also stop the wheel from moving by putting the engine in gear but that can damage the gears inside the engine once you apply pressure on the sprocket screw.
To be able to get more leverage and for using the right amount of torque once I put the screw back on I got a torque wrench. Though only to find out that the previous owner or probably rather the shop I had bought the bike from hadn’t fastened the front sprocket screw properly and it came lose without applying too much force. According to specifications it is supposed to be a huge effort to get that screw off. After all its what keeps the chain from flying off.
Next I loosened the rear wheel axle bolt to be able to push the wheel a bit towards the front to loosen the chain and give it some play to handle it.
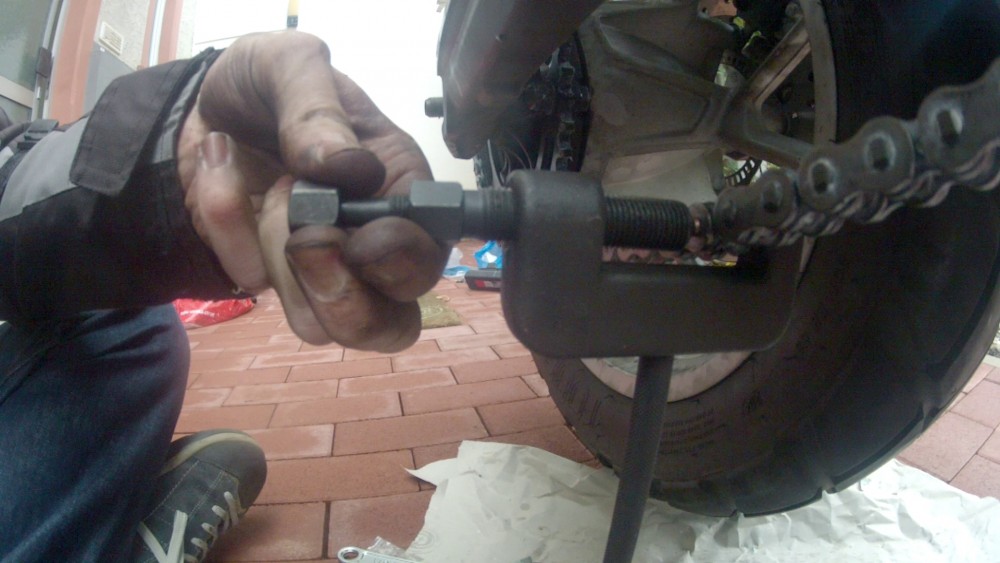
With a chain breaker tool I went about breaking the connection of one of the chain links. This physically destroys the chain and is what is needed to get the chain off. I It works by driving a little rod through the chain link pushing out the rod that connects connects the two links.
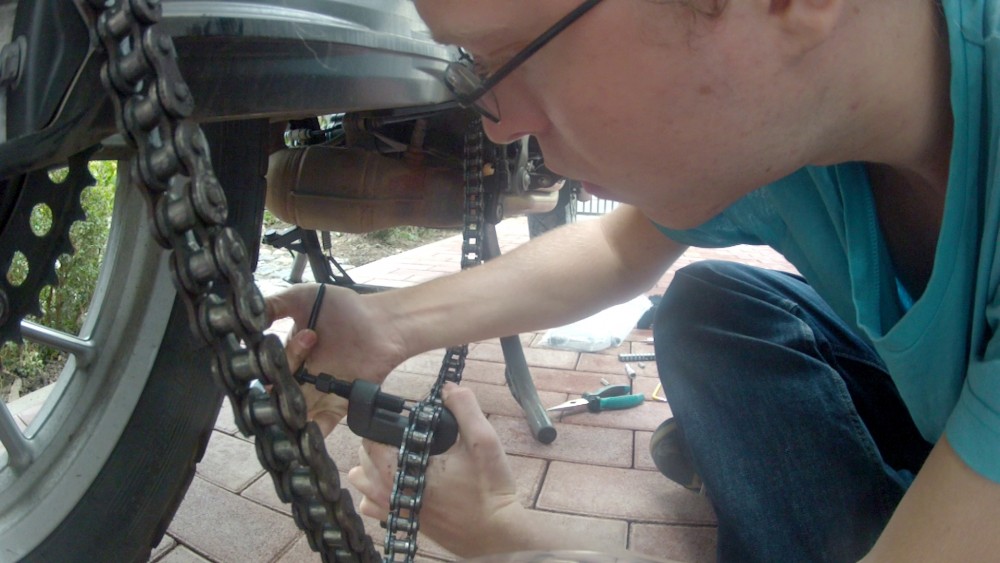
I had read that this was a considerable effort and these tools were built so poorly that they too often get destroyed in the process.
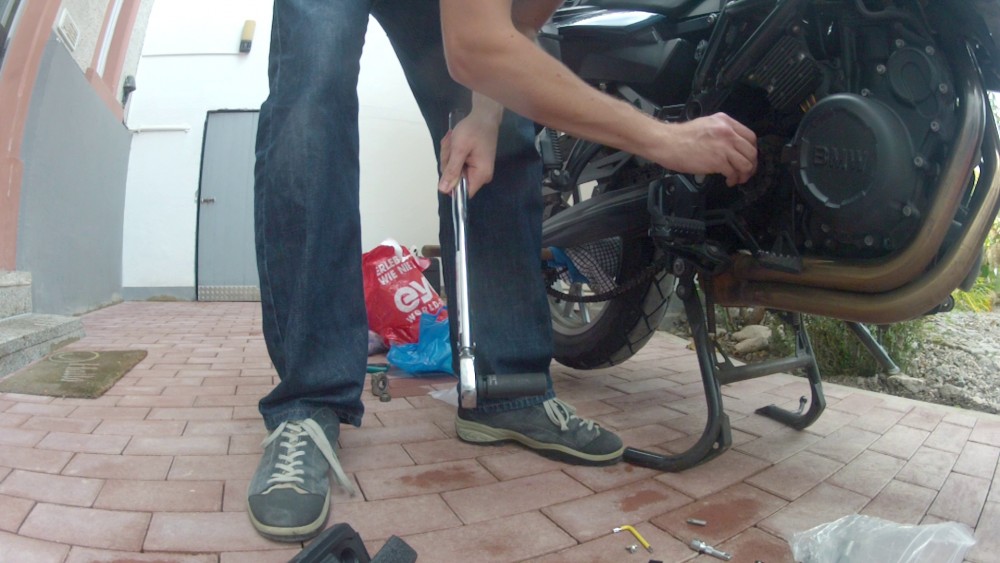
The rod just didn’t want to move so I used a leaver to apply more force.
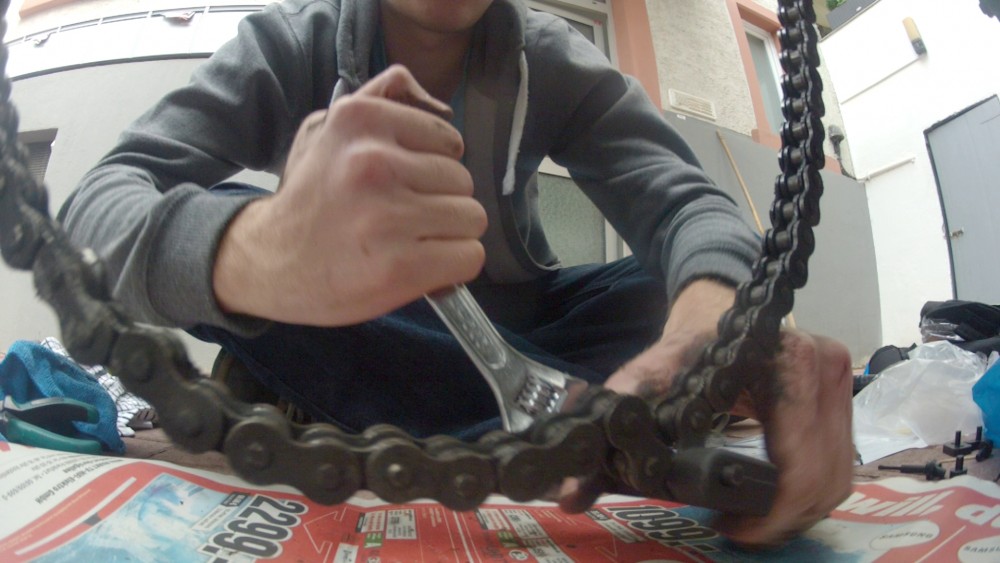
Thus breaking the chain – and the tool.
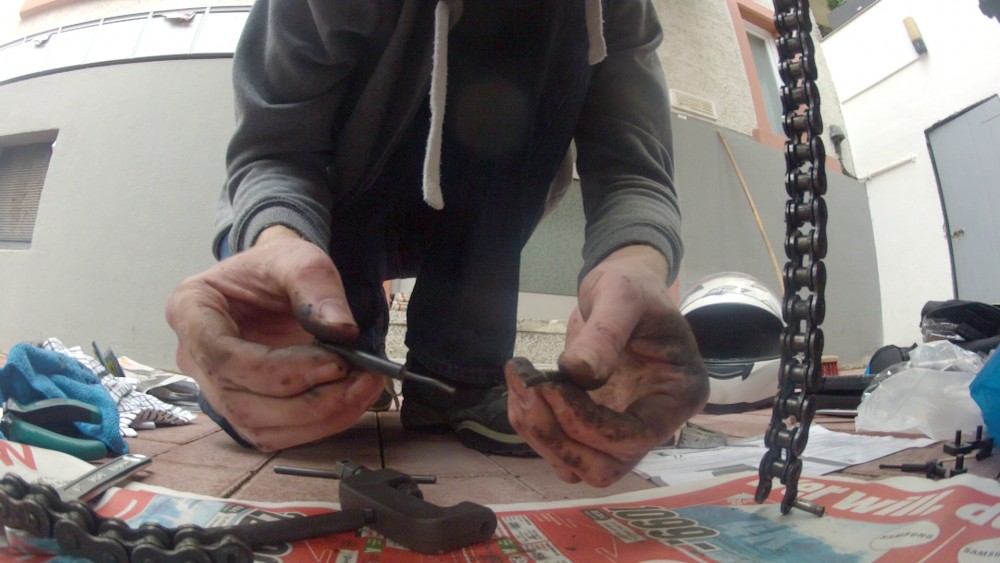
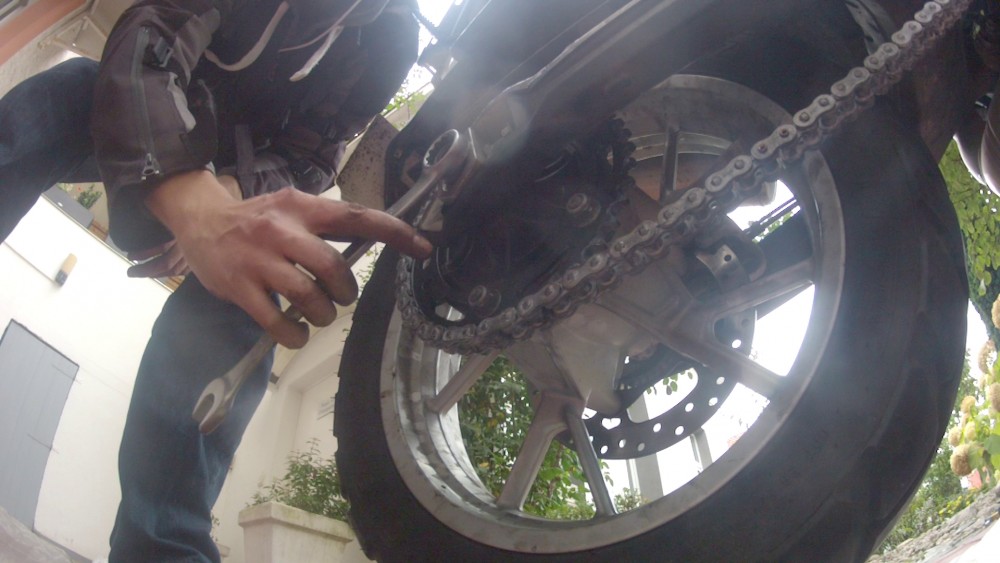
But I had achieved what I wanted, the chain was free and I could take it off.
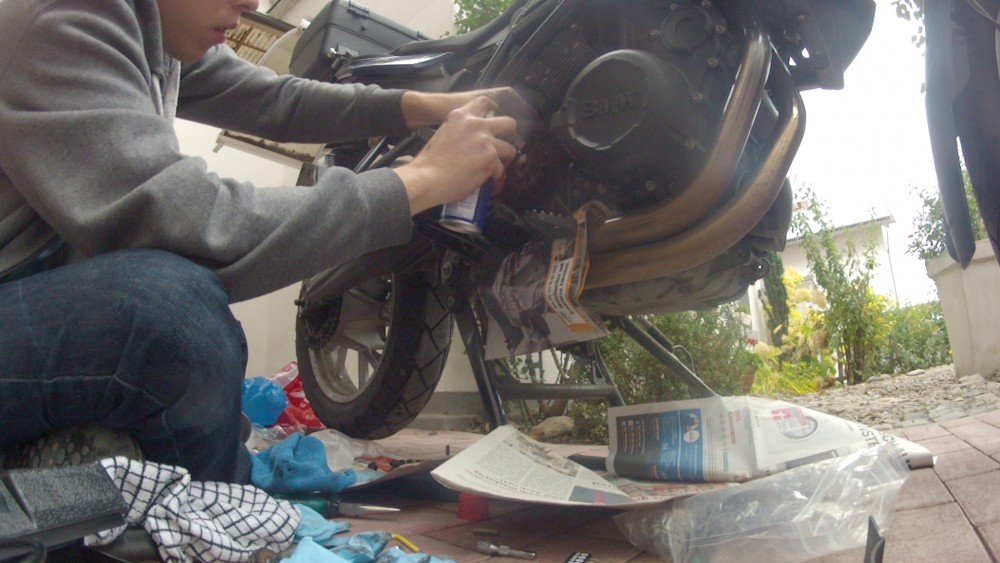
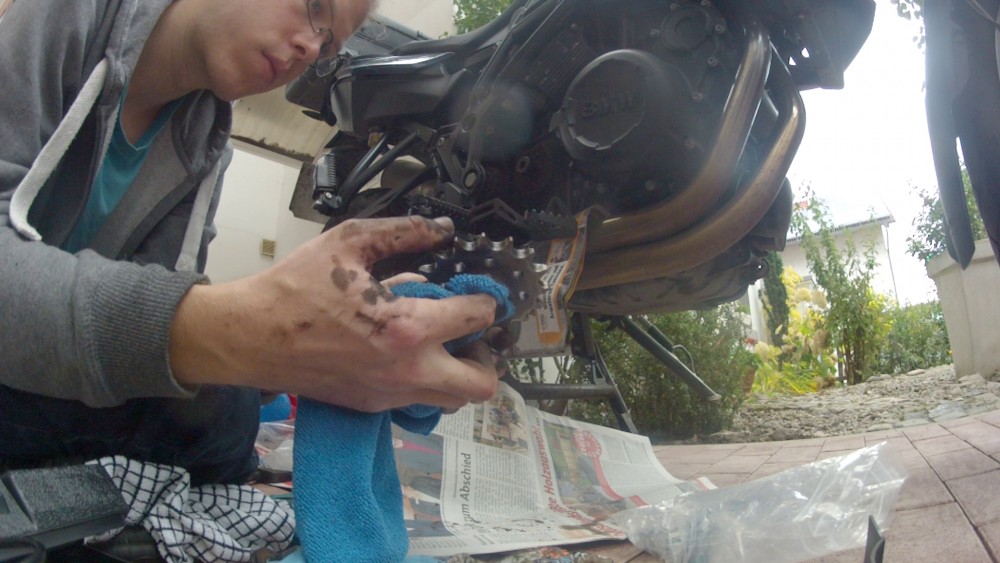
I now went back to the front sprocket which I noticed had gotten rusty over the years and was now fused to the shaft. A little WD-40 took care of it …
… and I could put on the new sprocket.
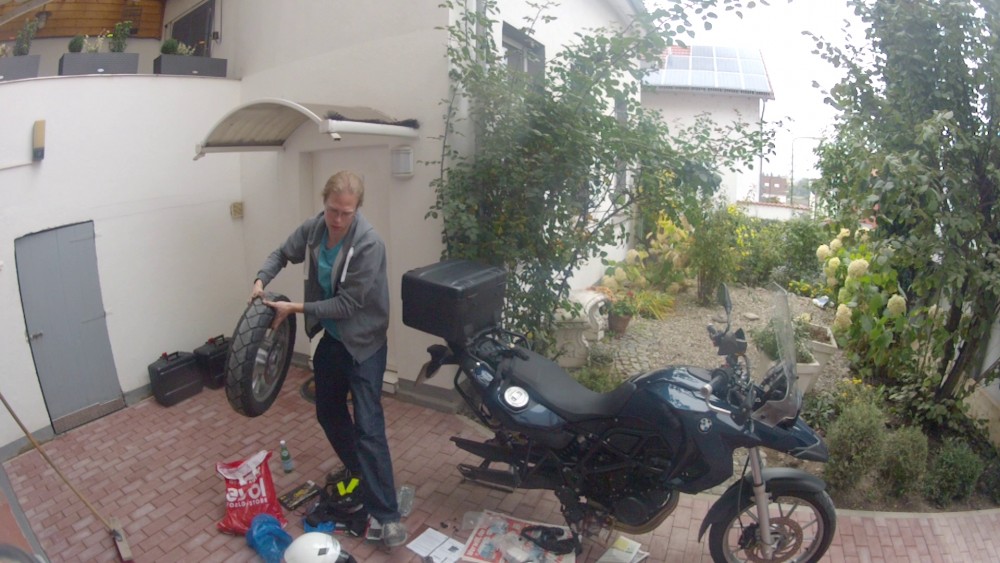
Next I took off the rear wheel to be able to access the rear sprocket.
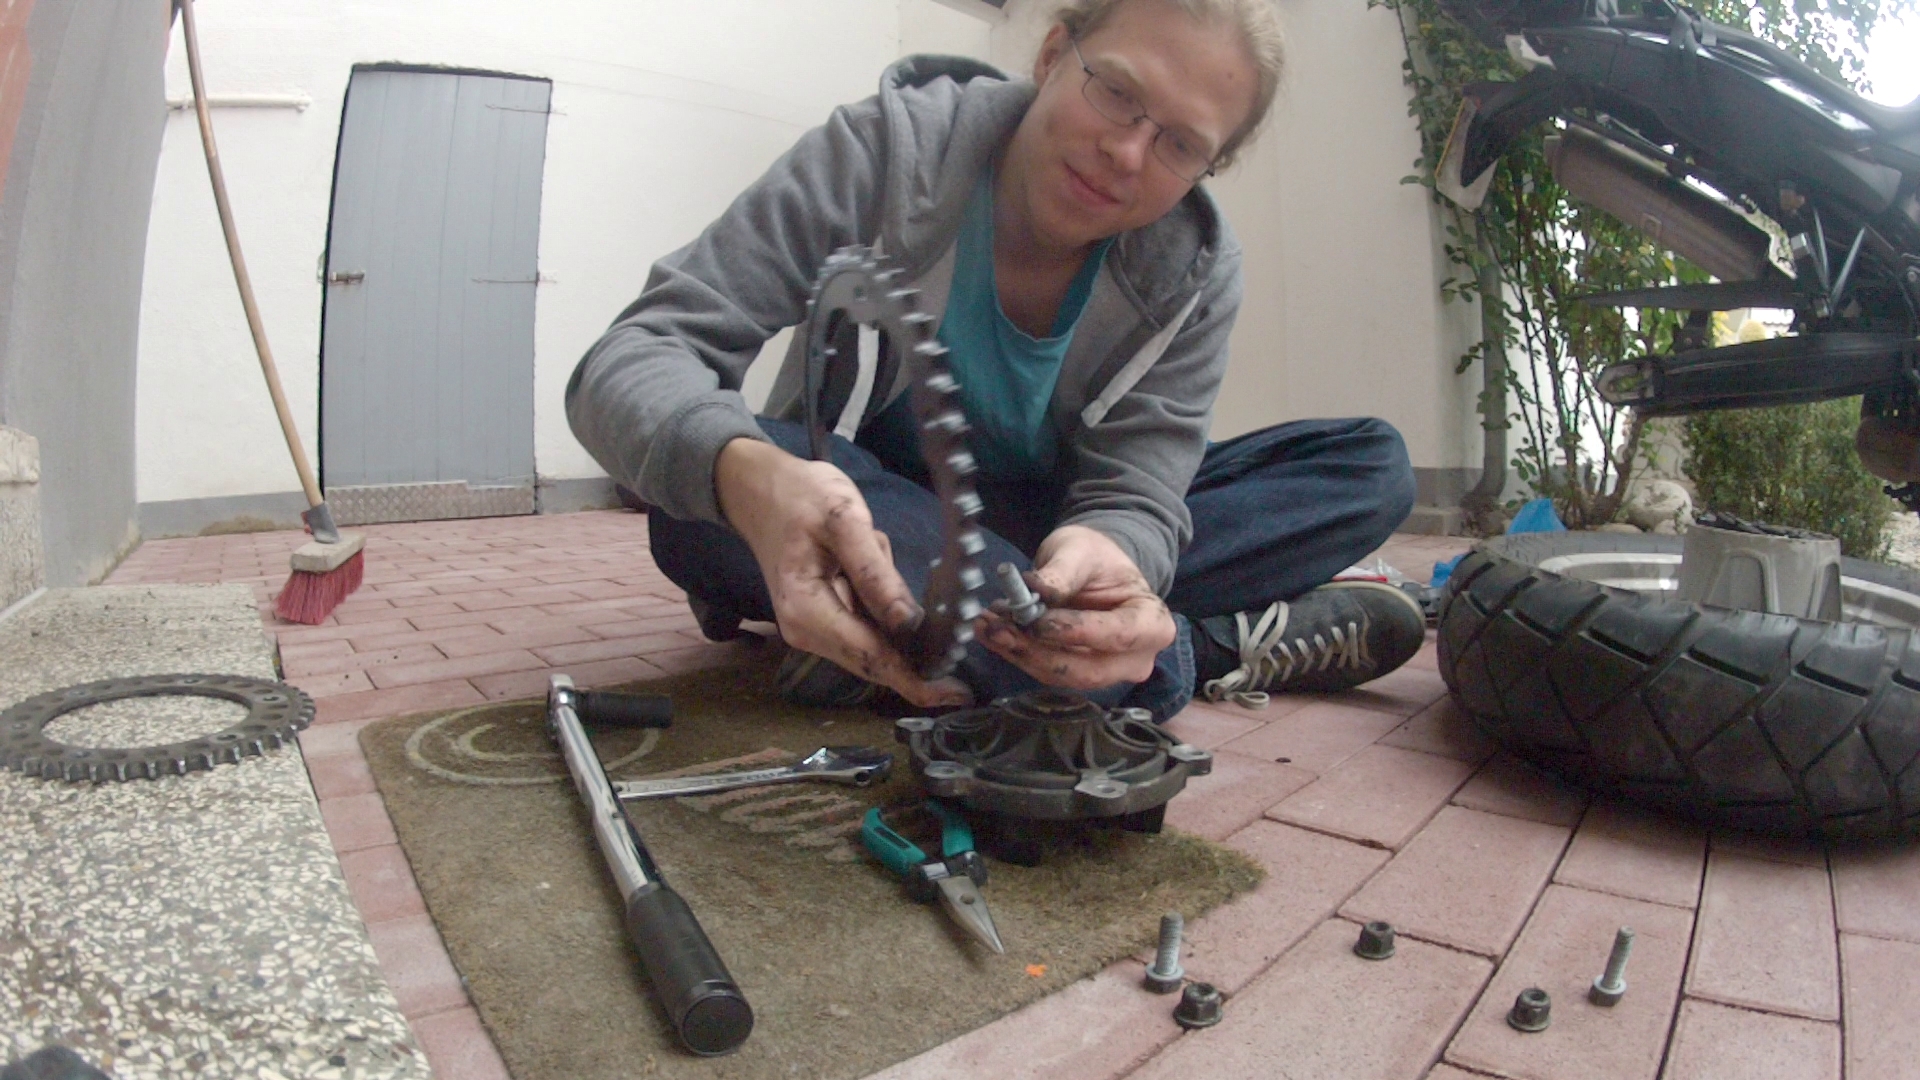
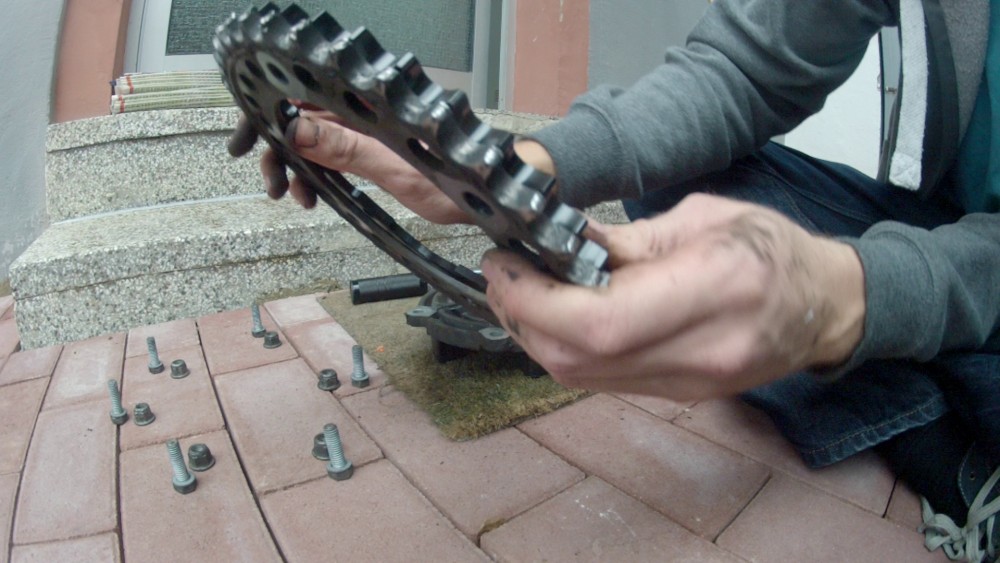
I loosened the screws which keep the rear sprocket connected to the base which connects to the wheel.
The last step before attaching the new chain was bolting on the new rear sprocket. The new set of sprockets had a different gearing ratio. The rear one had one less tooth than before (thus making it a little smaller in diameter) and the front one had one tooth more so it was even again. This means that it doesn’t make a difference for the chain length but it makes one for the bikes handling. Less teeth on the front sprocket (and more on the rear) basically give you more power when accelerating from lower gears. This is also good for driving off road because you have more power for say starting on a steep hill or trying to slowly roll over a big rock under your wheel. In turn more teeth on the front give you less power for acceleration but more for driving faster at higher gears. So for me this was actually a step in the wrong direction but it was back to stock specification. And since I was planing to sell the bike anyway I didn’t mind that.
What I did mind however was that when I put the screws back into the new sprocket’s holes I realized that they were the wrong diameter. 10mm screws vs. 8mm holes. At the shop I had bought the sprockets from they told me that these were the (only) ones for this bike. I had asked three times to really make sure. Apparently they were wrong.

It took two weeks for the new parts to arrive so on another cloudy weekend I continued with the maintenance. This time the new rear sprocket fit perfectly.
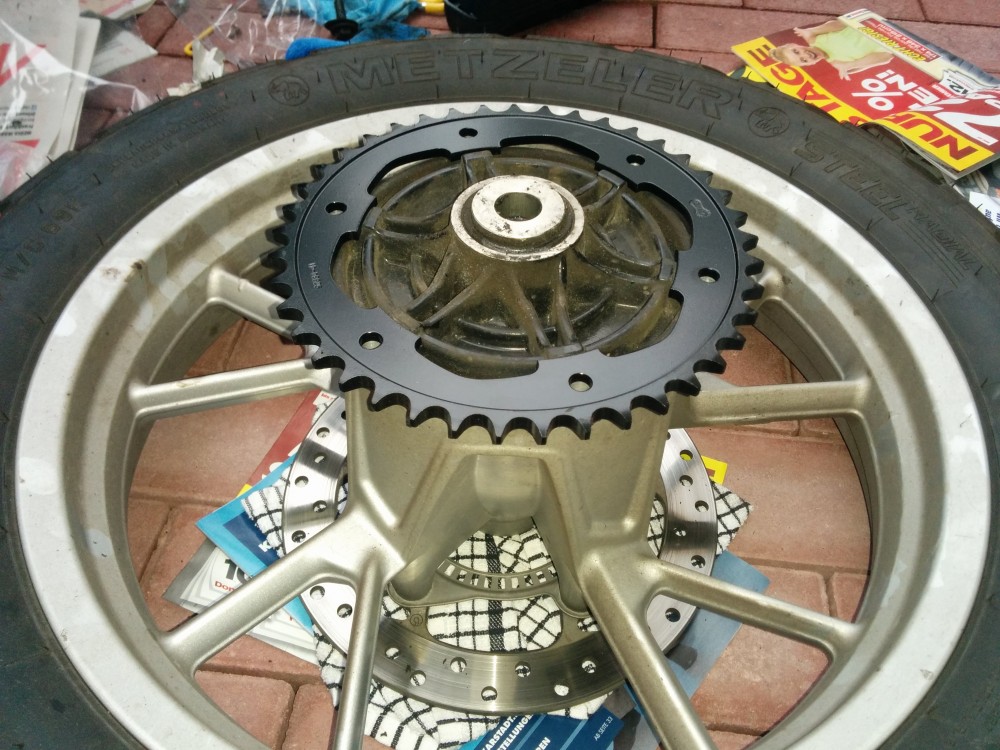
I screwed it on and reattached the wheel and the break caliper.

Finally I wrapped the new open chain (it’s not actually a loop yet) around the two sprockets. I took the single separate chain link that came with the otherwise connected chain and attached it with the supplied gaskets.
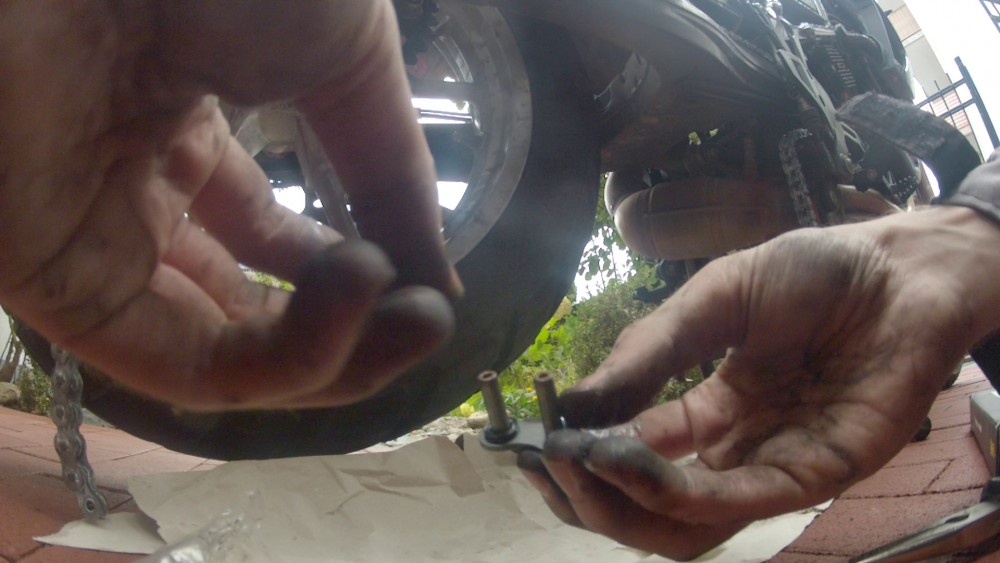
Now the only thing left to do was to rivet the two ends of the newly connecting link to the ends of the chain. This could be done with the same tool used to break the chain. After much fiddling around I got the strange contraption to work even though everything about it felt wrong, as if it were to break the chain and the tool (again).
Lastly I fastened all bolts on the rear…
… and the front …
… and gave the new setup a try on the center stand.
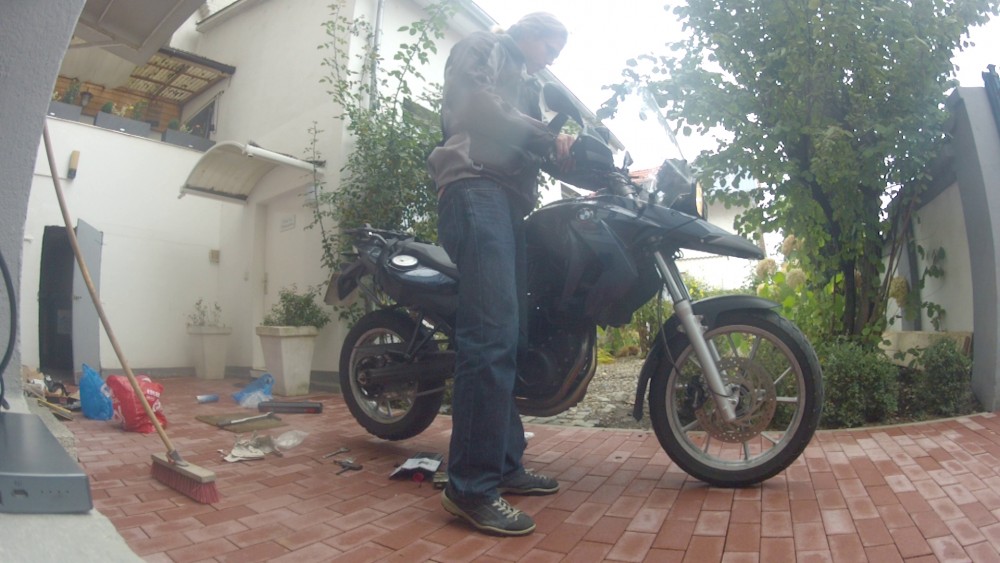
To my delight the horrible sounds the old chain had been making were gone and later on a first test drive I could feel the bike accelerating, decelerating and shifting smooth as butter once again.