Yellowstone National Park

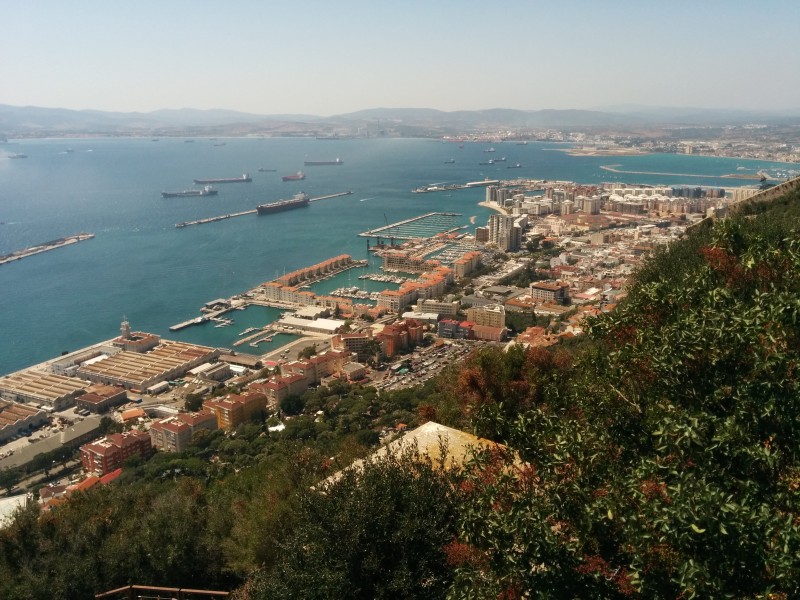
One of the main reasons for me to return back to North America last year was my wish to explore the breathtakingly diverse landscapes of this continent. High up on my list was Yellowstone National Park. After a lot of hassle getting my gear together and the bike ready for a longer trip I was almost ready to set off to Yellowstone National Park, Wyoming, USA.


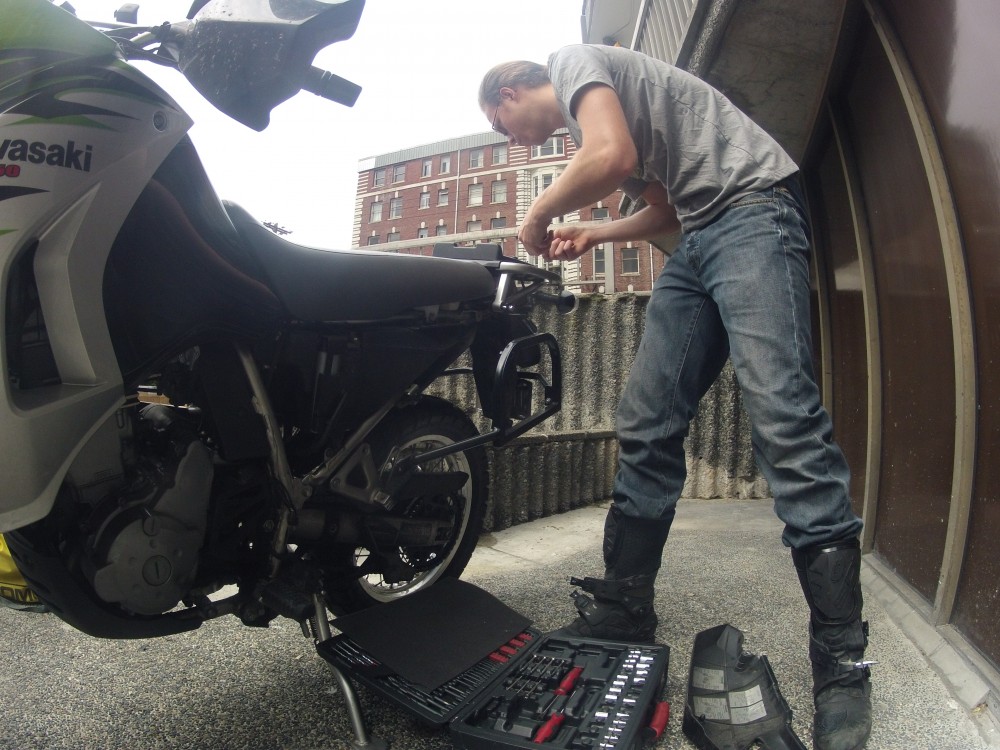
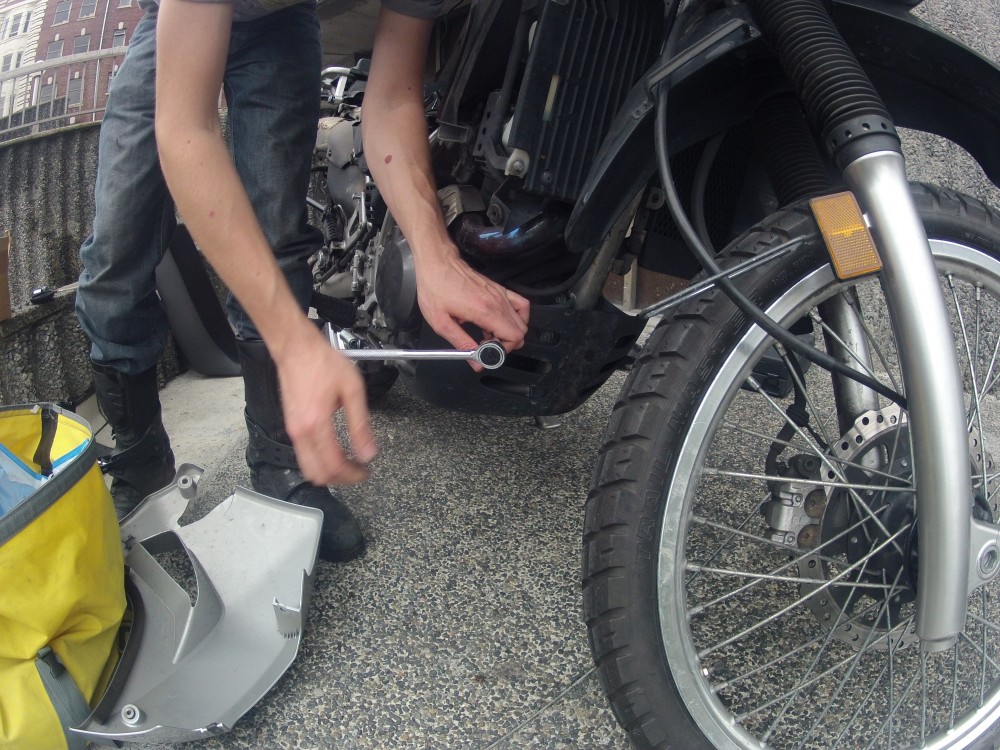
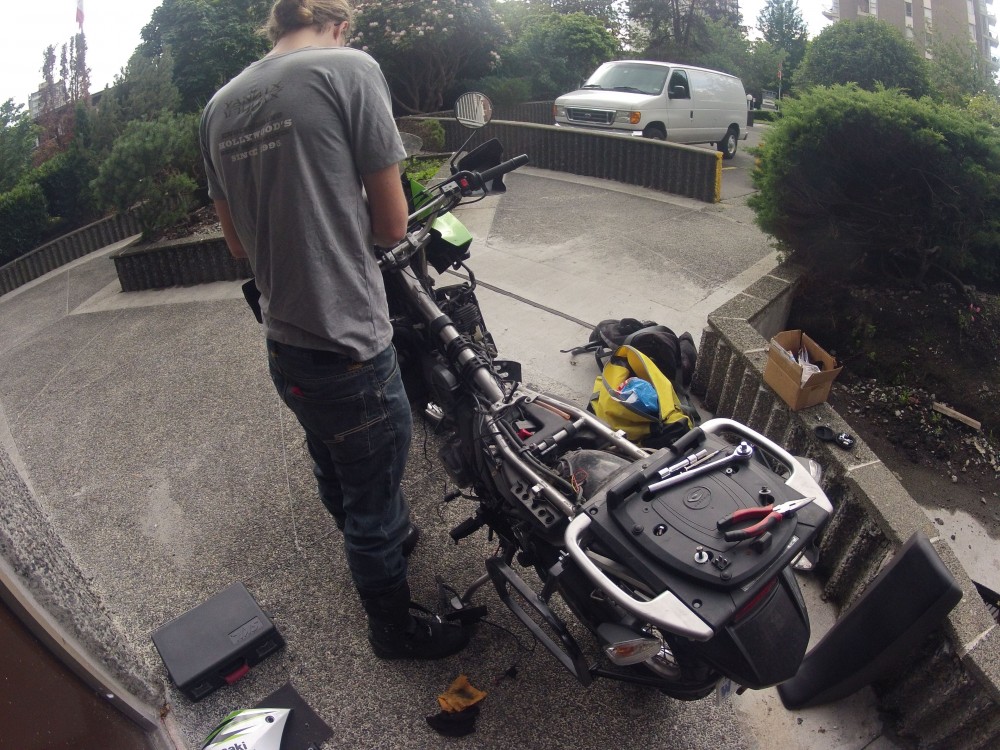
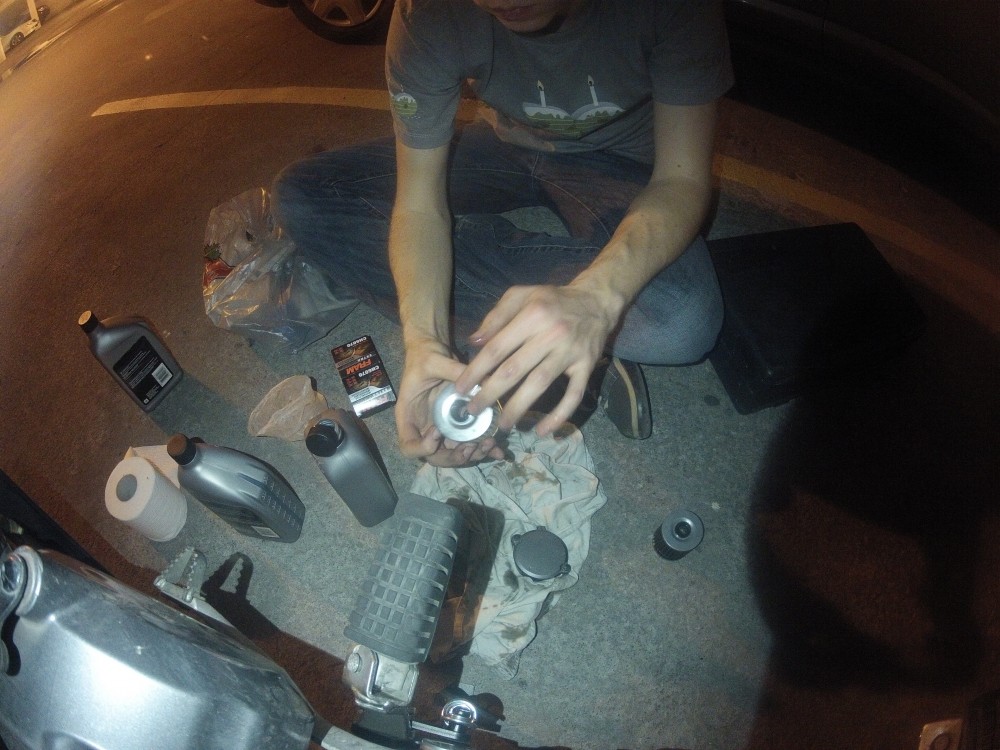
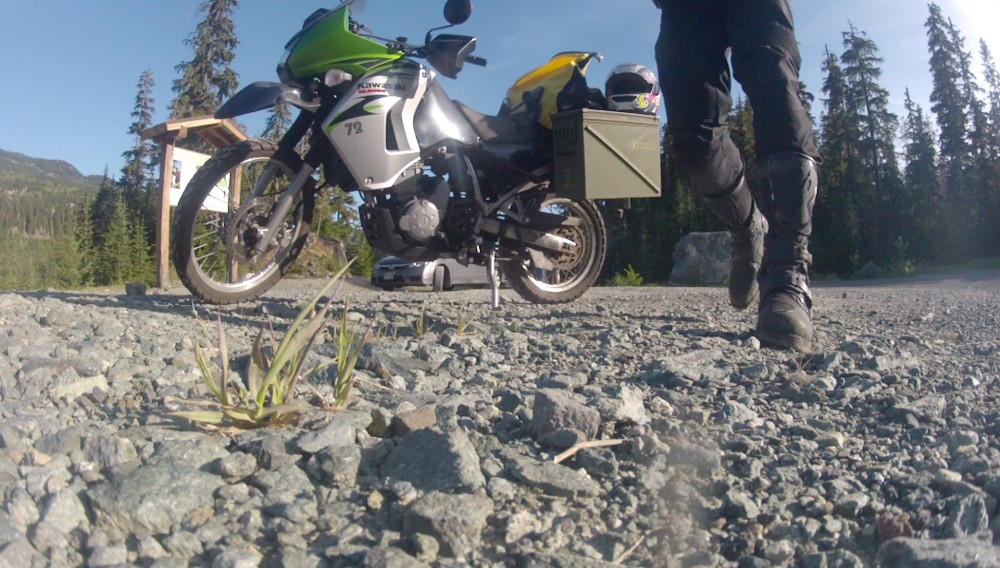
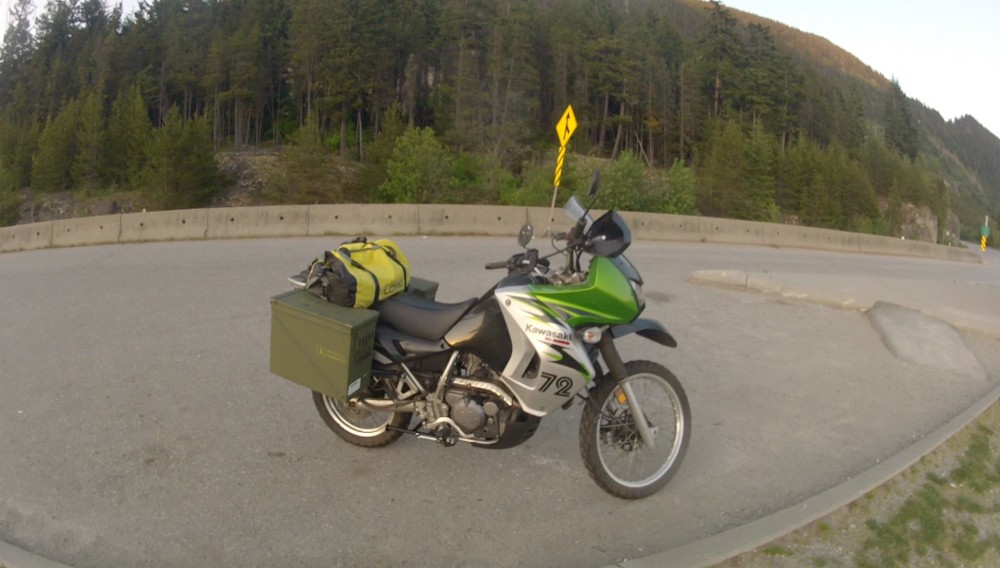
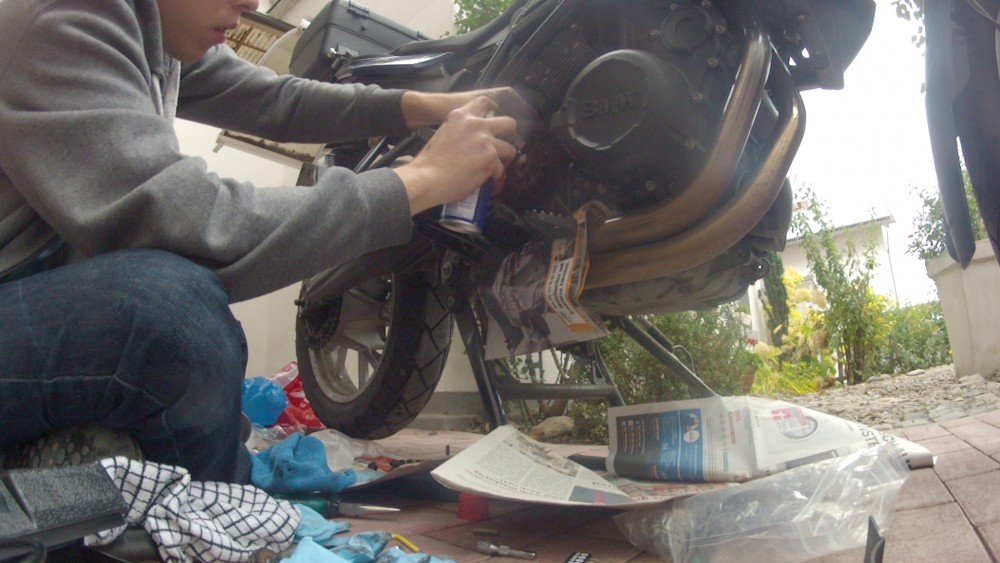
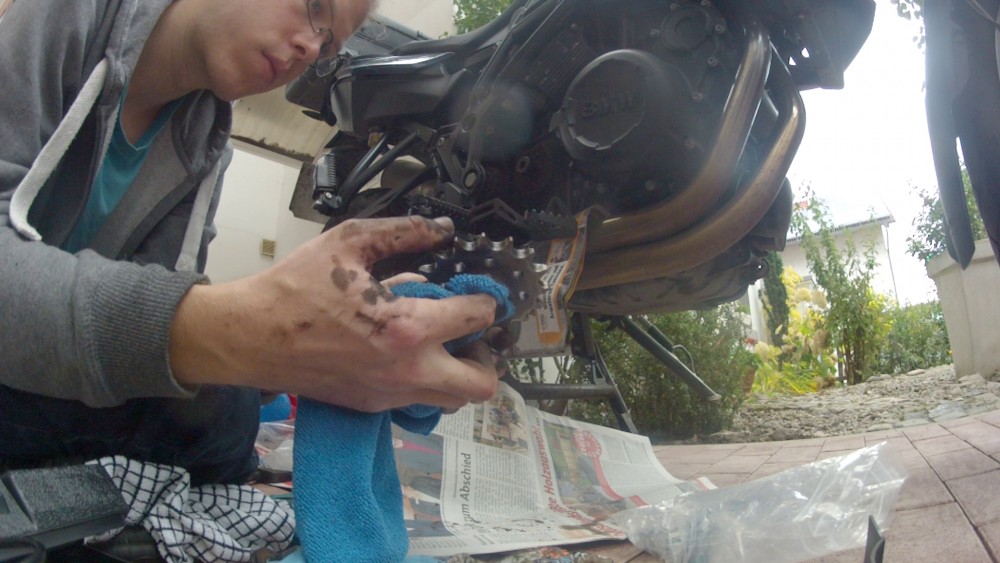
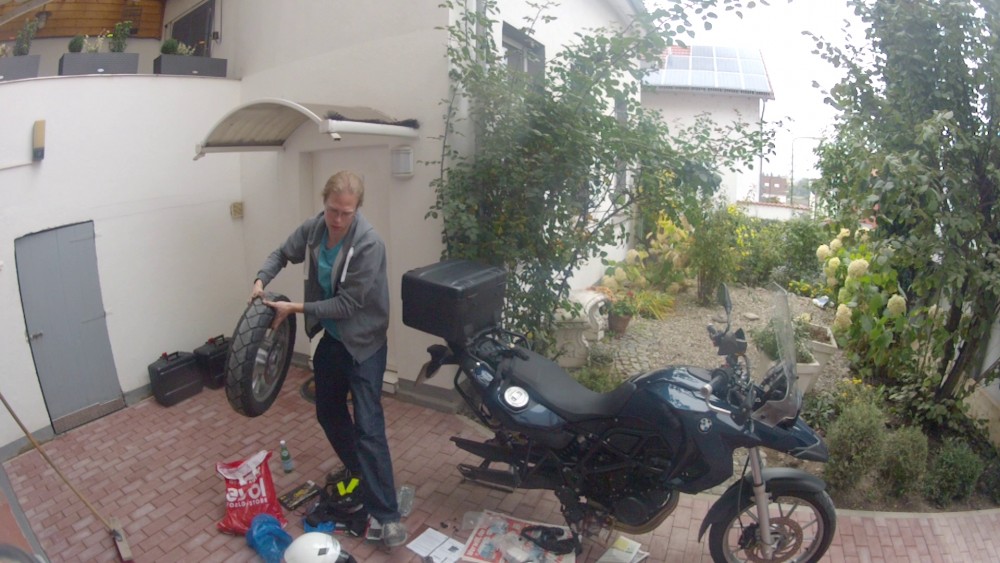
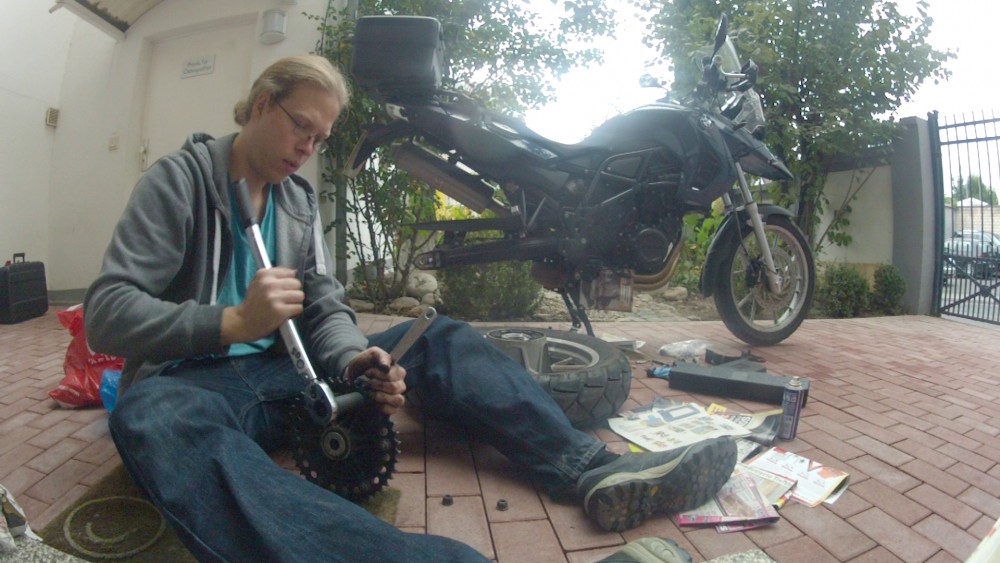
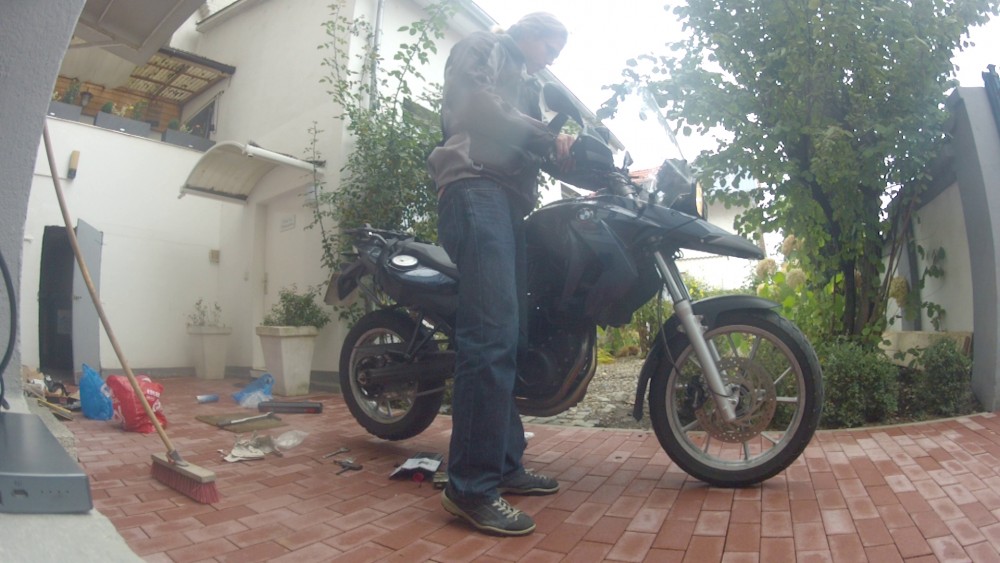
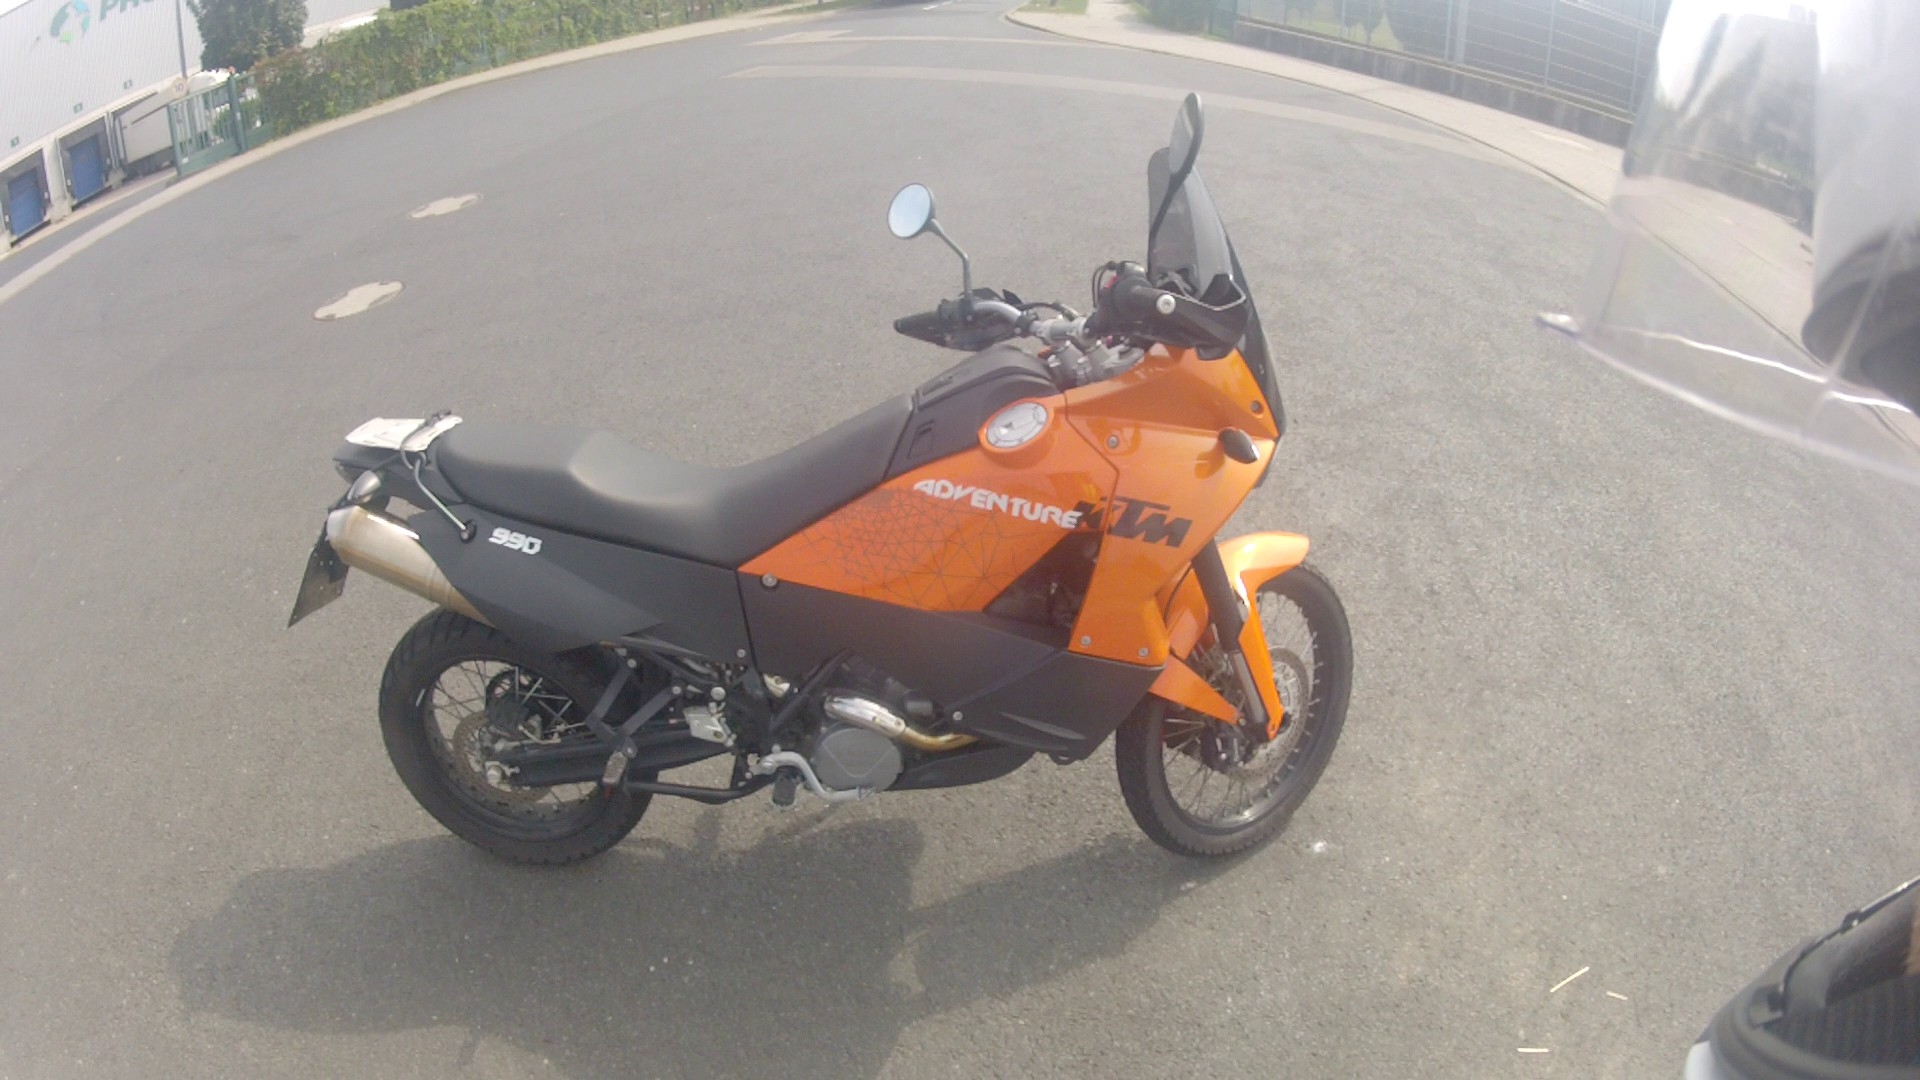
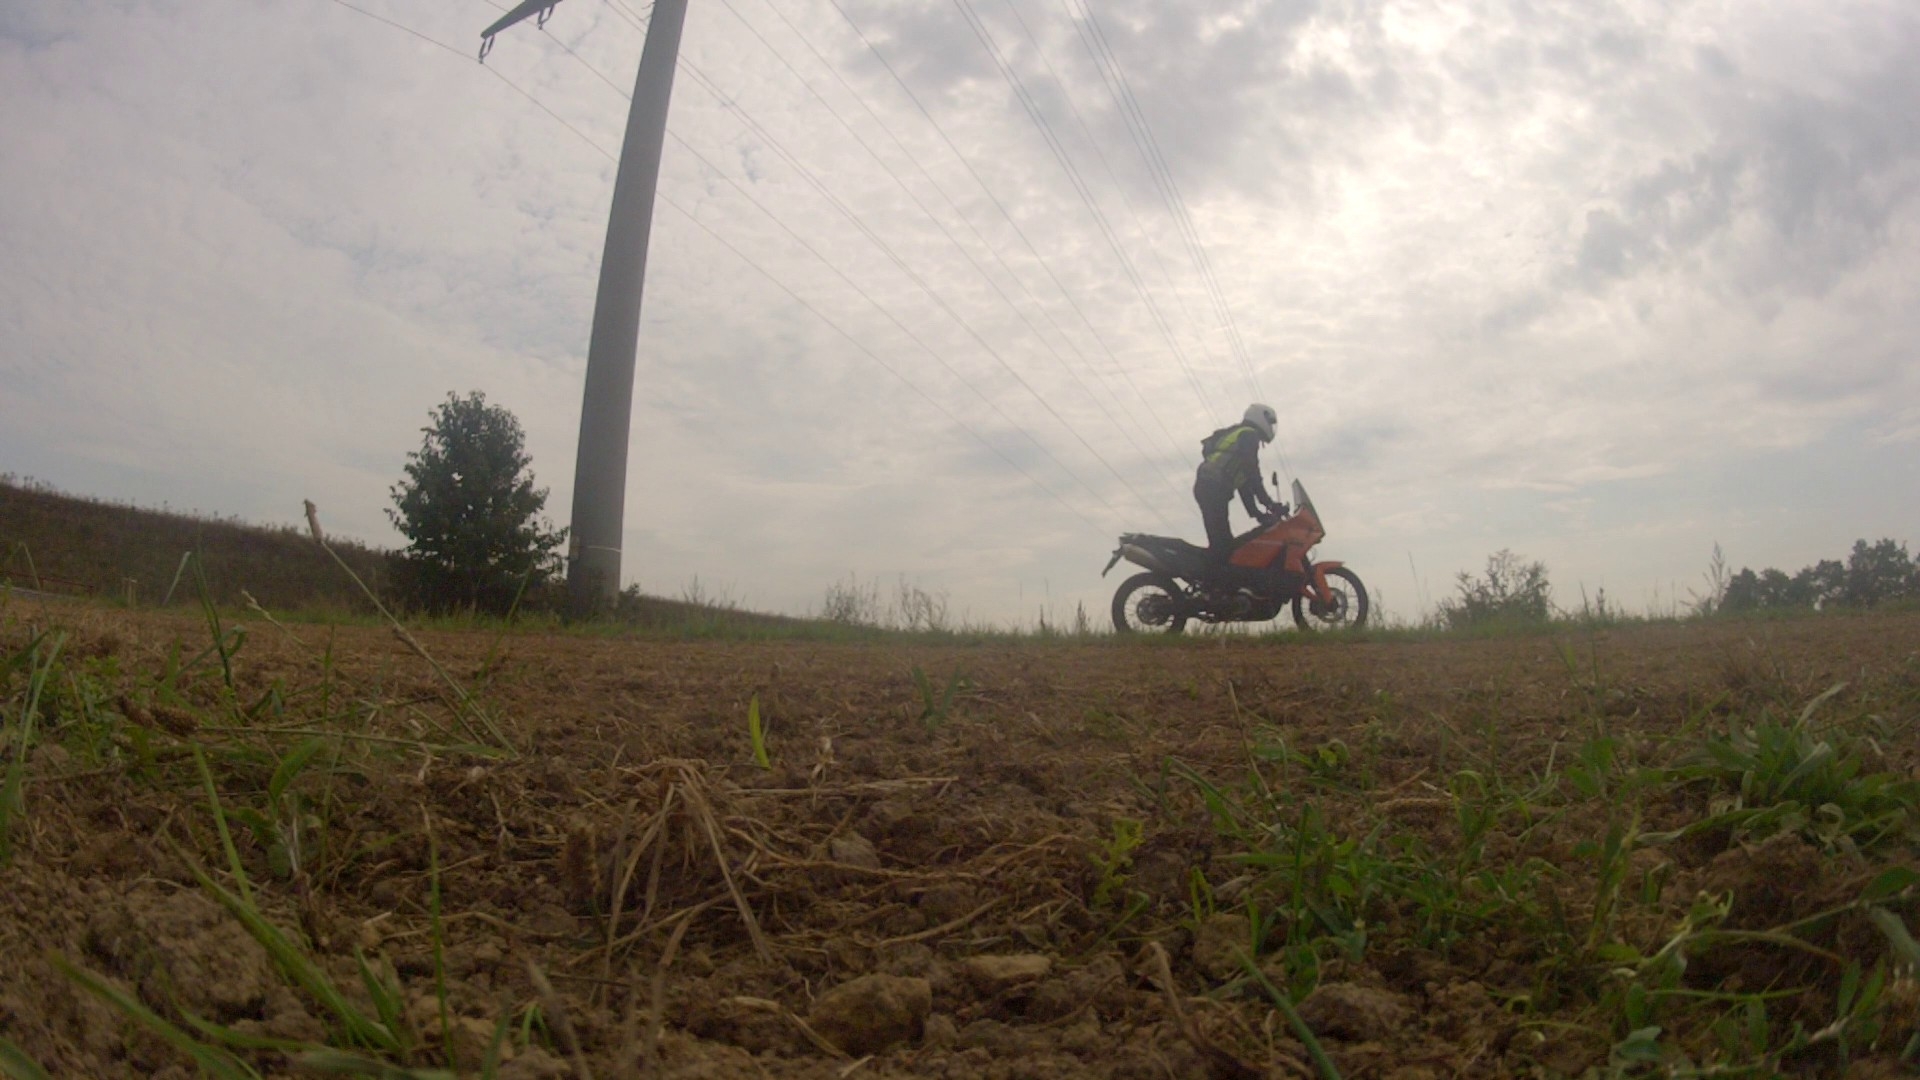
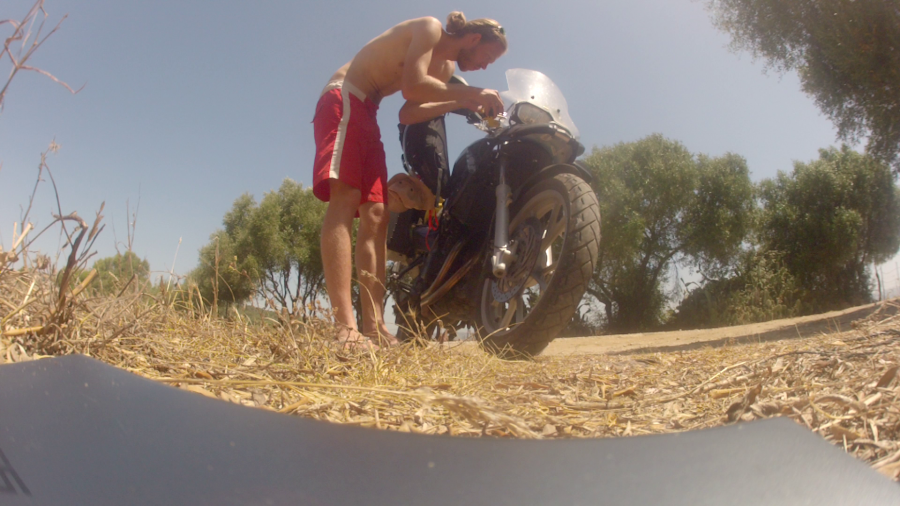
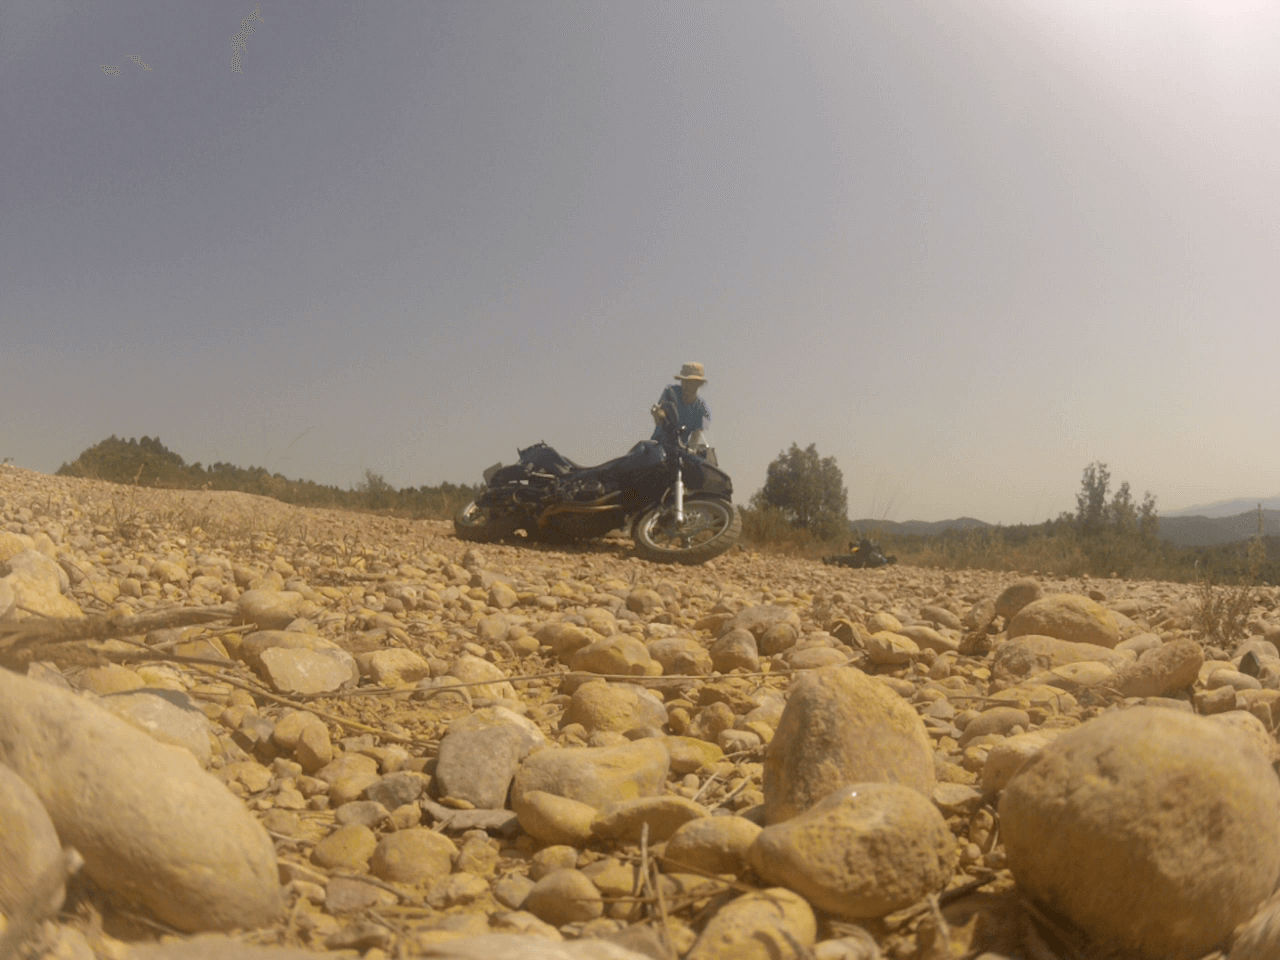
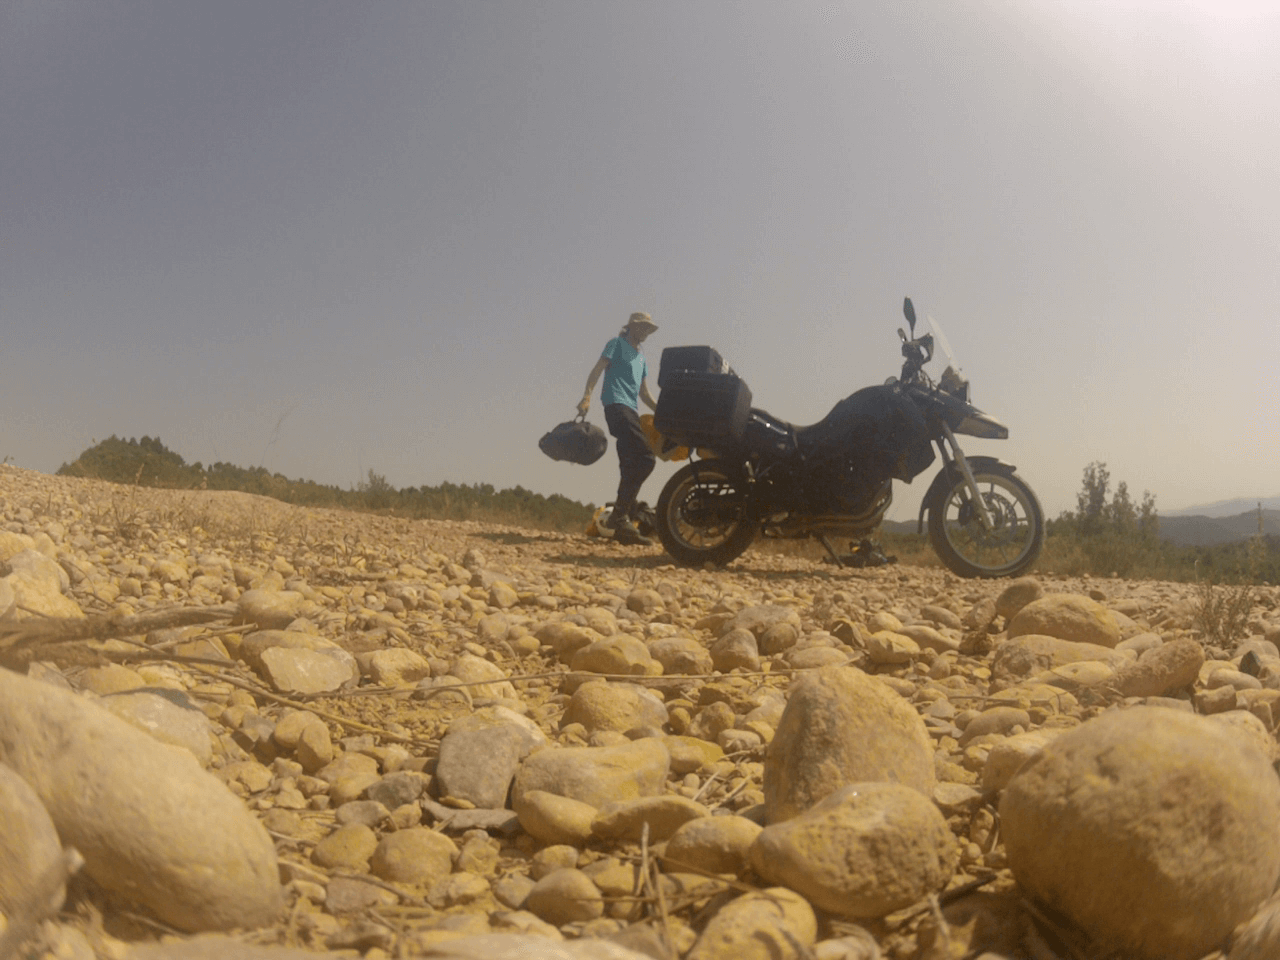
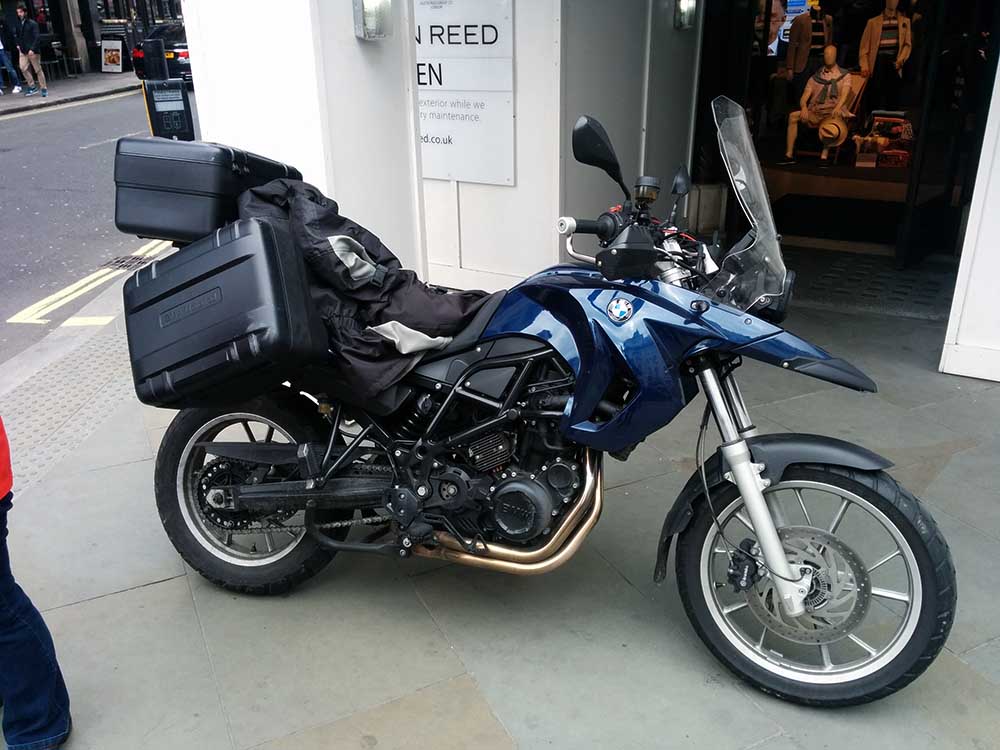
Before leaving Vancouver in early July however the first challenge was to pack the bike. On a motorcycle there are several things to consider in regards to your travel luggage. One being the balance of the bike. The weight has to be distributed evenly which is particularly important at higher speeds, off road, in corners and during strong winds. And at normal speed. Yes and always. The next thing is of course the weight of the luggage. You have to leave things behind that you might consider essential. There simply ins’t enough room. However I actually like this aspect because it makes you realize and decide what you truly need and what you don’t. Not just on a journey but altogether. If you don’t need it on such a longer trip you probably don’t need it at all. I have reduced my kit to a bunch of mechanical tools, emergency medical equipment, camping gear, toiletries and the bare minimum of clothing. The only non essential equipment I always take with me is my camera gear.

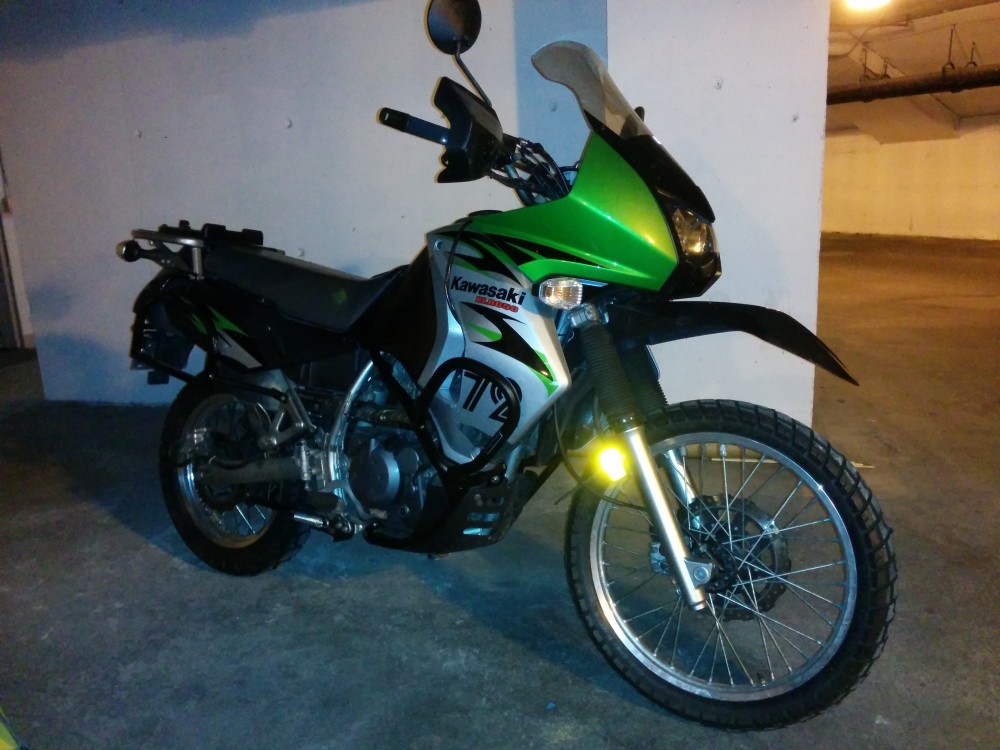
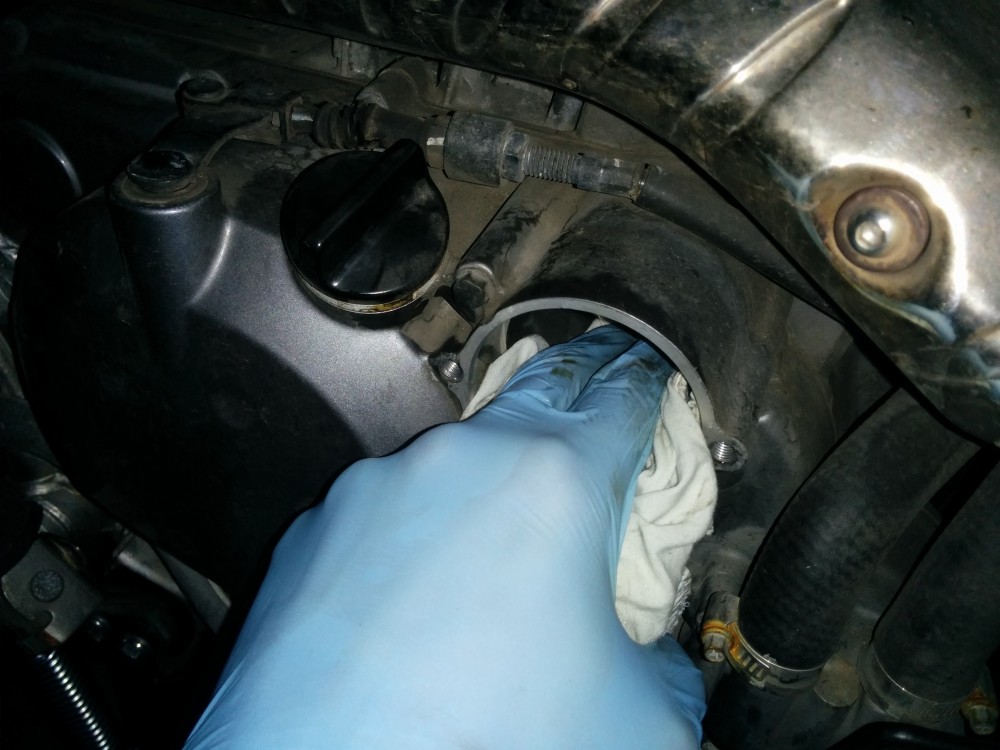
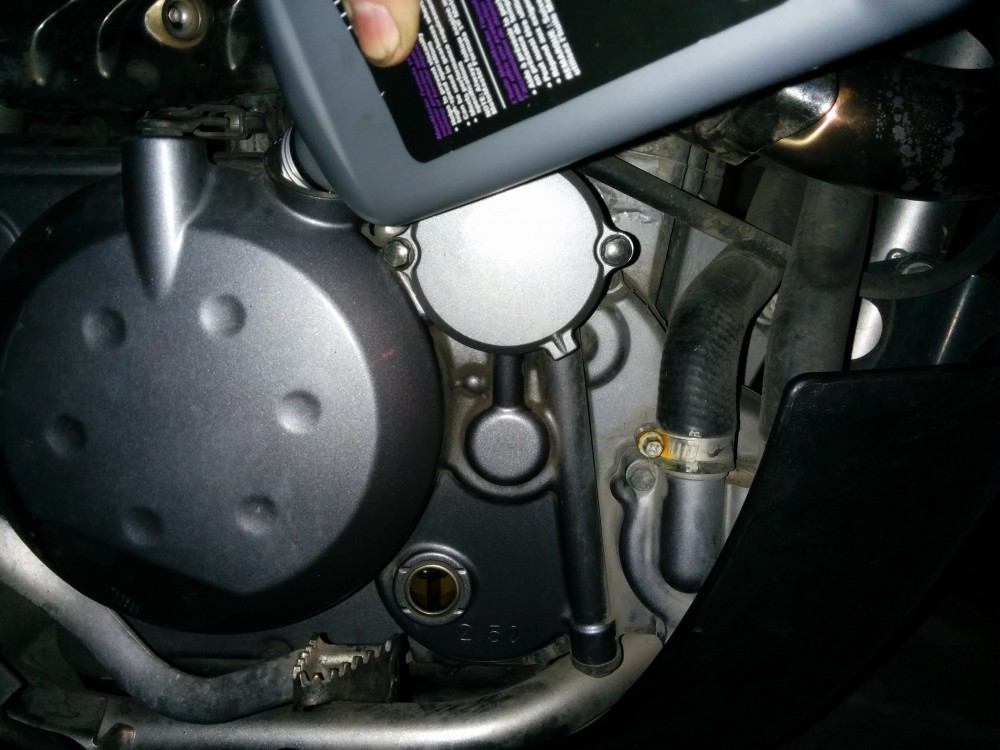
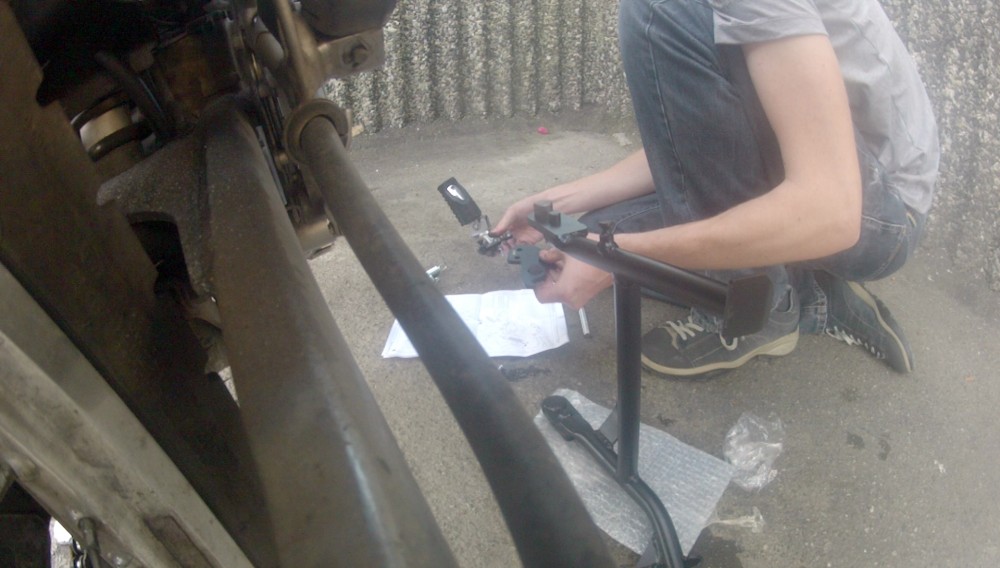
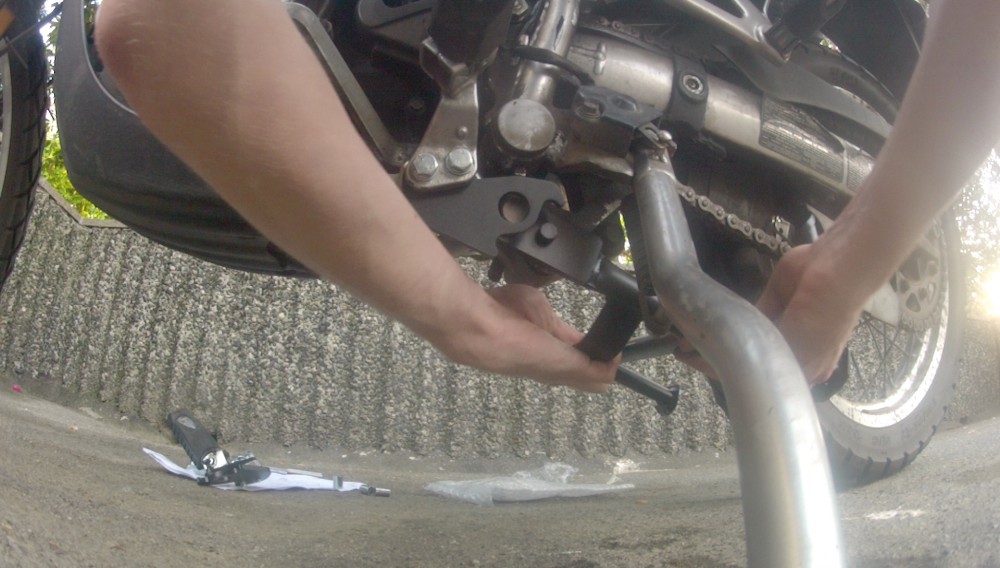
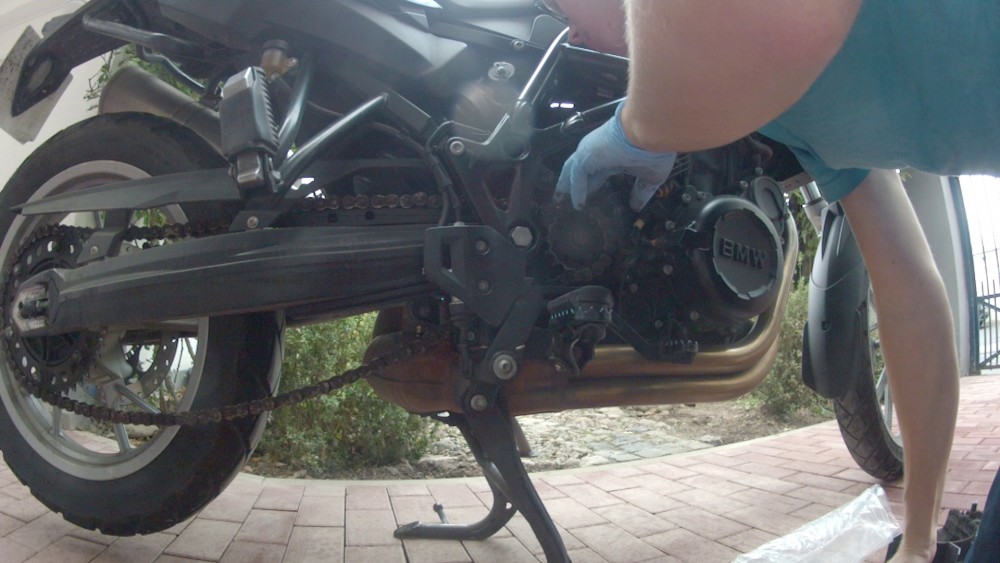
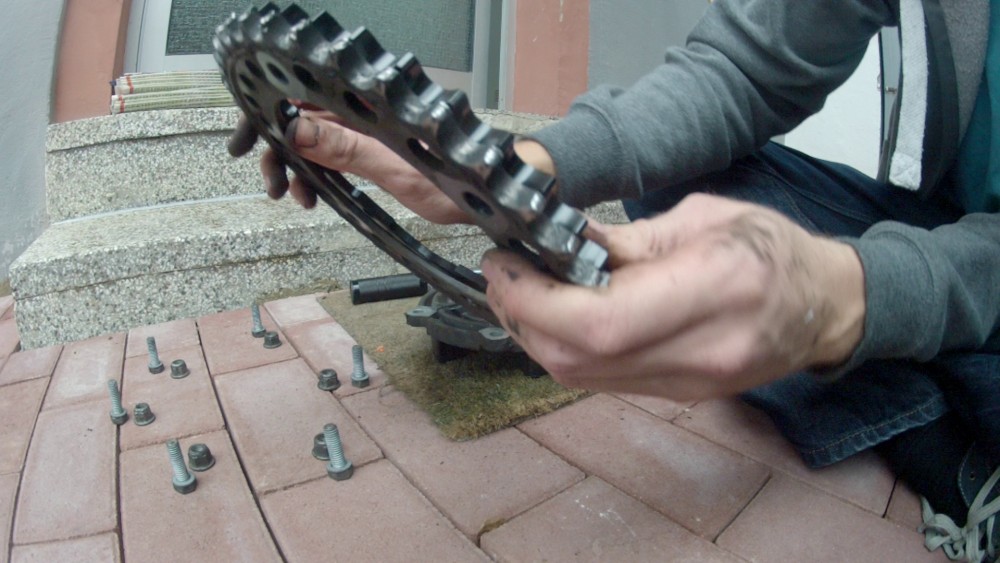
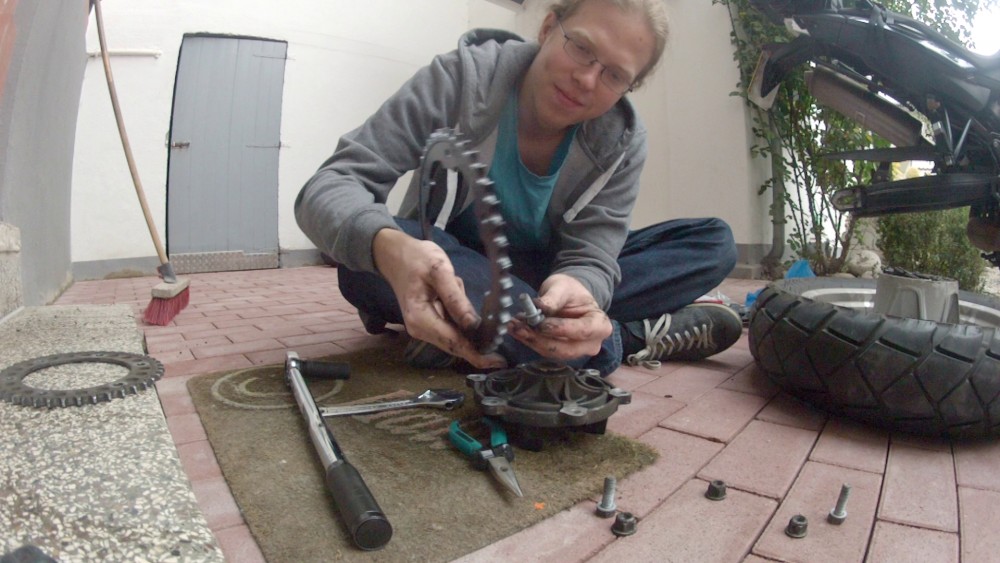
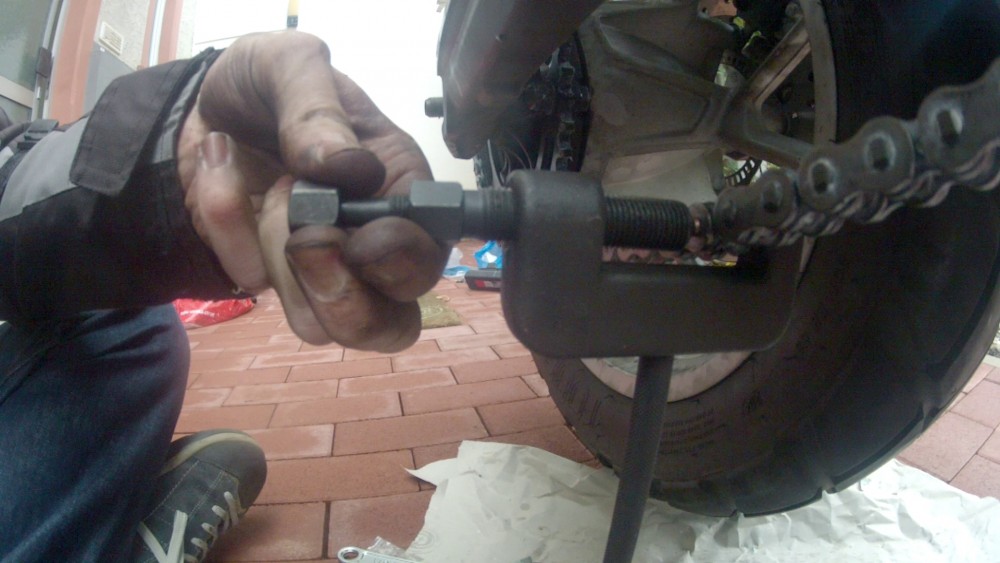
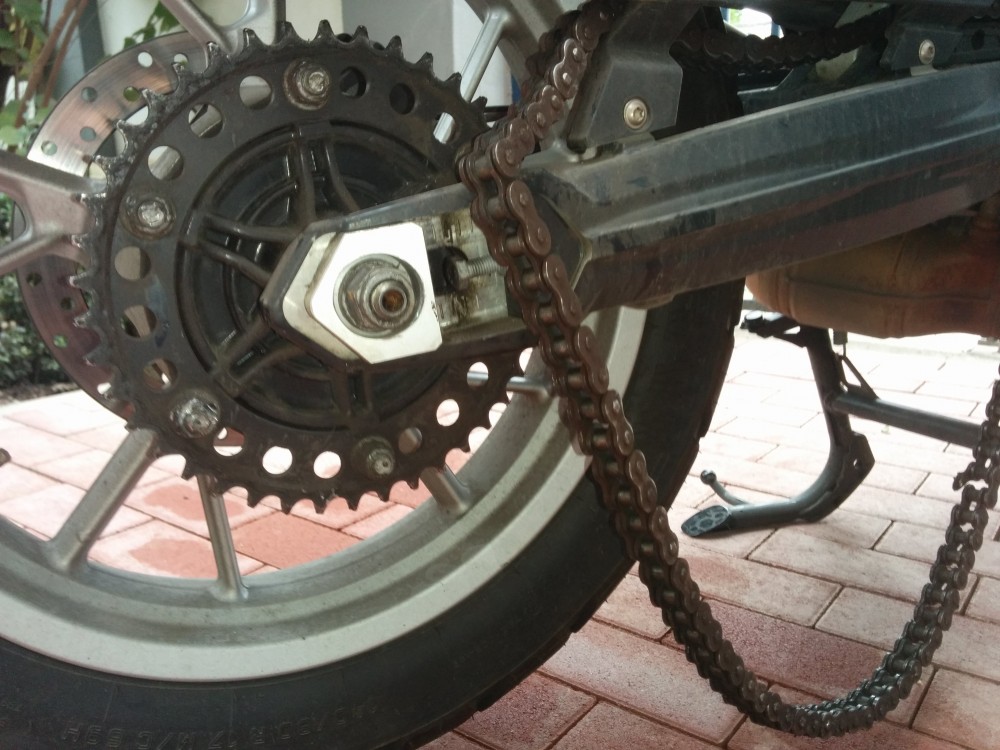
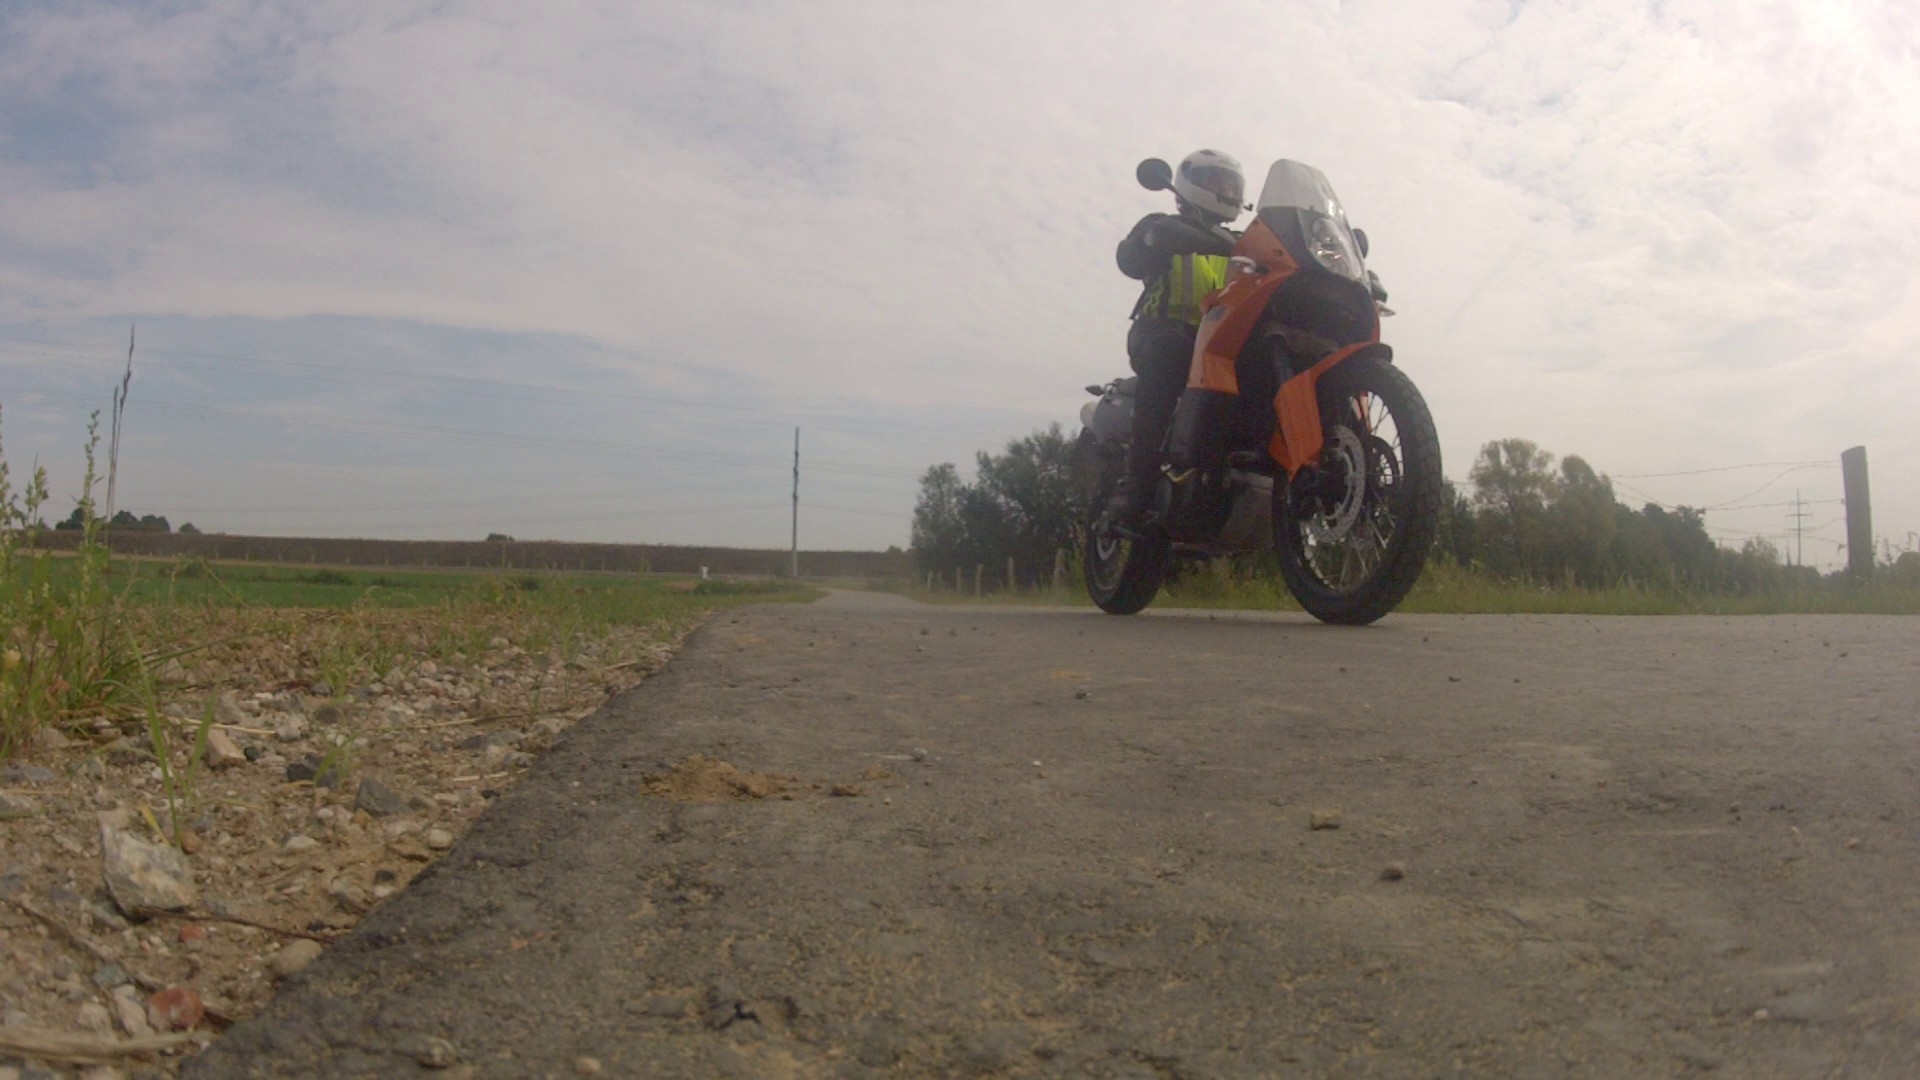
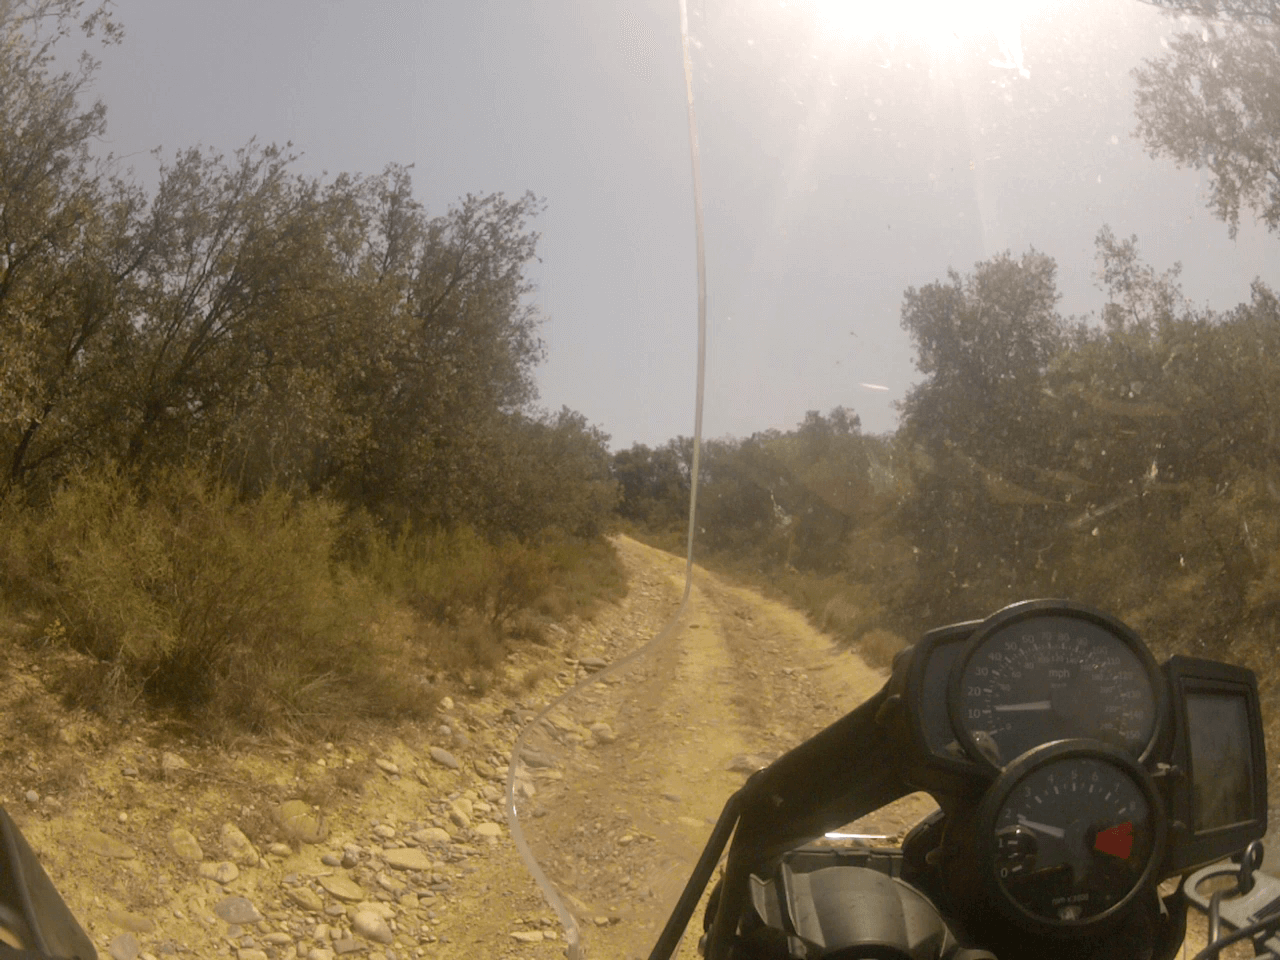
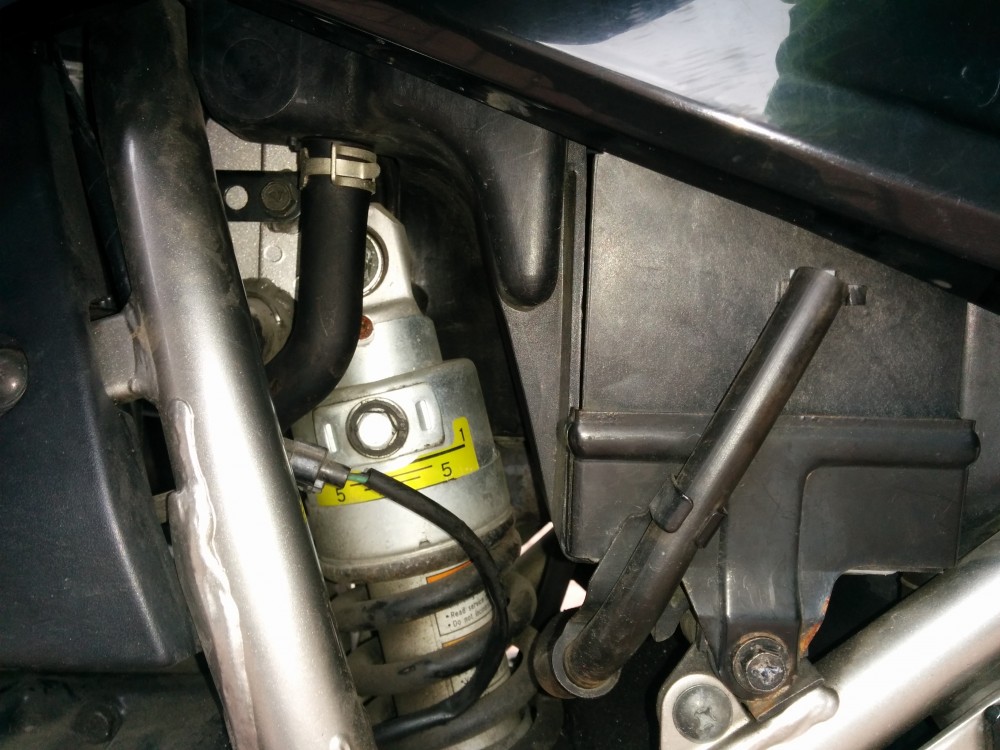
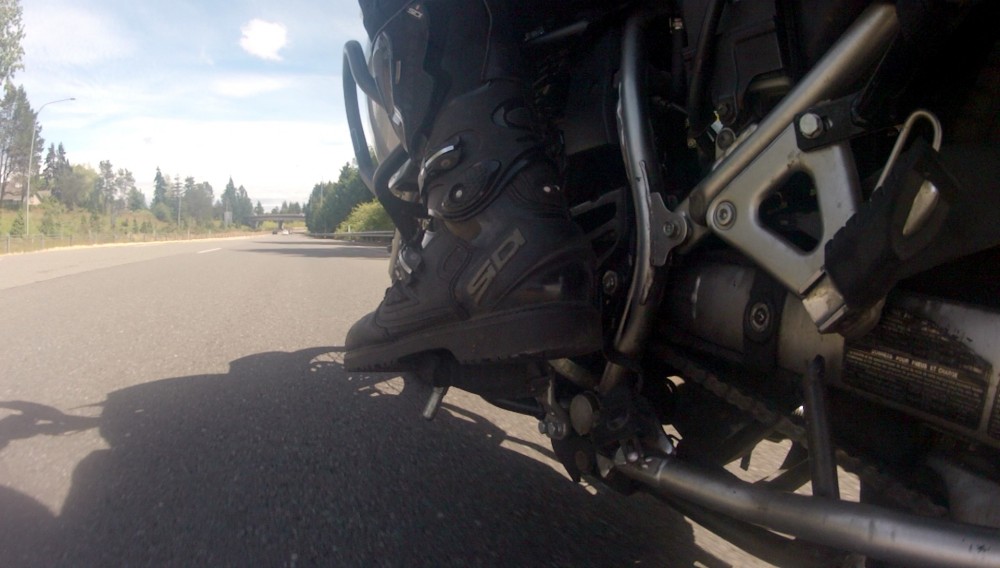
The biggest issue with weight for me usually is the suspension travel. The suspension (essentially the big metal spring on the rear wheel) has to be capable of supporting the added weight without ever compressing fully. Not off road and especially not on road. Unfortunately the KLR doesn’t have a greatest of suspensions.

IMG_20160612_211510

I set the hardness from it’s original level 1 to the maximum 5. But the difference was barely noticeable.

IMG_20160613_083247

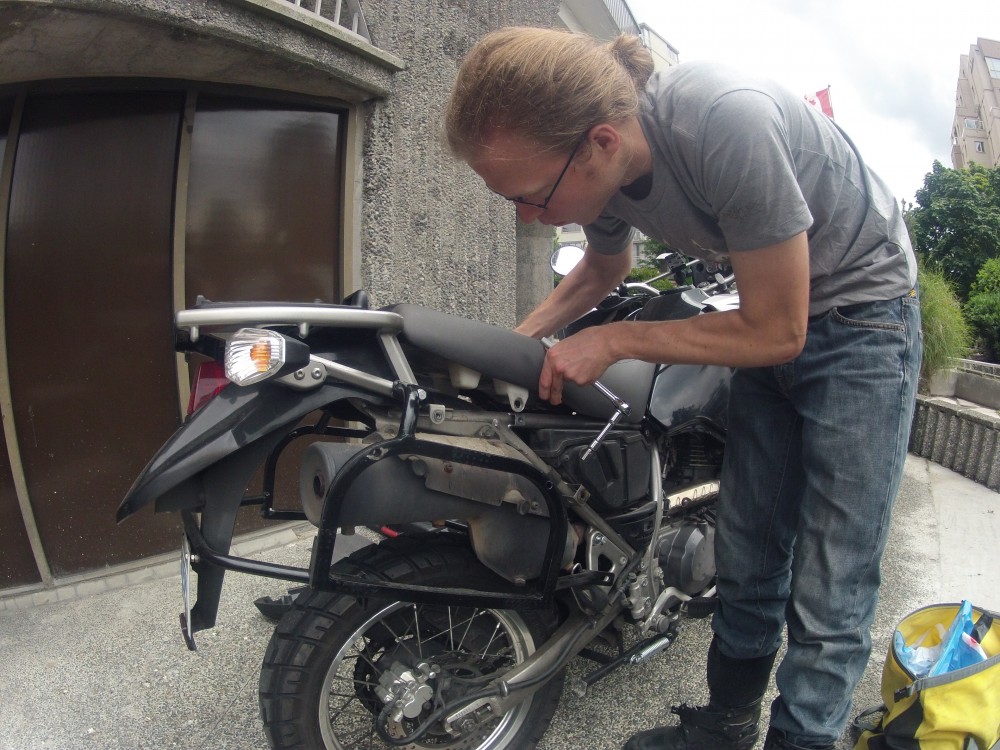
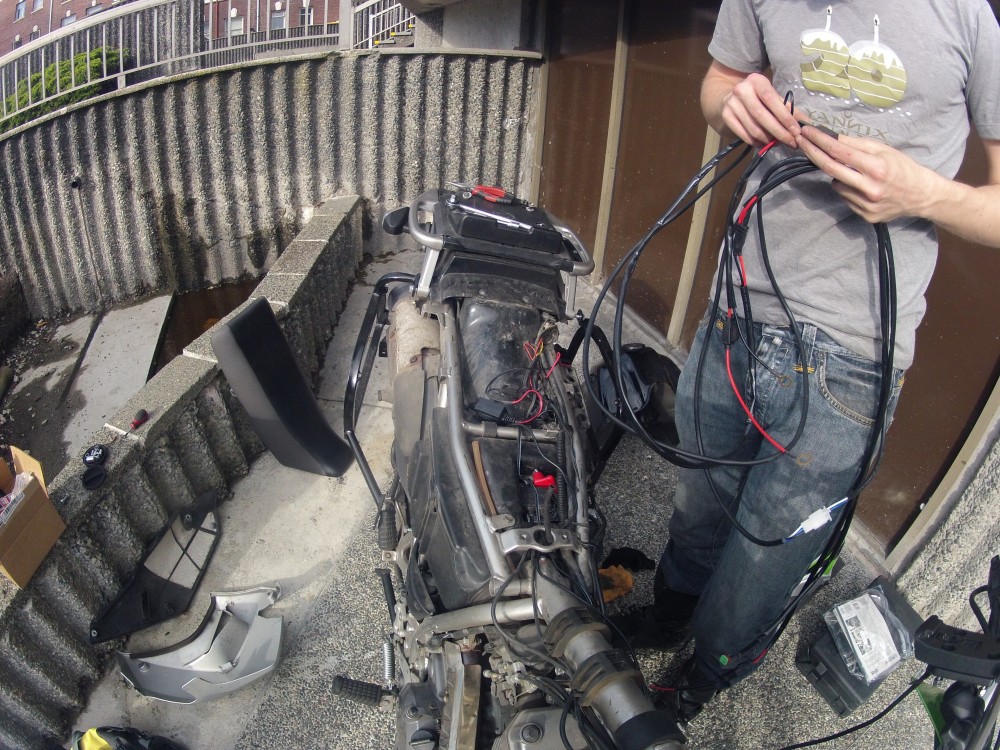
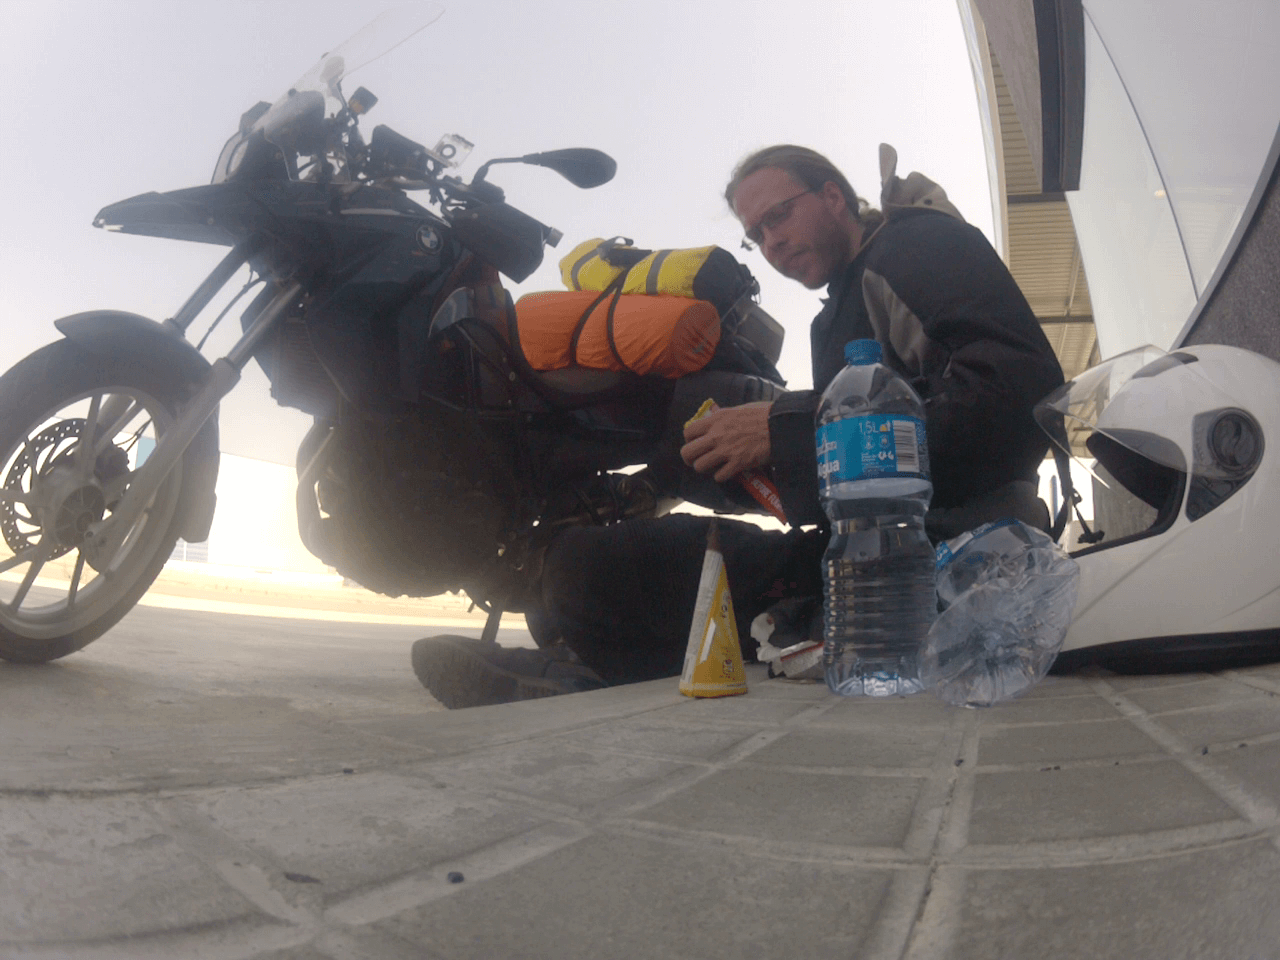
A few extra pieces of equipment like two 1.5 liter jerry cans (additional fuel) I had already discarded. The only thing non essential left was my camera equipment. My DSLR camera is heavy and together with additional lenses it added 10 pounds to my luggage. Because safety always goes first reluctantly I decided to leave my camera equipment at home too.

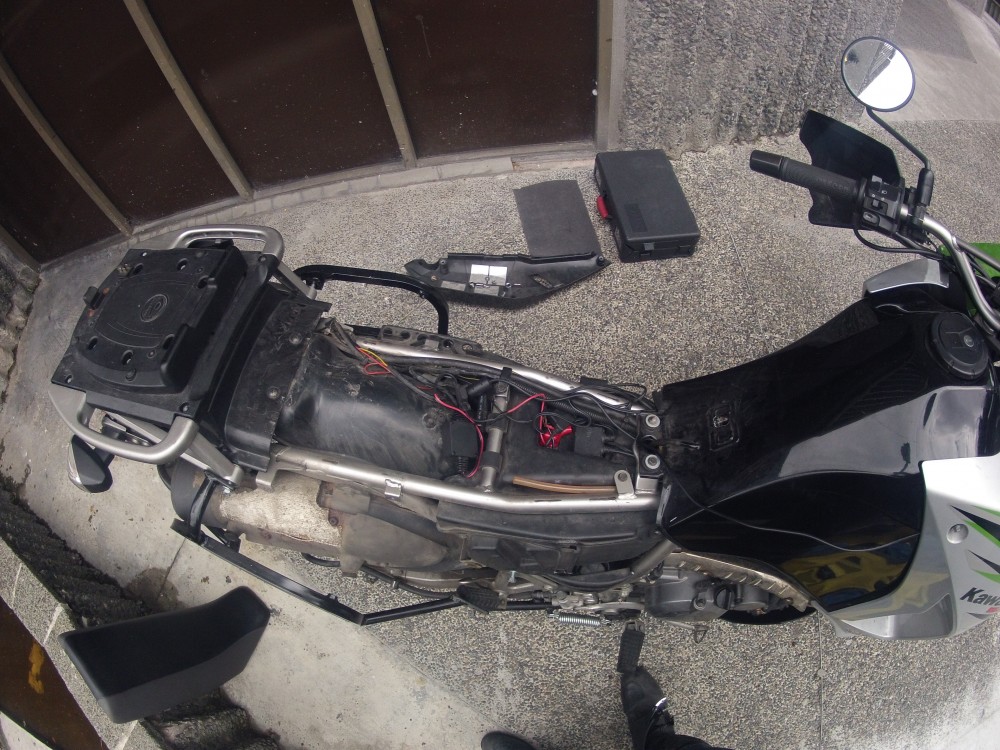
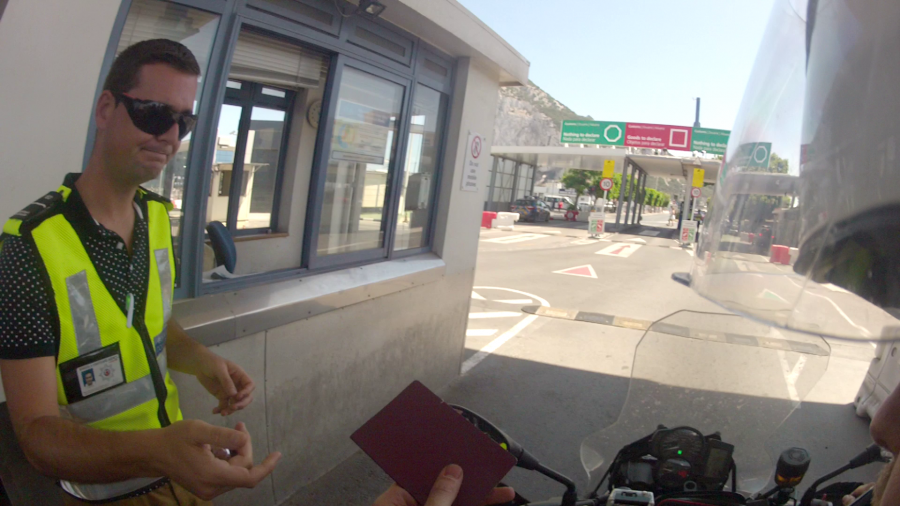
The final aspect of packing a motorcycle is ease of access to your gear on the road. Stopping on the way to get a small piece of your equipment out and back stowed away safely so you don’t lose it on the next bump may take 15 seconds in a car but 15 minutes on a bike. Every stop you make on the bike takes that into account. So things like Passport, rain cloths, extra layer for warmth, water.. go at the top. I find that this issue of accessibility is probably the most exhausting and draining part of travelling on a motorcycle.

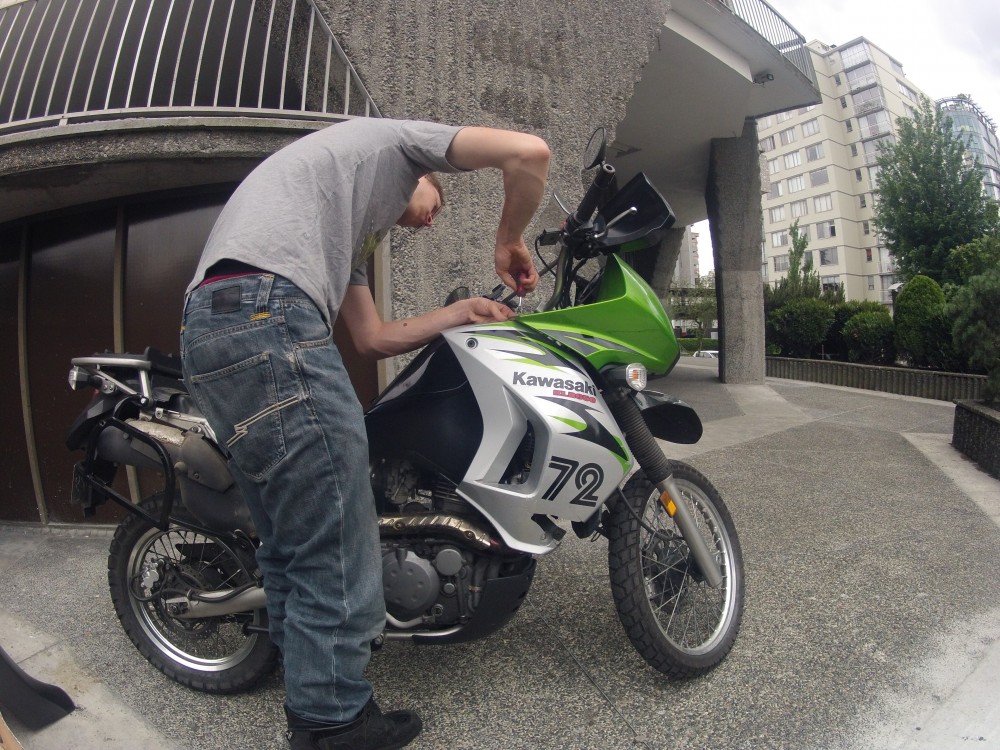
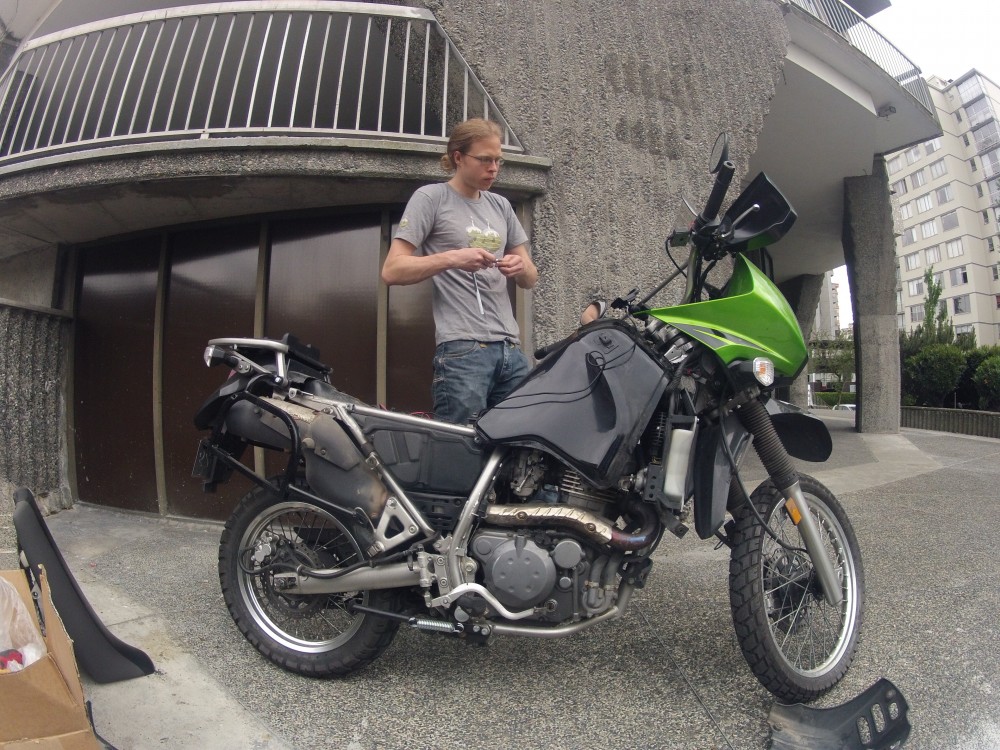
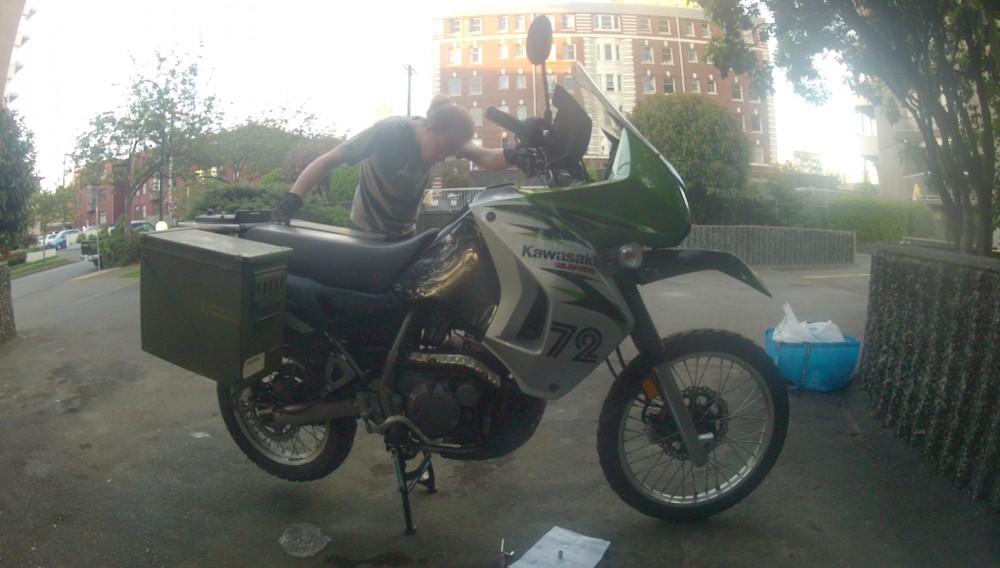
After having found a setup that worked (so-so) I tested the suspension on last time by letting myself fall onto the saddle as hard as possible, set the GPS target to the US border and I was on my way to a new adventure.

vlcsnap-2016-06-30-12h16m45s122

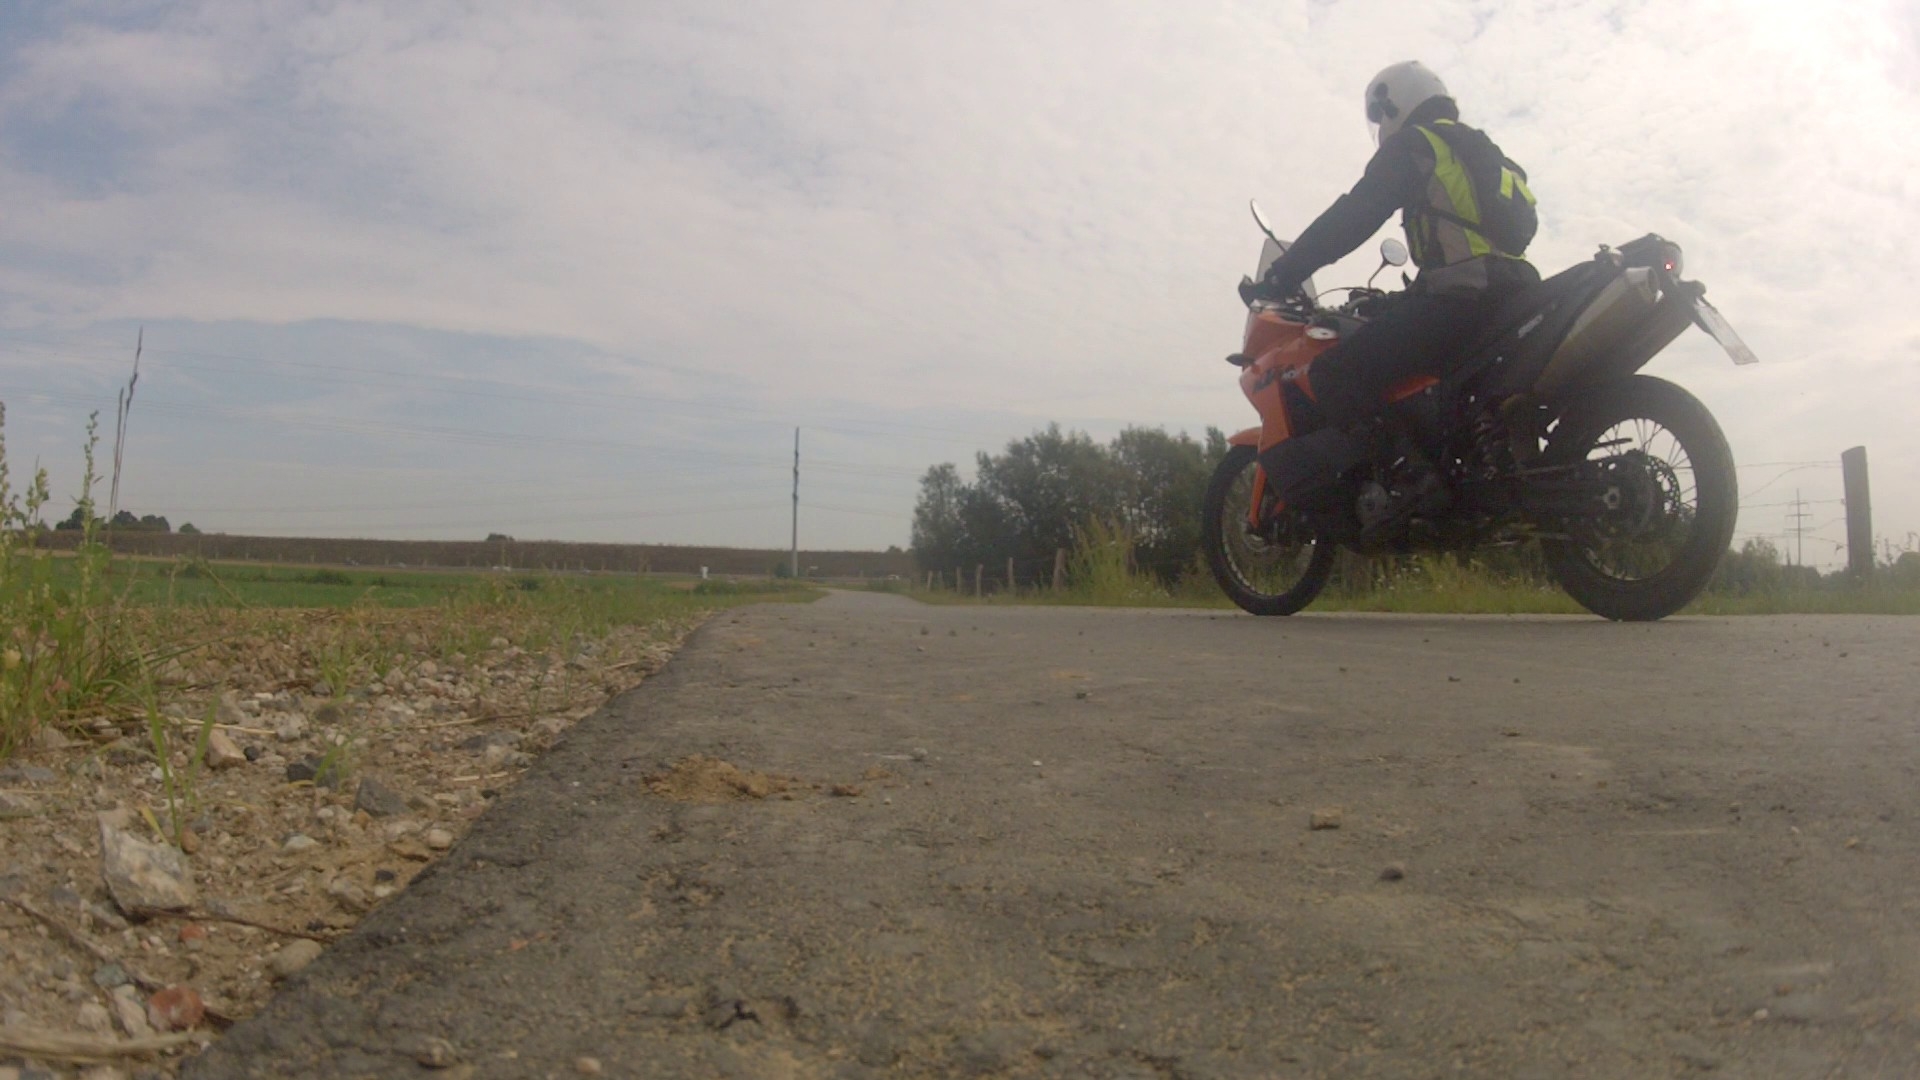
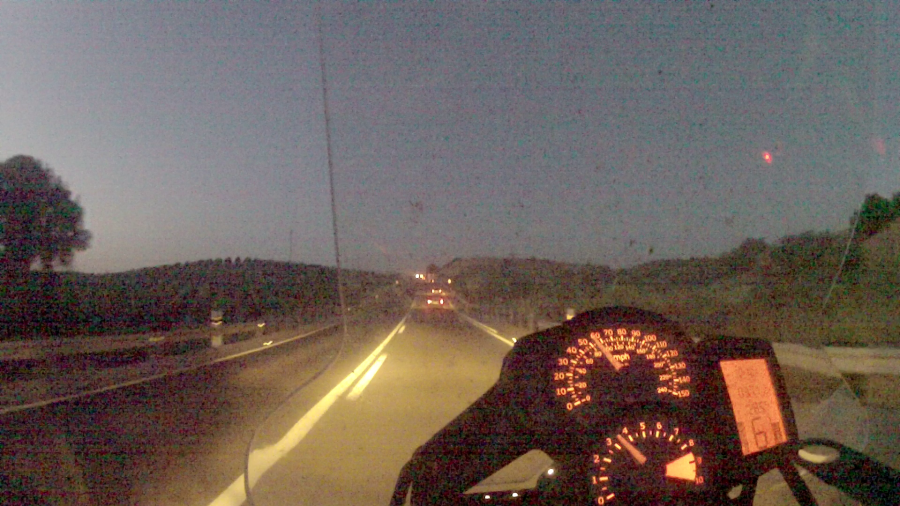
The weather was just semi great (=bad). It was already raining lightly and it was supposed to get worse. In anticipation of a wet first day I had already started the trip in my full rain gear and all warm layers just to be safe. Once you are caught in the rain there is no quickly slipping into another layer. It’s too late by then you’ll be wet.

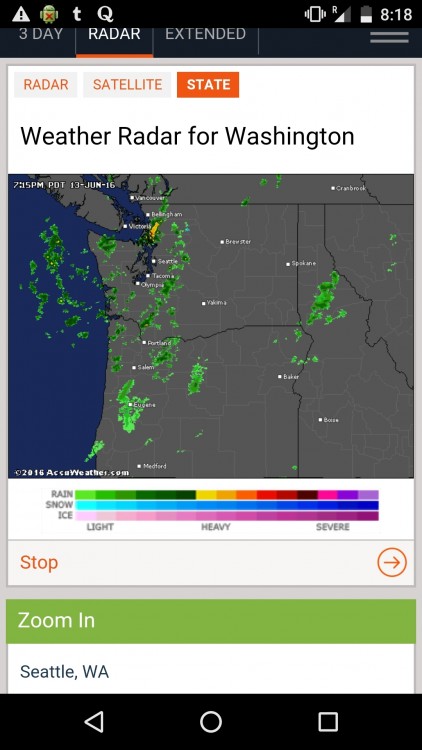
The weather report promised heavy rain once I would cross the border.

Screenshot_20160613-201859

Luckily that didn’t prove to be true so after crossing the border I took a little break to take off my weather armor. It’s not the most comfortable feeling to be stuck in so many layers which really restrict your movement.

vlcsnap-2016-06-30-12h02m03s053

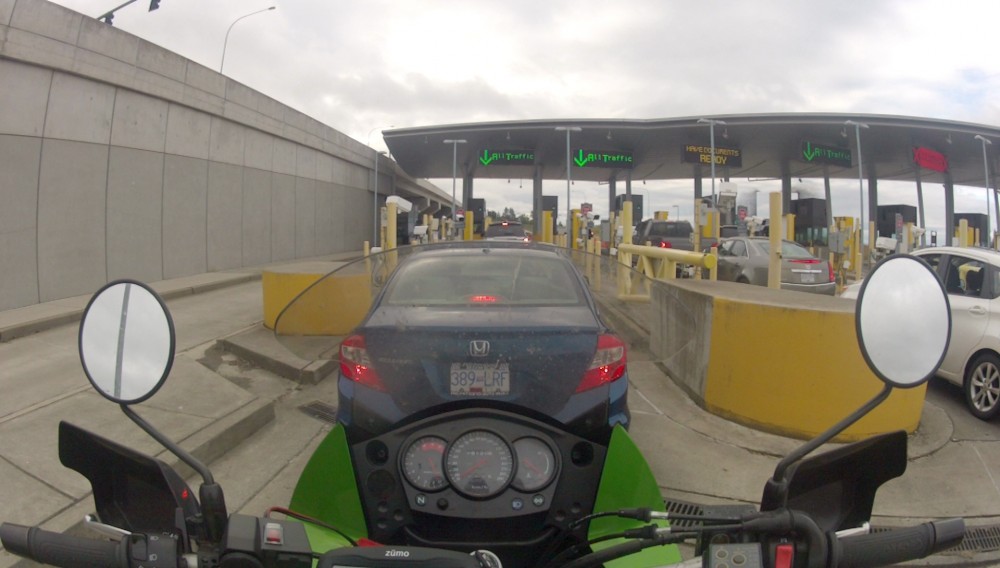
All along the way I had kept a close eye on the suspension trying to get a feeling for how bad things really were. I had now done a few docents km and reached the conclusion that there still was some suspension travel left. So little that I would feel every bump but not too little to be overly concerned. In fact I became confident enough that I actually decided to turn around to go get my DSLR camera. Everybody who knows me knows that not having a camera is a real problem for me so I didn’t think about it twice. Luckily the border is quite close and I only lost two hours until I was back again in the US and on my way towards Seattle.

vlcsnap-2016-06-30-12h04m41s945

Of course I was soon putting my rain gear back on because the weather started getting bad again.

Not a second too soon.

vlcsnap-2016-06-30-12h09m04s456

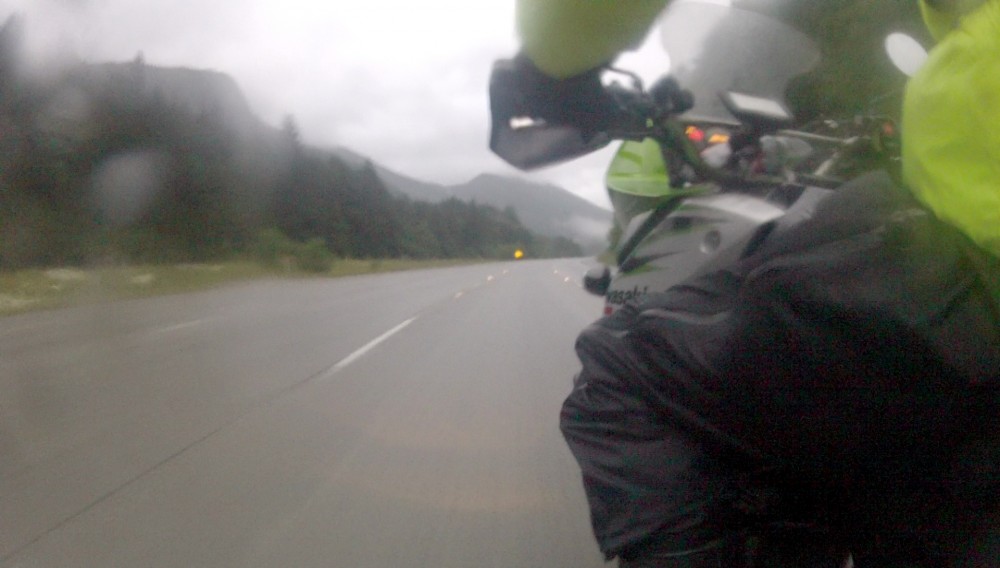
When planing my trip the only thing that had worried me was whether the time frame I had for it was a little too early to have good weather throughout. Now it seemed like that was the case. But since there wasn’t any point in complaining I kept pushing on to get as far as I could across the mountain pass I was now on. It was the reason for the drastic change in weather. Within 20 minutes I had climbed from sea level to 1000m.

Luckily I didn’t need to stop for gas very often thanks to the KLR’s gigantic 23 liter fuel tank. The gas prices weren’t too inviting anyway.

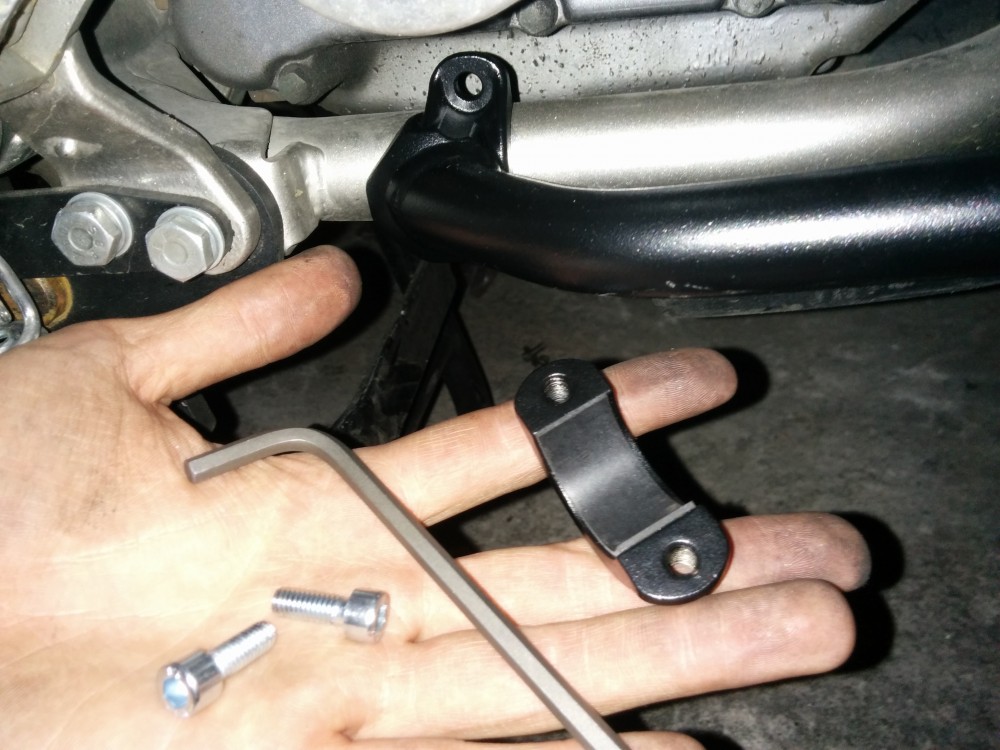
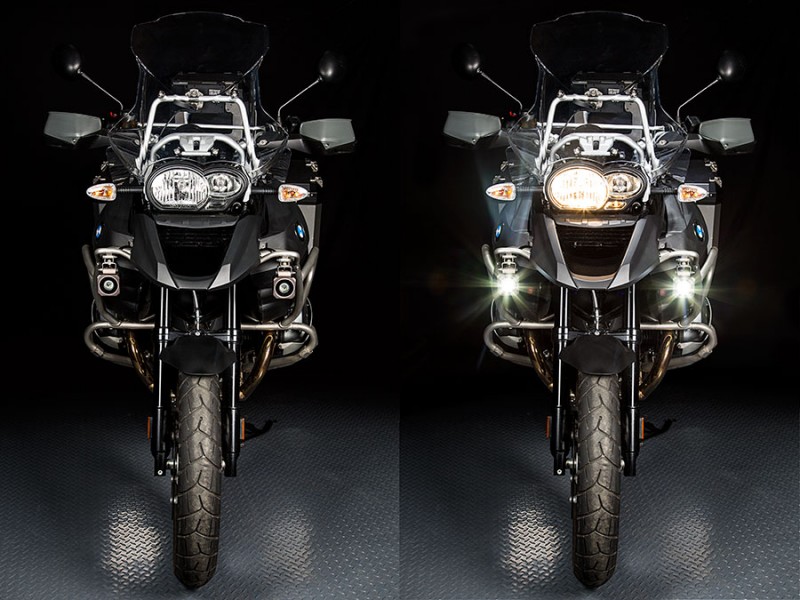
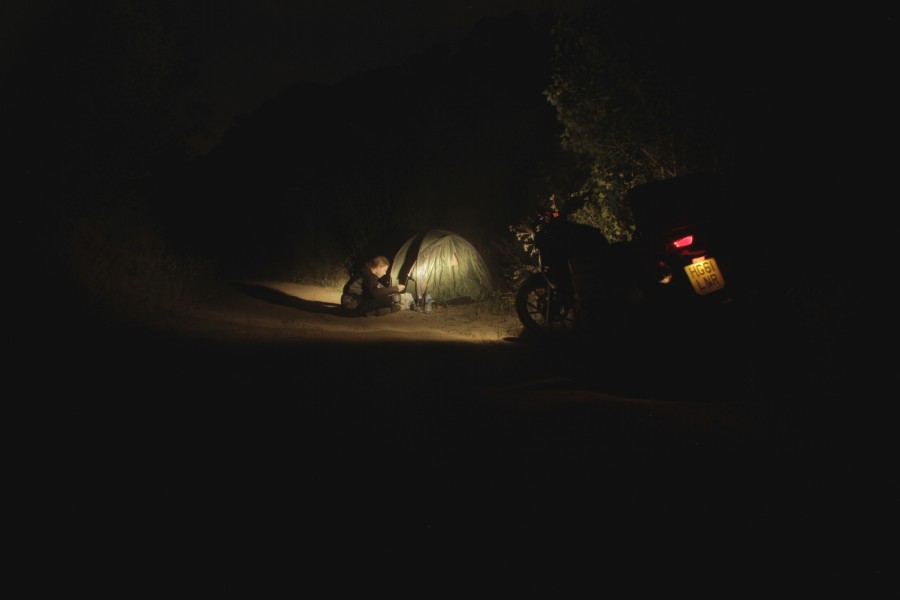
I was now looking for a camp site in the pouring rain and to my surprise I found one not too far off the main road after a kilometer of pothole filled dirt road. I wished I had already had my auxiliary lights installed to help me see in the dark. Especially because the heavy load on the rear of the bike lifted the angle of the regular lights. Of course the lights should be adjusted after packing the bike but I didn’t think about this before I left. I would have had to take the bike apart too and I didn’t have time for that on the trip. Especially not now.

The camp site I had found was not what a European would expect from a camp site. In Europe camp sites are usually fenced in, with facilities, probably a power outlet, maybe even a kitchen, and certainly somebody to welcome you and take your payment. Avoiding this was the reason I chose wild camping in Spain but to my delight there was no choice here. This camp site was just a road branching off in the forest and a hand full of clear spots marked with little numbers on wooden signs. You were supposed to take an envelop from a sign post at the ‘entrance’, providing your details, put the fee in it and deposit it in a letter box. Then you would just go and pick any spot and put up your tent. Very simple. I liked that. So I chose a spot -I was the only one there anyway-, put my bike in front of the particular space I wanted to put my tent on and started pitching it in the light cone of my headlight. It was still raining so I felt a bit miserable but having done this a few times before it only took 10 minutes to set it up and soon I was laying in my dry comfy sleeping bag falling asleep to the sound of the rain pattering on my tent.

Installing crash bars and new wiring

To prepare the bike for bigger trips and heavier off-road use I decided to add crash bars to the frame. Doing that requires the bike to be partially taken apart. Because this is an annoyingly time consuming task I decided to catch two birds with one stone and also work on the wiring of the bike to prepare it for the auxiliary lights I wanted to add later for increased visibility off the road in the dark.

First I had to take off all the fairings of the bike. This is where you can notice the difference between a BMW (expensive) and a Kawasaki (cheap). You have to take the bike apart for everything and they don’t seem to have done anything to make it easier for you.

DCIM100GOPRO

So to access the battery alone you have to unscrew the the luggage rack and the rear fairings. The seat and another cover for the battery. On the BMW I just twisted the ignition key and the seat came off, immediately revealing the battery. Looking at the bright side it is really difficult for any unauthorized person to temper with the internal elements of the bike.

DCIM100GOPRO

Imagine you just want to ‘quickly’ check the voltage of the battery..

DCIM100GOPRO

Anyway once that was done I took of the front fairings …

DCIM100GOPRO

… and the skid plate that protects the underside of the engine.

DCIM100GOPRO

The bike started to get lighter.

DCIM100GOPRO

The last element I had to take off was the gas tank. To do that I needed to disconnect the fuel lines from it.

DCIM100GOPRO

After finally taking off the tank the real work could begin.

DCIM100GOPRO

The KLR doesn’t really offer much room for altering the electrical elements.

DCIM100GOPRO

But I managed to keep everything compact so that I could put the tank back on.

DCIM100GOPRO

Now I could start with the installation of the crash bars.

DCIM100GOPRO

The bars connect to existing bolts that keep individual frame elements together. They needed to be taken out and longer screws put back in in their place so that they would secure not only the frames elements like before but also the added crash bars. These original bolts are fastened with extreme force so the bike doesn’t fall apart on the road due to the intense vibrations that can otherwise easily loosen a screw. So to loosen these bolts I applied a big amount of force thus actually breaking my bit socket before the first screw came loose.

IMG_20160703_183015

This was the last weekend before my next big trip and I had to get this work done quickly so I went to the home depot (‘Obi’ in Austria) and got a set of Allen keys. These ones would certainly not break as easily and would allow me to apply even more pressure due to the leverage they provide by their shape alone.

IMG_20160612_134937

Finally the bars were mounted.

IMG_20160612_115700

I reattached all the parts I had taken off before. Besides the added protection this new setup would now provide me with a place to mount auxiliary lights.

IMG_20160612_121712

Now the KLR was ready for adventure.

IMG_20160612_141515

Oil and filter change

A little while ago I had noticed that the oil level on the KLR was extremely low. I hadn’t checked it much previously because I didn’t think it would be necessary after just a few hundred kilometers. The 2008 series of the Kawasaki KLR 650 however is known for burning oil like crazy and despite the previous owner claiming that this particular example does not suffer from this condition it turns out it very much does.

IMG_20160430_202455

Driving with low oil is of course very dangerous and can lead to damaging the engine and possibly locking up the piston(s) and as a result the rear wheel while driving. On a motorcycle that wouldn’t be exactly great. So the engine needed more oil. The gauge on the engine block shows empty but simply adding fresh oil is not a good idea. There is always some old oil left in the engine block. Much more than what the gauge might lead you to believe. On the one hand that means that possibly the situation is not as bad as it looks and you might still be able to drive but on the other hand it also means the remaining oil has to come out before adding fresh oil. The oil consistency and quality degrades under the extreme stress in a running engine and again would eventually clog up and damage the engine if it was left in there and just filled up with additional fresh oil.

So the proper procedure is to always drain the engine completely and refill it with (in this bike’s case 2.5 liters of) fresh oil. From time to time the filter which assures the cleanliness of the oil in the engine should also be replaced with a new one. Since I had no idea when the filter had last been changed on this bike (if at all) I decided to do that too while I’m at it.

I used an empty laundry detergent container to catch the oil from underneath the bike after screwing off the plug at the underside of the engine.

DCIM100GOPRO

After a few minutes the flow had reduced to a trickle and eventually stopped completely. Just like honey the oil flows easier when it’s warm because it gets thinner so it is a good practice to run the engine for a few minutes before an oil change. Not too long though so you don’t burn yourself when you open the cap and it starts flowing all over your fingers which is almost unavoidable.

IMG_20160430_203556

Next I took off the cap on the side of the engine that revealed the filter and removed it.

IMG_20160430_204603

I cleaned the filter barrel (not sure what it is called) …

IMG_20160430_204812

… lubricated the new filter with fresh oil …

DCIM100GOPRO

and put it back into the barrel.

IMG_20160430_213134

The last step waso t close the barrel again …

IMG_20160430_213419

… and put 2.5 liters of fresh oil into the engine via the opening on the top right above the clutch compartment. As you can see the little gauge at the bottom of the engine is now filled to the top line again.

IMG_20160430_214609

New motorcycle and center stand install

I decided to get a Kawasaki KLR 650. The cheapest powerful enough dual sport bike on the market. As you can imagine it’s balance between power, quality and cost. But it does what it is supposed to do and has proven itself over the past two decades during which this model has only gone through one major update which to a large degree was a cosmetic one. Never change a running system Kawasaki probably though. It’s the most popular dual sport bike in North America.

My brother (who also lived in Canada until recently) had a KLR and since he happened to move I was in luck and ‘inherited’ his bike.

Motorcycle insurance is stupidly expensive in British Columbia. It’s so expensive that if you were to get full comprehensive coverage for two years you’d be better off buying a new (used) bike every two years. The cost drop by 80% (!!!) if you have had your car drivers license for 10 years (I still need 3 more years). Yes, don’t ask me how that makes sense.

vlcsnap-2016-05-15-02h43m21s638

My brother had bought old (empty!) ammunition cans from the US and mounted them to the bike as panniers. They are just the right dimensions, surprisingly sturdy and even water sealed. Just a lock is missing but there’s a solution for that too.

vlcsnap-2016-05-09-18h08m25s069

To get the bike ready for adventures I installed the SW Motech center stand he had gotten but not yet mounted. Having a center stand is crucial for maintenance work on the road like changing tires, changing the oil, adjusting/changing chain and sprockets,…

vlcsnap-2016-05-08-19h26m49s056

The procedure was simple. I took off the foot pegs on both sides to put two mounting plates between them and the frame which would serve as attachment points for the stand.

vlcsnap-2016-05-08-19h22m01s708

vlcsnap-2016-05-08-19h30m21s108

vlcsnap-2016-05-08-19h32m19s112

This was quickly done and the only thing left was to attach the two springs which keep the stand off the ground when the bike is not currently sitting on it.

vlcsnap-2016-05-08-19h36m51s343

To lift up the weight of the bike there is a leaver on the stand on which you can place your foot and put your whole body weight on it while simultaneously yanking the bike up and backwards with your right hand.

vlcsnap-2016-05-08-19h40m36s019

With the necessary force and leverage the bike slides back lifting the rear wheel off the ground. And because the stand is almost exactly in the middle it is also possible to easily tip the bike to the back to access the front wheel allowing maintenance on both wheels.

vlcsnap-2016-05-08-19h39m23s432

Changing chain and sprockets

The weekend after my chain had snapped I went about changing it.

vlcsnap-2015-11-23-11h44m30s150

I started by loosening the screw of the front sprocket. To do that I put a broomstick with cloth wrapped around it through the rear wheel. It stops the wheel from turning when you yank on the front sprocket screw to get it to loosen while in neutral. You could also stop the wheel from moving by putting the engine in gear but that can damage the gears inside the engine once you apply pressure on the sprocket screw.

vlcsnap-2015-11-23-11h49m11s223

To be able to get more leverage and for using the right amount of torque once I put the screw back on I got a torque wrench. Though only to find out that the previous owner or probably rather the shop I had bought the bike from hadn’t fastened the front sprocket screw properly and it came lose without applying too much force. According to specifications it is supposed to be a huge effort to get that screw off. After all its what keeps the chain from flying off.

vlcsnap-2015-11-23-11h46m26s17

Next I loosened the rear wheel axle bolt to be able to push the wheel a bit towards the front to loosen the chain and give it some play to handle it.

vlcsnap-2015-11-23-11h49m33s60

With a chain breaker tool I went about breaking the connection of one of the chain links. This physically destroys the chain and is what is needed to get the chain off. I It works by driving a little rod through the chain link pushing out the rod that connects connects the two links.

vlcsnap-2015-11-23-11h54m10s30

I had read that this was a considerable effort and these tools were built so poorly that they too often get destroyed in the process.

The rod just didn’t want to move so I used a leaver to apply more force.

vlcsnap-2015-11-23-11h58m03s53

Thus breaking the chain – and the tool.

vlcsnap-2015-11-23-11h59m51s118

But I had achieved what I wanted, the chain was free and I could take it off.

vlcsnap-2015-11-23-12h00m08s28

I now went back to the front sprocket which I noticed had gotten rusty over the years and was now fused to the shaft. A little WD-40 took care of it …

vlcsnap-2015-11-23-12h01m41s207

… and I could put on the new sprocket.

vlcsnap-2015-11-23-12h02m59s199

Next I took off the rear wheel to be able to access the rear sprocket.

vlcsnap-2015-11-23-12h05m12s14

I loosened the screws which keep the rear sprocket connected to the base which connects to the wheel.

vlcsnap-2015-11-23-12h08m39s20

The last step before attaching the new chain was bolting on the new rear sprocket. The new set of sprockets had a different gearing ratio. The rear one had one less tooth than before (thus making it a little smaller in diameter) and the front one had one tooth more so it was even again. This means that it doesn’t make a difference for the chain length but it makes one for the bikes handling. Less teeth on the front sprocket (and more on the rear) basically give you more power when accelerating from lower gears. This is also good for driving off road because you have more power for say starting on a steep hill or trying to slowly roll over a big rock under your wheel. In turn more teeth on the front give you less power for acceleration but more for driving faster at higher gears. So for me this was actually a step in the wrong direction but it was back to stock specification. And since I was planing to sell the bike anyway I didn’t mind that.

vlcsnap-2015-11-23-12h11m21s94

What I did mind however was that when I put the screws back into the new sprocket’s holes I realized that they were the wrong diameter. 10mm screws vs. 8mm holes. At the shop I had bought the sprockets from they told me that these were the (only) ones for this bike. I had asked three times to really make sure. Apparently they were wrong.

vlcsnap-2015-11-23-12h16m45s33

It took two weeks for the new parts to arrive so on another cloudy weekend I continued with the maintenance. This time the new rear sprocket fit perfectly.

IMG_20151010_173409

I screwed it on and reattached the wheel and the break caliper.

vlcsnap-2015-11-23-15h38m27s170

Finally I wrapped the new open chain (it’s not actually a loop yet) around the two sprockets. I took the single separate chain link that came with the otherwise connected chain and attached it with the supplied gaskets.

vlcsnap-2015-11-23-15h49m53s150

Now the only thing left to do was to rivet the two ends of the newly connecting link to the ends of the chain. This could be done with the same tool used to break the chain. After much fiddling around I got the strange contraption to work even though everything about it felt wrong, as if it were to break the chain and the tool (again).

vlcsnap-2015-11-23-15h27m29s22

Lastly I fastened all bolts on the rear…

vlcsnap-2015-11-23-15h33m49s240

… and the front …

vlcsnap-2015-11-23-15h34m50s91

… and gave the new setup a try on the center stand.

vlcsnap-2015-11-23-15h40m14s12

To my delight the horrible sounds the old chain had been making were gone and later on a first test drive I could feel the bike accelerating, decelerating and shifting smooth as butter once again.

Maintenance

Since I bought my BMW F650GS Twin 8 months ago I had been riding it for 15 000 miles. During that time the maintenance I performed on it was limited to lubricating the chain and checking individual parts for wear. The dry Spanish summer was a strain on the bike overall but particularly on the chain. In hindsight I believe I should have lubricated it a lot more often than I did. Towards the end of my trip the bike didn’t perform as well as it should have. There was a strange noise coming from the chain as soon as it moved. Accelerating was only possible with much sensitivity on throttle and clutch as a regular immediate acceleration had become impossible without the chain yanking on the gears due to the fact that the chain had started to stretch – unevenly. That meant that I could not simply keep widening the gap between the front and rear sprockets by moving the rear wheel more and more to the back to compensate for the longer chain. So as a result of the unevenly stretched chain links the chain was jumping up and down dangerously when accelerating and decelerating, sometimes even skipping a tooth on a sprocket.

An old or even damaged chain usually damages the sprockets as well. Only changing one of the elements of this little ecosystem means that the unchanged ones will war down the new part very quickly.

A few days after I had received the parts I had ordered I was driving home from work late at night when the inevitable happened. On a little hill at just over 20km/h I heard and felt a tension on the engine building up and suddenly being released. I immediately lost all power and no matter how much I twisted the throttle I was not accelerating. Luckily the street was empty I had just rolled towards a red traffic light. I glanced down onto the chain and saw that one of the double sided chain links had snapped and the chain had jumped off both the rear and front sprocket.

(Photos taken after the fact.)

IMG_20151010_145650

IMG_20151010_115802

Unlike a bicycle chain it should be impossible to lift the chain off the rear sprocket. About a millimeter is OK. With great effort I got the half broken chain back around the rear sprocket but it didn’t want to stay on. This should not be possible:

IMG_20151010_144811

Luckily I was just 500 m from home at that point so I pushed the bike up the little incline and to the parking lot. It was time for some bike maintenance.

KTM 990 ADVENTURE test ride

Having settled into my new home in Germany I went for a test drive with a KTM 990 Adventure, the bike I am thinking of switching to. KTM is known for its off road capable bikes and the 990 Adventure is one of its flagships. A week earlier I had visited KTM Frankfurt to take a look at the bikes they had and I found a used but overpriced model which I decided to take a test drive with.

As soon as I got on the bike I noticed that not only did it look quite different, it’s a completely different seating position. A very different seat altogether and the bike is much taller so getting on is different too.

vlcsnap-2015-09-12-16h08m51s233

I started the engine and lifted my feet off the ground for the first time, realizing how extremely light the bike seemed even though it’s actually heavier than the BMW F650GS. Its center of gravity is a lot higher which creates the feeling that it’s lighter and easier to tip to the side. However that also makes it more unstable and more difficult to balance especially with a lot of luggage on the rear.

vlcsnap-2015-09-12-16h06m39s213

The reason everything is higher and taller on this bike is that this is what you want for off-road riding. Ground clearance and suspension travel are what differentiates these types of bikes from street bikes. Same wit the wheels. The KTM has bigger wheels which make it easier to travel across uneven ground. But it’s less desirable for cornering and going fast which is why racing bikes have comparatively small wheels.

I inspected the bike thoroughly. It looked in decent condition except for some rust on a few parts and a scratched exhaust.

vlcsnap-2015-09-12-16h06m52s87

The KTM felt a lot more responsive than the BMW. The slightest movements changed the balance and direction I was going. (It felt a little like using a computer mouse with increased speed settings). Apropos speed, I immediately felt the bigger engine. The 200 additional ccm made a world of a difference. There was so much power at my disposal. It accelerated much quicker than the BMW but I also didn’t have any luggage on the KTM which added to the effect. Even in the higher gears it felt like there was always more room for more throttle even when I really didn’t need any more. I never felt like I must be close to the end of a gear. First the quick power felt uncomfortable because again it felt so nimble and sensitive to the slightest twist of the throttle but I quickly got used to it.

vlcsnap-2015-09-12-16h09m14s220

The dash is neat and tidy with a built in cigarette lighter as any adventure rider would want. The only thing that surprised me was that I couldn’t see any gear indicator. Not a big deal but I assumed that all modern bikes nowadays had one. Even my two years older BMW had one.

Moving on to the handle bar, unlike the BMW the KTM didn’t have heated grips but I was delighted to see that the turn signal control was a one button switch to control both sides like on every other bike in the world except on BMWs.

I went off the main roads to find a spot to get a little more familiar with the bikes handling.

vlcsnap-2015-09-12-16h05m01s248

It was a surprised to realize that standing up on the foot pegs actually felt little different from my BMW. If I were to get the KTM I would definitely need to get handle bar extenders. Basically two metal plates that raise the handle bar a few centimeters which can make a big difference and for off roading being able to stand up is important.

vlcsnap-2015-09-12-16h02m25s176

After a bit of experimenting I felt very comfortable with the bike. Overall the light handling was what impressed me most. I wish I also had the opportunity to test the 990 with heavy luggage as it no doubt would change the handling quite a bit.

Reluctantly I returned to KTM and handed in the bike.

vlcsnap-2015-09-12-16h04m33s230

One thing however I didn’t like about the bike. The KTMs two cylinder engine ran nowhere near as smooth as BMWs. I particularly noticed the difference when I got back on the BMW riding home. The engine is smooth as butter. No vibrations on the handle bars or anywhere else. The BMWs Twin engine is said to be the best and smoothest of it’s kind and now I could tell how true that was. It almost felt like driving a car, it’s that smooth. Even the riding position seems more exhausting on the KTM. Which is not a surprise considering the different purpose of the bike. The BMW makes you feel like you are sitting in a cosy armchair while on the KTM you are standing up behind the wheel of a fast motorboat with the vibrations of the engine and the wind against your body. This difference is something I did not expect to this degree. That’s the trade off of being able to keep going even when the road has ended.

All in all my conclusion from this test was that I will most likely not get this particular example of the KTM 990 Adventure (for various other reasons) but I am still set on selling my BMW for a more off road capable bike.

Spain 20 – Gibraltar

I rode through the night for two hours through what appeared like un-populated land on the GPS but the roads lead me through fenced grazing land with “no trespassing” signs. I was about to trespass until I found a little path that only went 30 meters away from the road and didn’t offer much cover but it had to do.

Surprisingly there were huge number of mosquitoes there so I used my mosquito head net and together with my biking clothing I didn’t get bitten a single time. (Maybe though it was actually because they were scared of me because I looked like a nightmare from a horror movie.)

IMG_20150718_001327

In the morning I saw that my location really wasn’t covered very well but like before nobody had noticed or cared about my presence.

vlcsnap-2015-08-08-16h58m47s101

When I was searching for a camp spot I had to rely on the head light of my bike. It’s a strong light but centered on the road. It didn’t illuminate a big area and made the search difficult in the pitch dark night. To make the next search a bit more convenient I adjusted the angle of the headlights a bit so the light would go further ahead. A minor adjustment that did make a big difference.

vlcsnap-2015-08-08-16h57m54s143

However it is still not ideal. I decided that I would get auxiliary lights for my next trip. A great side effect will obviously also be being more visible by other drivers on the road. According to accident statistics the big majority of accidents not caused by a motorcyclist himself are caused by the other driver not seeing the motorcyclist.

auxiliary-led-light-installed-on-bmw-motorcycle-on-off

My next stop would be yet another country. Gibraltar. Gibraltar is just a tiny spec on the coast of Spain and it is part of the UK. The official language is English and the currency British Pounds.


I was just under two hours away from Gibraltar and approached the border in the afternoon after having stocked up my supplies and filled up my tank.

vlcsnap-2015-08-08-16h59m47s167

vlcsnap-2015-08-08-17h00m06s152

Contrary to what I had been told the border crossing went very fast without any waiting time whatsoever. I felt right at home with my British license plate.

vlcsnap-2015-08-08-17h01m42s58

Gibraltar is basically just a big rock. There is very little space which makes for a very interesting dense city/country layout. The main road of the country that leads from the border to the center is shared between cars, motorcycles, bicycles, pedestrians – and planes. An airfield goes straight through the road. It’s not a little one either. It’s a full scale runway. When a plane is approaching or taking off traffic is closed until the last pedestrian has left the road (which sometimes takes a while) and then air traffic occupies the road for a few minutes.

vlcsnap-2015-08-08-17h03m11s195

My trip to Gibraltar had one particular purpose. Seeing the monkeys of Gibraltar. The only place in Europe where monkeys are native in the wild. I was told that this is from a time when Africa was still connected to Spain. The monkeys live up on the rock so you have to either walk, drive or get the cable car to get to the top. Although as far as I know you can’t actually go all the way to the top.

_MG_4182

I chose the road which was not for the faint of heart. Very narrow and with a deep drop on one side it did however offer a great view.

vlcsnap-2015-08-08-17h09m45s25

IMG_20150718_163826

In fact the unique look and flair of these roads would be worthy of a Bond action sequence – which they were. In “The living Dailights” Bond (Timothy Dalton) is parachuting from a plane onto the mountain to find out that the training exercise he is part of took a deadly turn.

Parachuting over Gibraltar

(You can see the same mountains in the background as in my photo above)

Landing in tree

The_Living_Daylights_stills_11197

Half way up the mountain I found what I was looking for.

_MG_4286a

_MG_4193a

vlcsnap-2015-08-08-17h21m18s33

_MG_4095a

The Monkeys are used to people and come close if you are in their path. I had been told to be careful with my belongings as they are known to borrow tourists equipment they fancy. But I had no problem. I watched the monkeys for an hour and then kept going up as far as I could. The highest accessible point for non doubble-0 agents is the entrance of a cave system that was dug into the mountain centuries ago to fight against the Spanish and other threats in multiple battles.

The caves were not very tall.

_MG_4310a

They had multiple window like openings to the face of the mountain where cannons were placed making it an ideal battle station position. From these holes in the walls you can see all of Gibraltar – and I am not even exaggerating. Spain begins roughly at the top half of the photo.

_MG_4396

You can see the main road intersecting the runway on the left. The busy field on the bottom is the cemetery. People of all religions are burried right beside each other for lack of space. Considering how tiny the country is there is a huge amount of football fields. I counted eight.

After visiting the caves I ate my dinner at the top and took in the beautiful view.

Exiting the country a little while later I regretted having filled up my tank before entering as everything turned out to be extremely cheap here. I think the taxes are a lot lower if there are any at all..

I was back in Spain and heading for Sevillia.

vlcsnap-2015-08-08-17h39m56s235

Spain 4 – Montserrat

The next morning I was woken by cow bells. They were still distant but they had not been there the day before. Still drowsy I noticed them getting louder and louder. Determined to not be surrounded by an angry farmer and his (angry?) cows I packed my things quickly with the aim of finally reaching Barcelona that day. The roads continued to be very well maintained or often brand new.
Along the way I saw great rock formations close to the road. The colour of the rocks had shifted from saturated yellow to an extremely saturated orange. There were many monasteries, castles and other interesting sights close to my rout but I didn’t have the time to make detours. I only wanted to stop for whatever was visible from my rout like this old church.

IMG_20150701_114133

It lies on a steep incline which I didn’t think was climbable by a vehicle. Turns out it was and I was going straight up through the tiny village with it’s seemingly random maze like arrangement of little lanes which were really only from one corner of a house to the next.

vlcsnap-2015-07-02-12h27m40s250

On one occasion a dumper came down the steep road that I was just going up. I took my hand off the throttle and hit the front break but I just slid down the little road with the front wheel locked. It was so steep that I had lost all grip. Luckily I kept my balance and the lane was so short that I could slide right onto the next lane behind me to my right.
My schedule was tight so after having reached the highest point accessible by vehicle I got back onto the main road and continued my journey to Barcelona.

Whenever there was a little off road path that looked promising I checked it out.
This was also a precaution in case my plans changed for whatever reason and I had to set up camp.

vlcsnap-2015-07-02-12h37m50s31

Finally I was just one hour away from Barcelona. On hour meant that there were signs on the motorway informing me about a possible detour to Montserrat right next to the motorway. At that point I felt I had enough time to go for an opportunity like that and took the next right. A mile into the road it split and since the main road went left I continued left. I saw many little trails off the road and followed a few. Many of them were leading around the hills revealing a great view of the city of Montserrat.

vlcsnap-2015-07-02-12h43m39s208

That particular path actually turned out to be particularly interesting. It was just lose pebbles and offered almost no grip at all.

On an unsuspecting looking decline the inevitable happened. I had hit the breaks (softly) but it was still too much. I slid, lost my balance, tilted to the left and dropped the bike.

vlcsnap-2015-07-02-12h47m33s228

Riding offroad this is bound to happen and it will happen again, especially with a bike loaded this heavy. That’s why there are engine guards, skidplates and handguards available for offroad capable bikes.
Physically I was completely unaffected by the drop. Not even a strained muscle from jumping off. And the bike? Almost unaffected except more scratches to the left pannier – the one that still hasn’t been swapped during the insurance paid repairs from the taxi driver caused drop. So there is no damage once this element gets swapped. The bike is buillt pretty smart in that it only ever hits one pannier and the footpeg when it goes down. The footpeg is built so well that not even BMW saw a reason to swap it (and earn money by doing so) after the taxi driver drop and this time it also is completely unscratched.

So how you lift up an over 600 pounds heavy bike?
I was 99% sure it wasn’t going to work fully packed but I had to give it the obligatory try.

Nope. Most everything attached to the bike had to come off. I didn’t rush it and took one step at a time.

vlcsnap-2015-07-02-12h48m41s88

After the accessible pannier and the topbox were off I gave it another try but I was still unable to lift it even a little bit. So I took off the rest of the accessible luggage. This time it had to work. Luckily I had been in first gear when I dropped the bike. That way with the engine off the bike can’t start rolling immediately once you push against it to lift it. If you lift a bike that has fallen to it’s right then you can hold the front break leaver to keep the bike from starting to roll away from you backwards in a circular motion but if you lift a bike that has fallen to it’s left then pulling the break leaver is hardly possible while pushing it up because usually you can’t just pick it up like a bicycle on both sides of the handle bar. That’s why it is good to be in gear because then at least the rear wheel won’t move. Unfortunately of course you might not have access to the gear leaver which is on the left side.. This basically means dropping it on the right: you have all possibilities to help yourself, dropping it on the left: well don’t. It will be difficult.

Anyway at that point it was easy and I could lift the bike up, put it on the side stand and inspect the damage.

vlcsnap-2015-07-02-13h02m06s240

vlcsnap-2015-07-02-13h03m08s14

My only regret after this drop is that I had placed the GoPro three meters ahead of where I dropped the bike or else it would have been on video.

After getting back on I continued looking for the Montserrat main tourist access location to find out what I could see. However I had obviously taken the wrong turn at the beginning where the road had split so instead I was getting onto another motorway. I quickly got off again and stopped at a gas station. Finally the adrenalin rush wore off and I had to sit down on the curb. The heat didn’t help. I was completely spent once again. I went into the shop and got my first ice cream this year. I also got three bottles of water and went back in again to get two more ice cream cones. The petrol station guy thought I was joking when I asked for more. I devoured them on the spot.

vlcsnap-2015-07-02-13h06m41s173

After this break I went back to where the road had split and this time took the right turn.

At a little path off the road seemed to be a place where hikers started their tours on the mountain. I also went for a hike. There were park rangers posted there with their Jeep advising people that it was recommended not to hike that day because of the intense heat resulting in danger of forest fires. So instead of going for a longer walk I just did a 20 minutes hike. Even that was intense during the heat and I saw charred wood and extinguishing water reservoirs along the way.

DCIM100GOPRO

An hour later I was back on the bike and another hour later I finally reached Barcelona. It was getting dark though so I just passed through the center and looked for a nice spot to camp in the outskirts. I found a sandy trail which I gladly took since it was already pitch dark.

_MG_1763

Accident

So, from day one I have been skeptical of riding a bicycle or motorcycle in London. Mostly because of the taxi drivers who drive like they are alone on the roads (just like in any other city). On that Sunday afternoon I was about to turn left on Regent Street just before Piccadilly a hundred meters short of my destination (MPC). With the left blinker on, at only a few mp/h I was lining up to turn left. Slowly rolling up towards the turn after the green light I got hit by a taxi driver from behind causing me to drop the bike.

IMG_20150517_152842

Luckily neither of us was hurt.

IMG_20150517_152822

He hit me at my right pannier. The impact force tilted it 45 degrees against the mounting position. I didn’t think that was even possible. It must have been quite a force but the good thing is that I didn’t feel much of the bump because of this buffer effect. Having panniers probably the closest thing you can get on a bike to haven some sort of crumple zone or bumper. Not only do they protect the rider but also the bike from more expensive damage.

I was coming from where the bus is with the cab driver right behind me kind of like in the picture below with the cyclist and the cab behind her.

IMG_20150517_154657

The taxi driver claimed it was my fault for dropping the bike after him hitting me. I thought he was joking. He tried to convince me not to report it to my insurance because I would be held responsible for dropping the bike anyway – as a result of his mistake crashing into me.. He hadn’t thought this through despite trying to tell me the same thing fifteen times. Besides the broken right pannier and mount the left side of the bike is all scratched up. But luckily after contacting his insurance the next day they very quickly got back to me saying that they will pay for the repairs thus accepting the cab drivers obvious fault.

IMG_20150517_154337

Looks like this was not the first time he had hit something either.

IMG_20150517_154132

I also reported the accident to the police the next day (which I found out you have to do within 24 hours anyway). Interestingly my insurance and his insurance both offered me a hire bike free of charge for the time my bike will be at the mechanic. Initially my insurance wanted to pick up the bike and bring it to Birmingham for repairs since they have their headquarters there and their own mechanic. But they agreed to let me bring it to BMW in London to get it fixed which makes it a lot easier for me to keep track of things. After getting an estimate of the repair costs I’ll send them to the cab drivers insurance I hope everything will be sorted out quickly so I can still do my Spain trip.

All in all there wasn’t anything I could have done differently to prevent the crash which is a bit comforting at least. Most people I know who ride bikes/motorcycles in London all have had either a few close calls already or accidents so I guess I can only hope for the best in the future – and maybe try and avoid cabs as best as possible.