To prepare the bike for bigger trips and heavier off-road use I decided to add crash bars to the frame. Doing that requires the bike to be partially taken apart. Because this is an annoyingly time consuming task I decided to catch two birds with one stone and also work on the wiring of the bike to prepare it for the auxiliary lights I wanted to add later for increased visibility off the road in the dark.
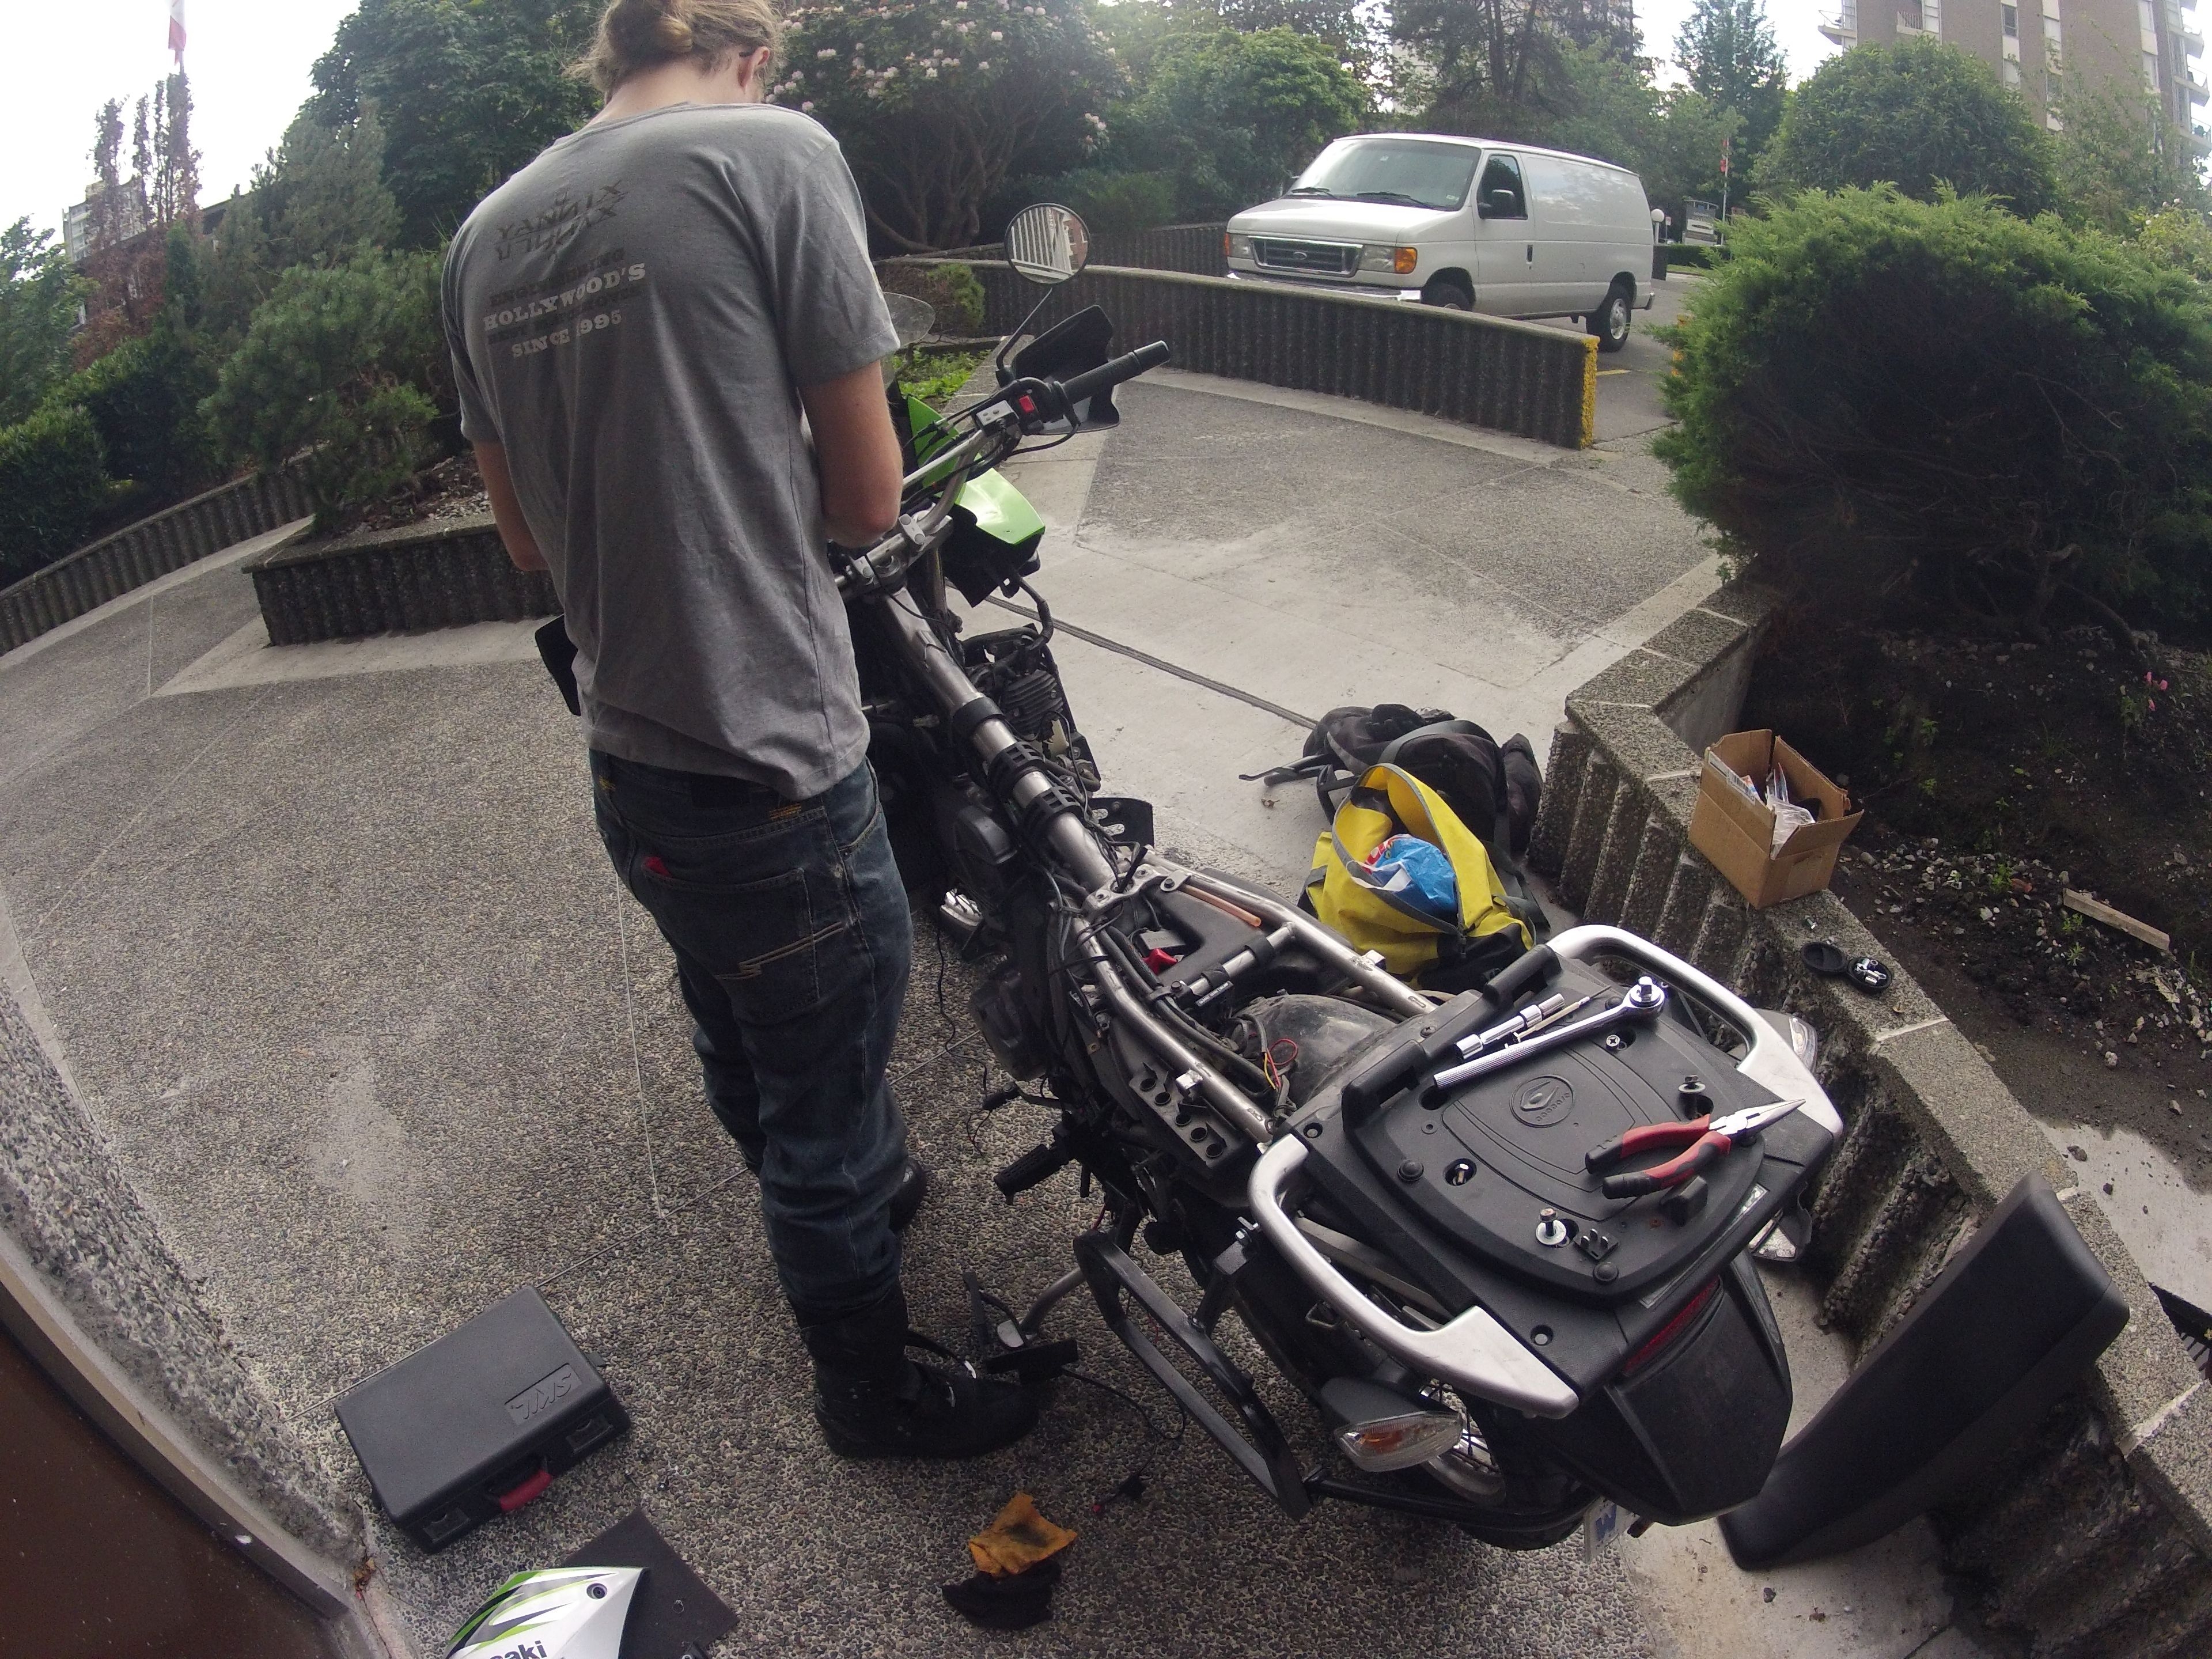
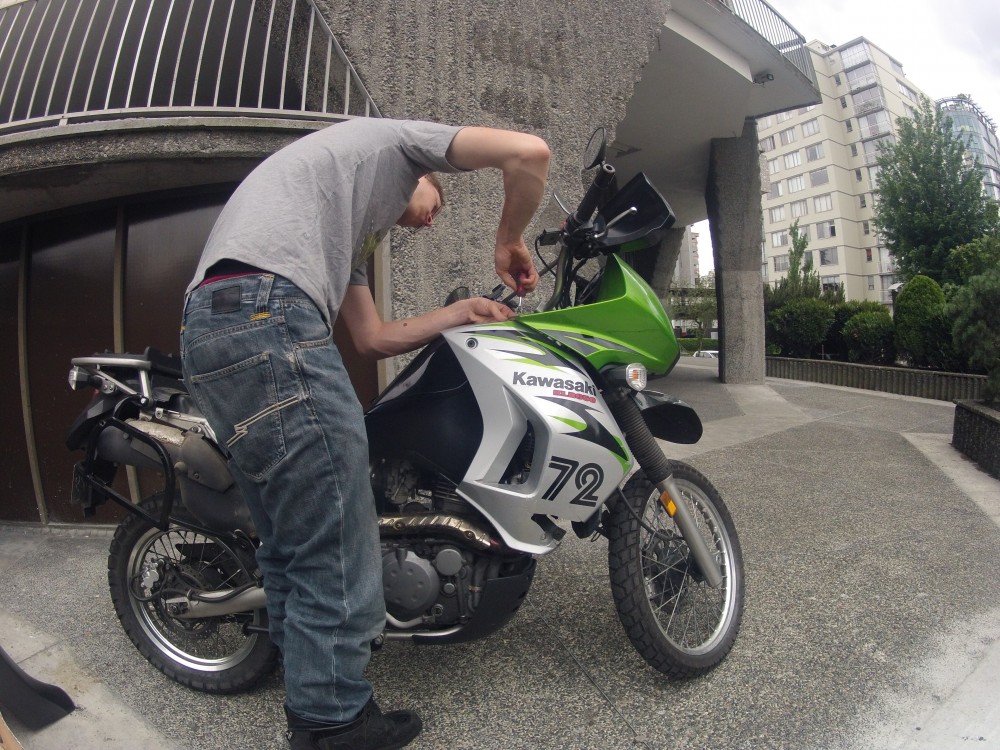
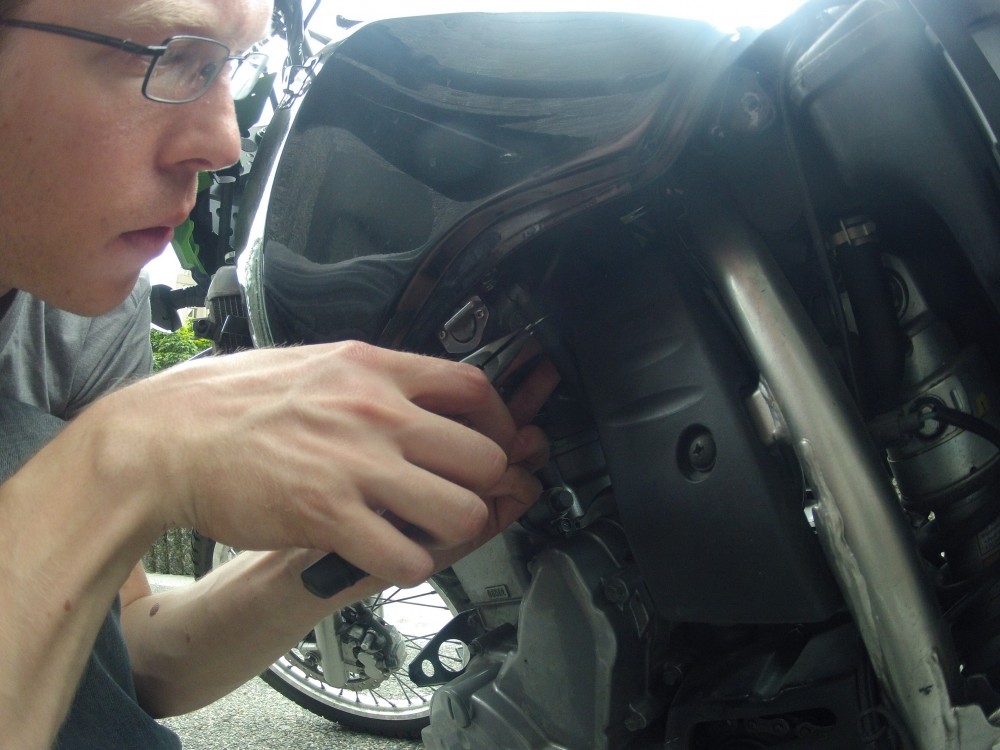
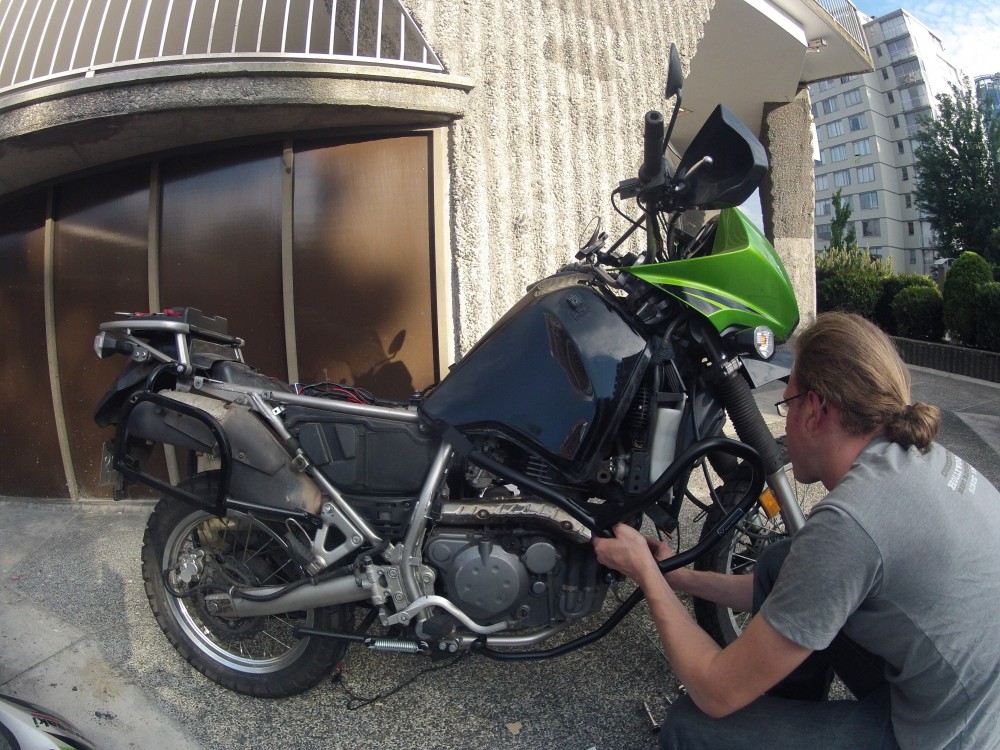
First I had to take off all the fairings of the bike. This is where you can notice the difference between a BMW (expensive) and a Kawasaki (cheap). You have to take the bike apart for everything and they don’t seem to have done anything to make it easier for you.
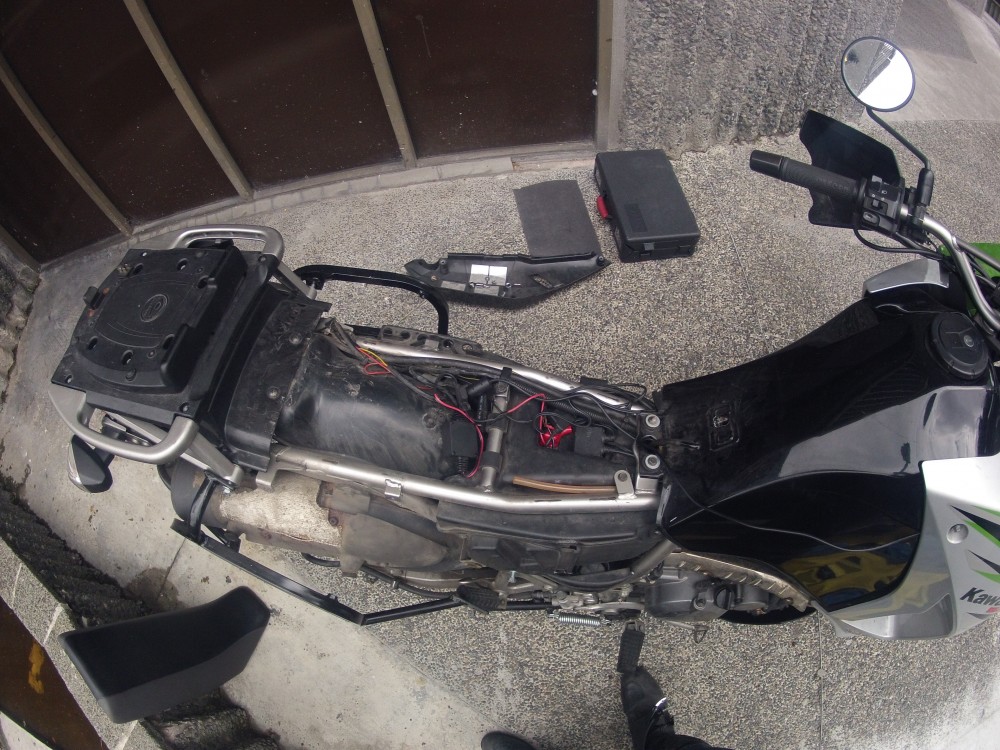
So to access the battery alone you have to unscrew the the luggage rack and the rear fairings. The seat and another cover for the battery. On the BMW I just twisted the ignition key and the seat came off, immediately revealing the battery. Looking at the bright side it is really difficult for any unauthorized person to temper with the internal elements of the bike.
Imagine you just want to ‘quickly’ check the voltage of the battery..
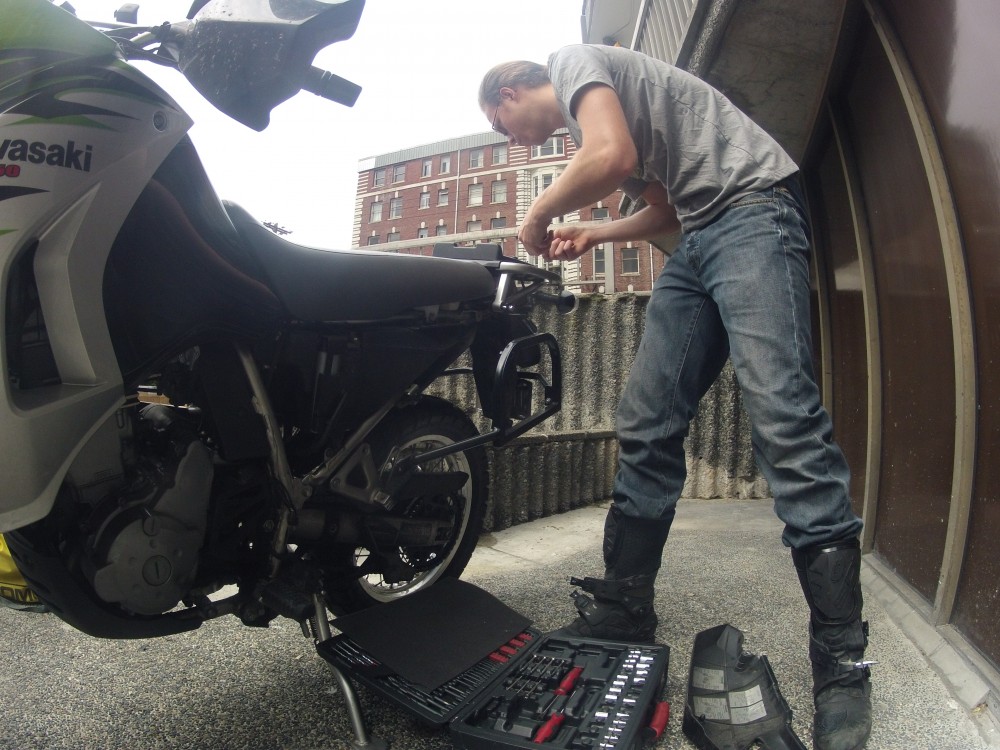
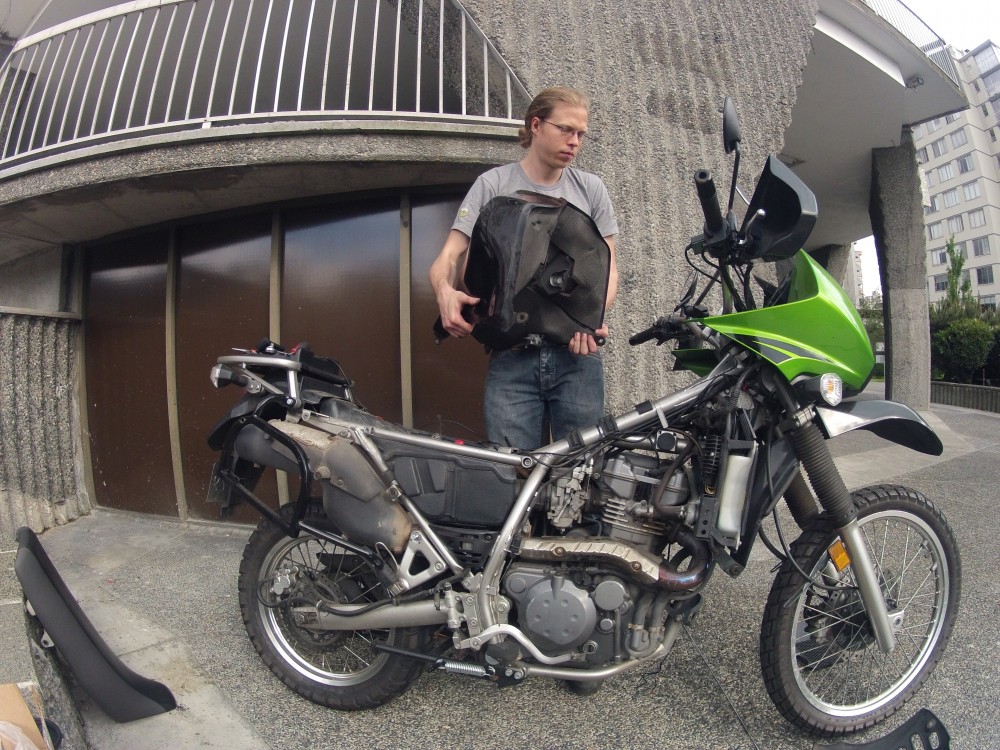
Anyway once that was done I took of the front fairings …
… and the skid plate that protects the underside of the engine.
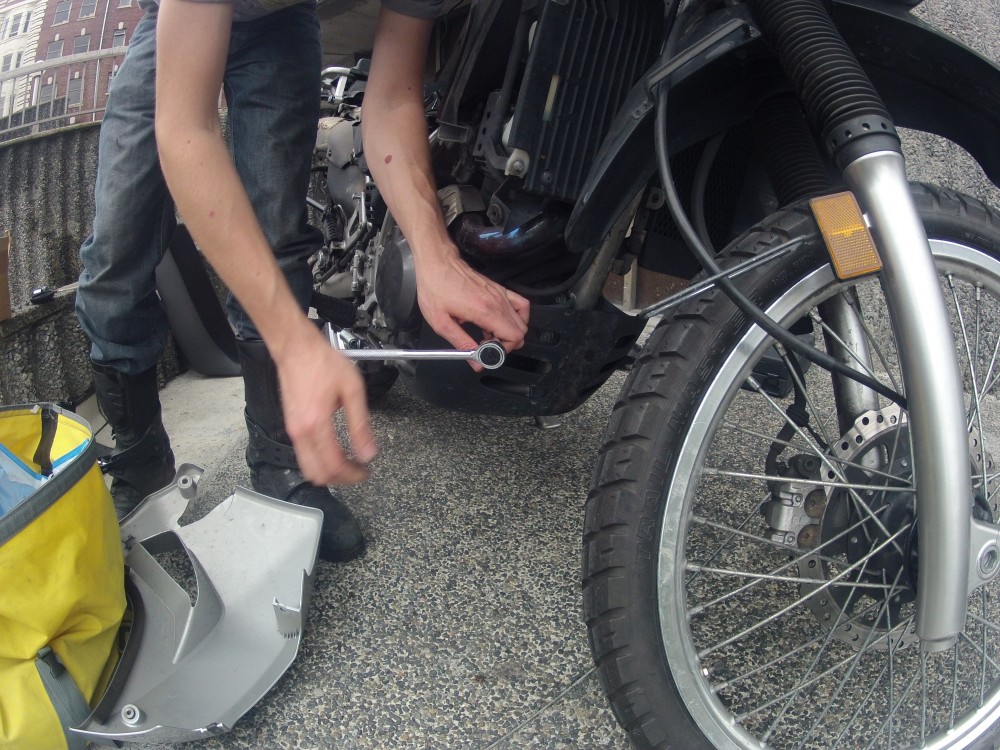
The bike started to get lighter.
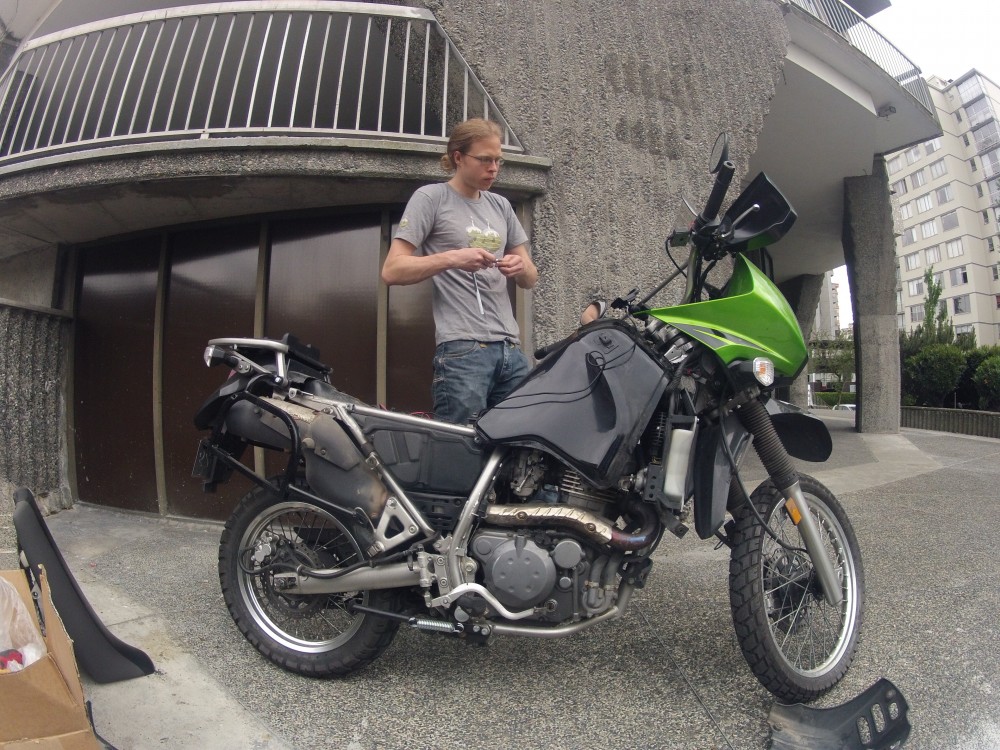
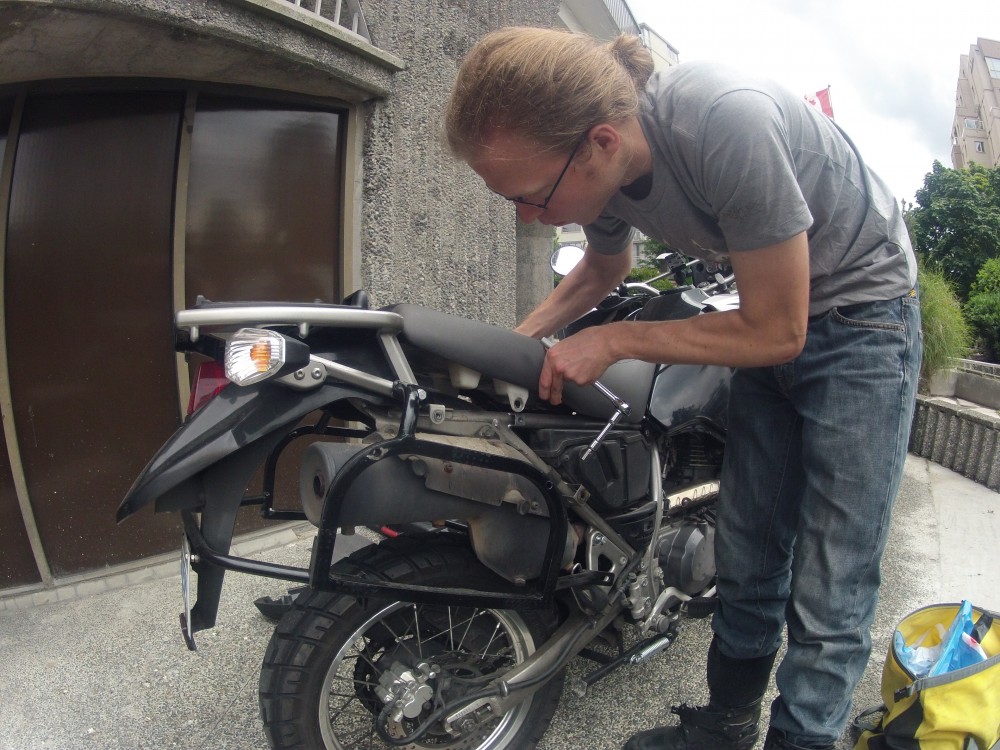
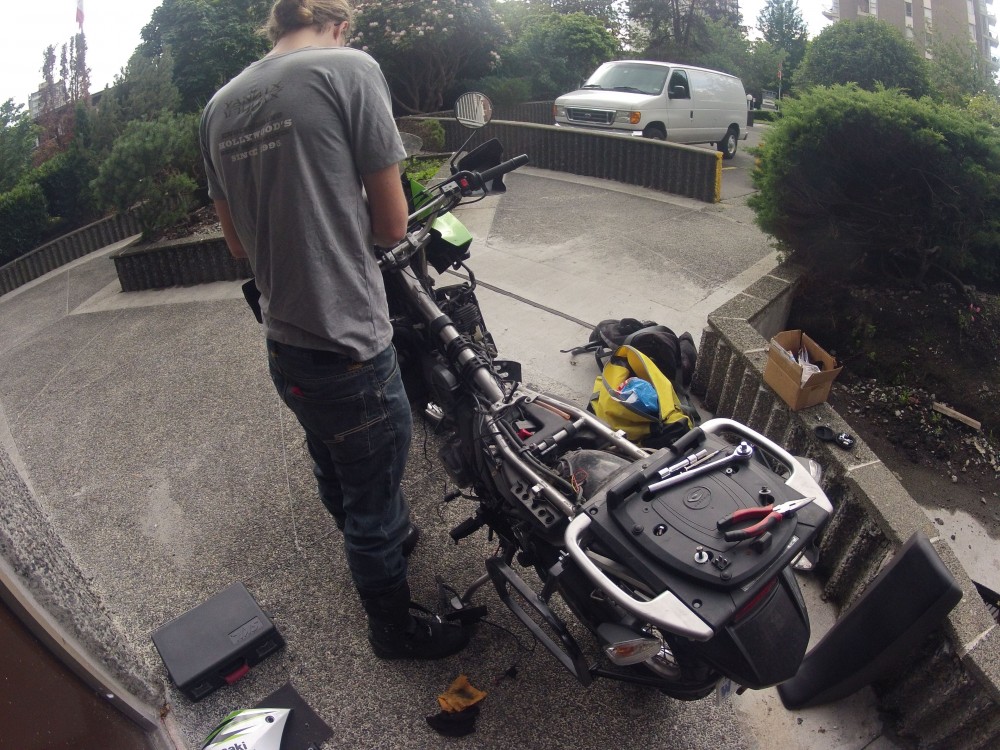
The last element I had to take off was the gas tank. To do that I needed to disconnect the fuel lines from it.
After finally taking off the tank the real work could begin.
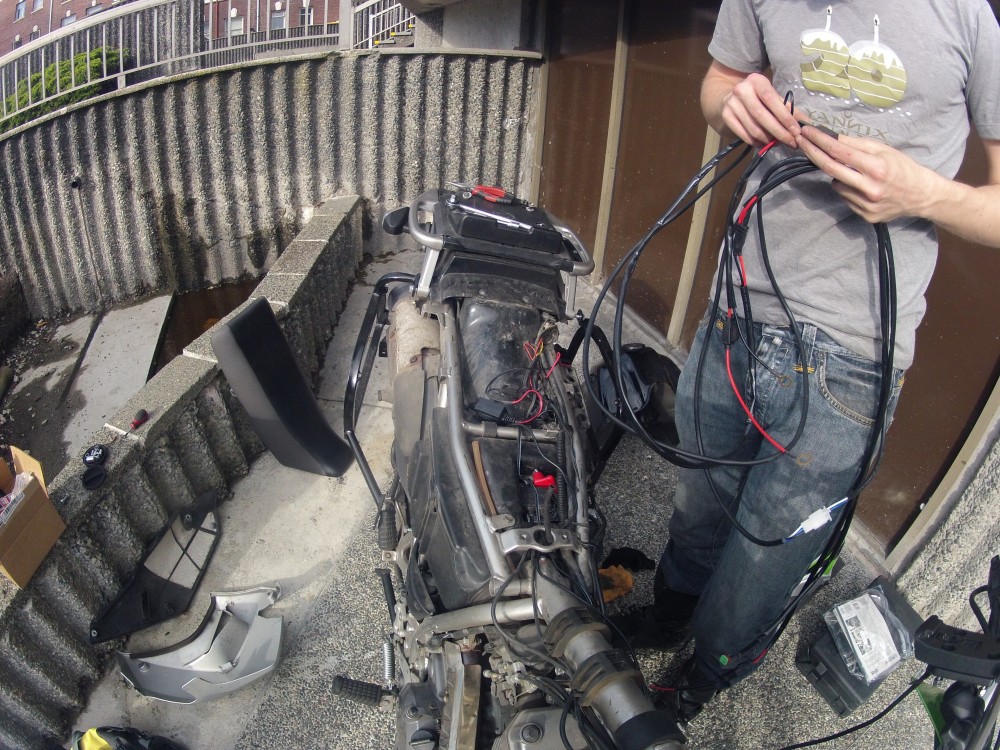
The KLR doesn’t really offer much room for altering the electrical elements.
But I managed to keep everything compact so that I could put the tank back on.
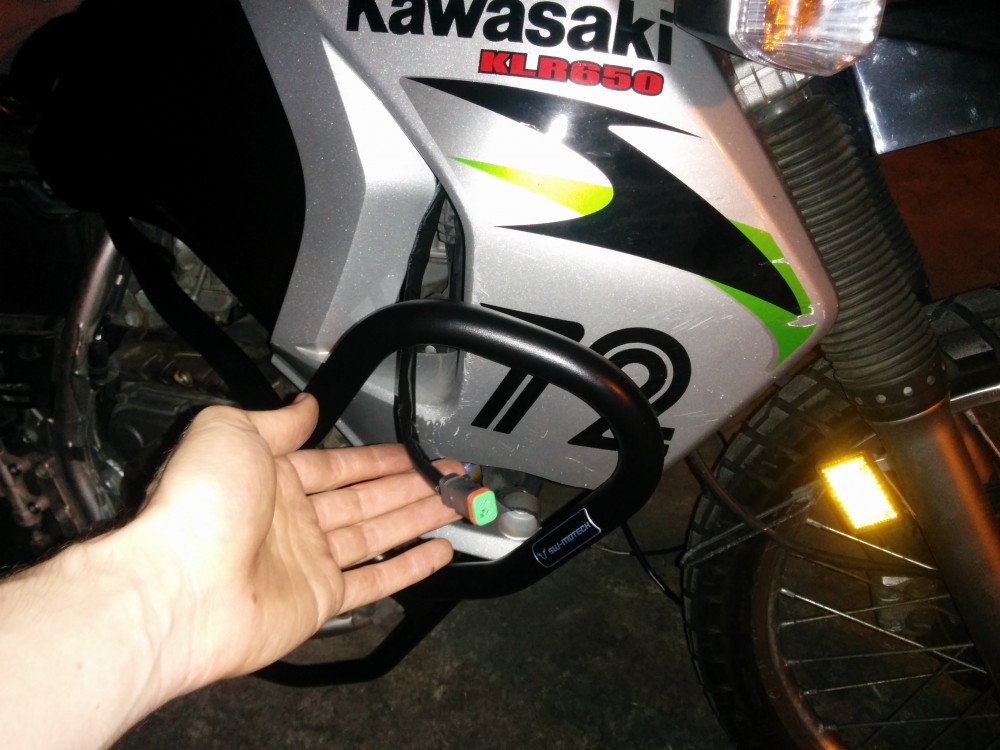
Now I could start with the installation of the crash bars.
The bars connect to existing bolts that keep individual frame elements together. They needed to be taken out and longer screws put back in in their place so that they would secure not only the frames elements like before but also the added crash bars. These original bolts are fastened with extreme force so the bike doesn’t fall apart on the road due to the intense vibrations that can otherwise easily loosen a screw. So to loosen these bolts I applied a big amount of force thus actually breaking my bit socket before the first screw came loose.
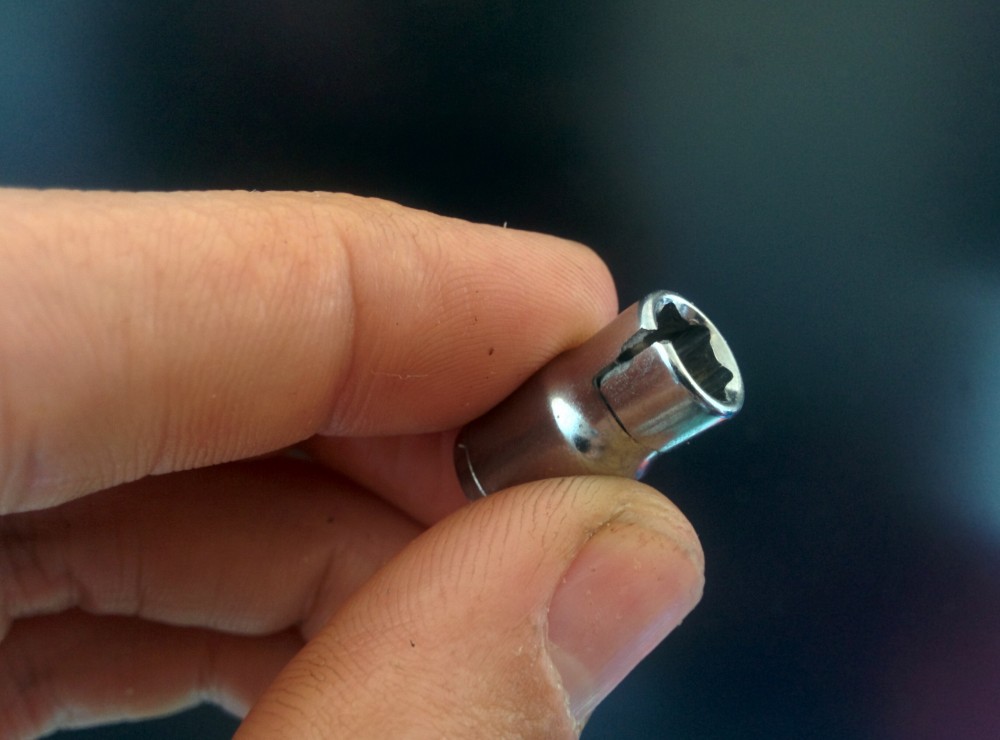
This was the last weekend before my next big trip and I had to get this work done quickly so I went to the home depot (‘Obi’ in Austria) and got a set of Allen keys. These ones would certainly not break as easily and would allow me to apply even more pressure due to the leverage they provide by their shape alone.
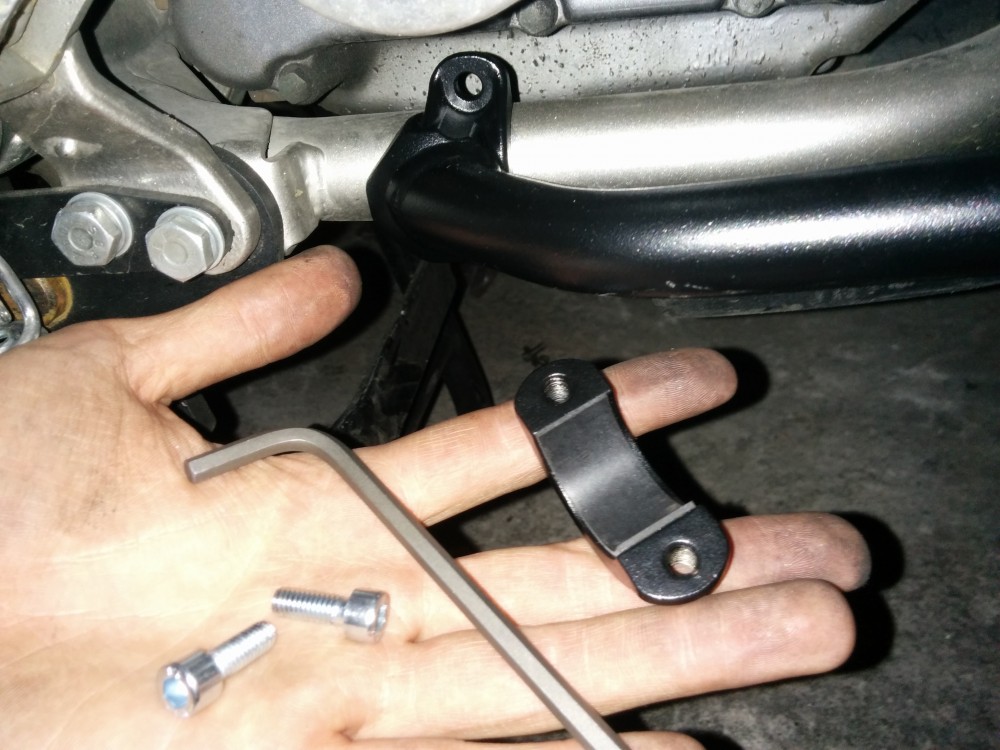
Finally the bars were mounted.
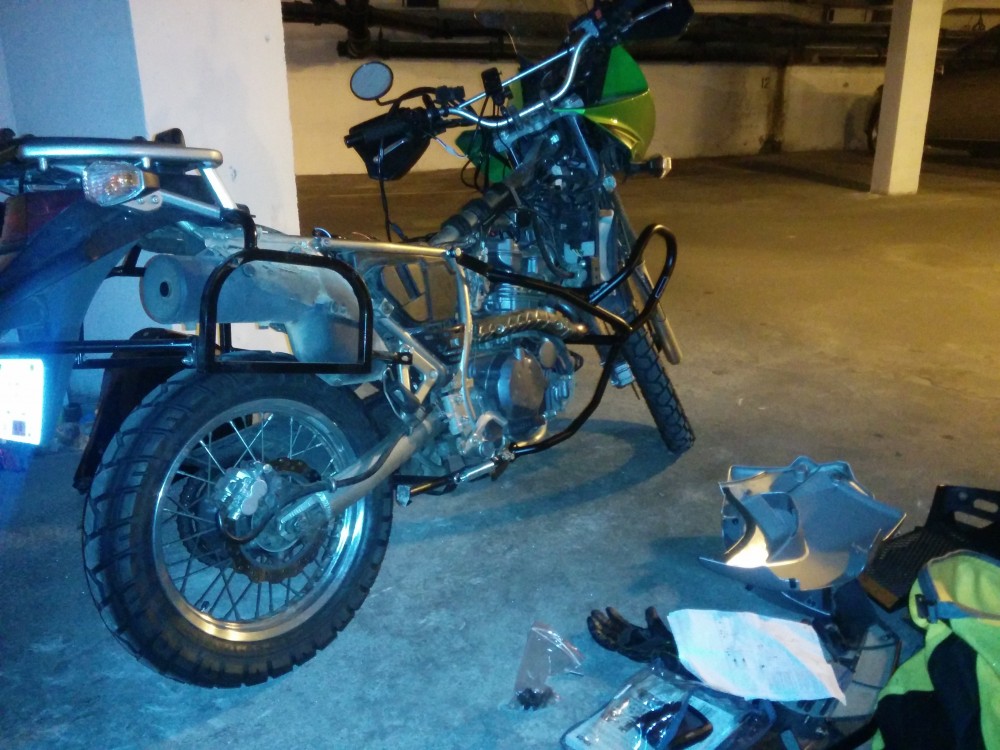
I reattached all the parts I had taken off before. Besides the added protection this new setup would now provide me with a place to mount auxiliary lights.
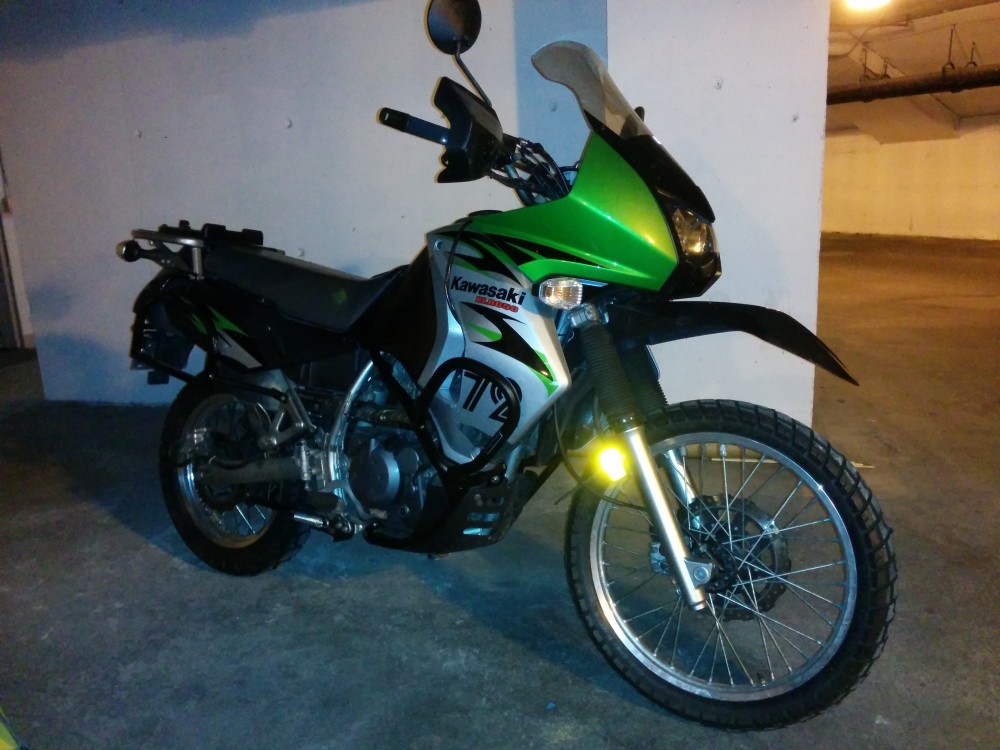
Now the KLR was ready for adventure.