Yellowstone 11 – Interesting people

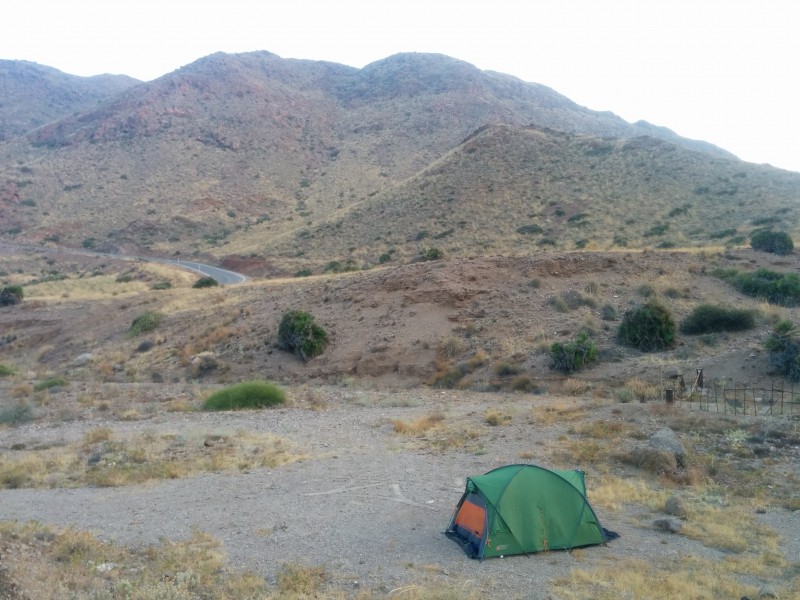
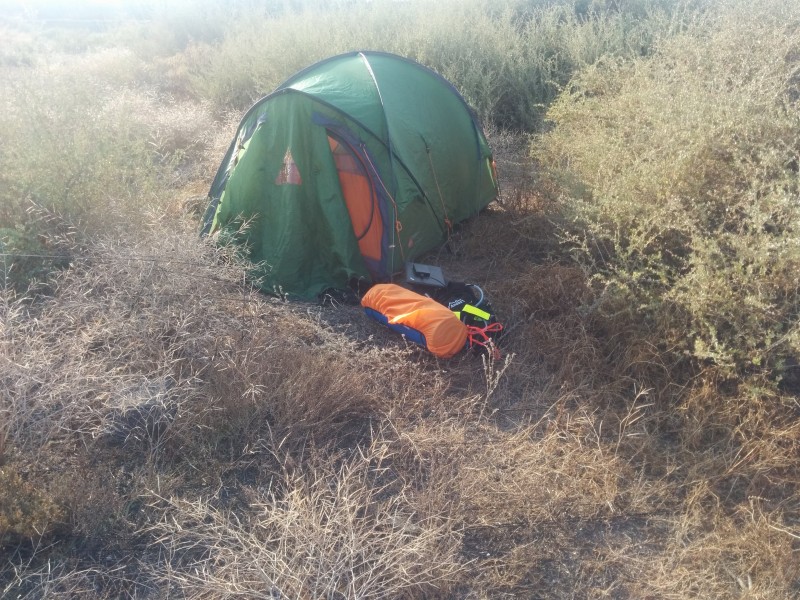
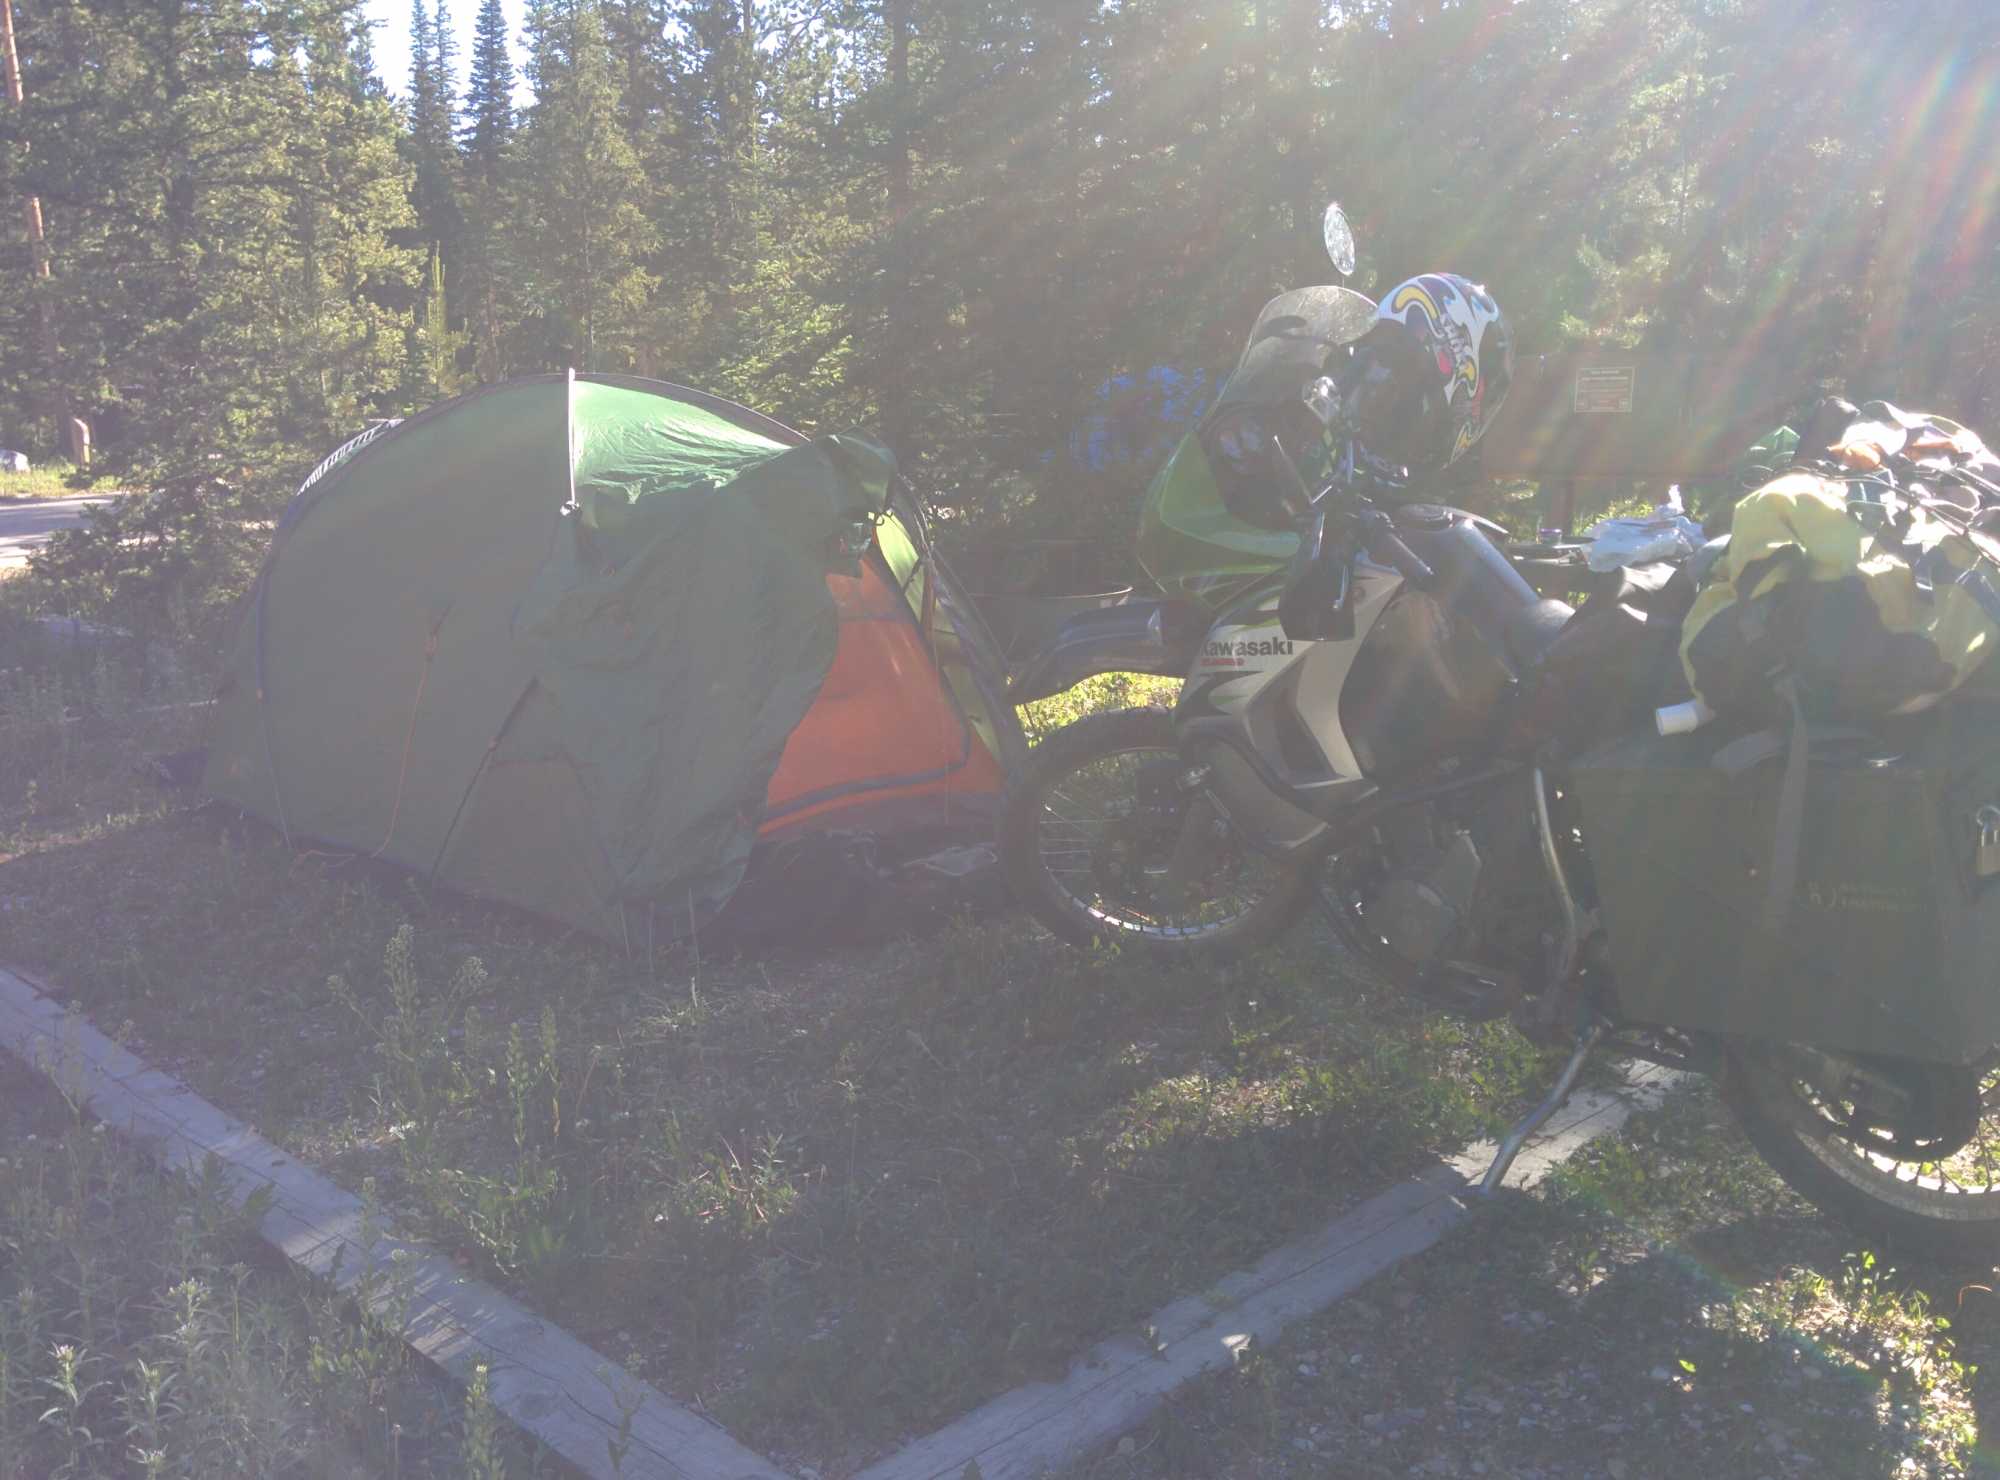
The previous night I started looking for a campsite after the sun had set. Two motorcyclists offered me to share their spot at an already full campsite that I had found along the road but they also informed me of another campsite a little ahead which I decided to check out first. I found the second campsite a few minutes later and there was one spot left. I parked my bike in front of where I wanted to set up my tent so I could illuminate the spot with my lights which attracted all the mosquitoes in the US but once I had the tent up and a fire going they disappeared. I was the only one still up at this hour and I finally went to bed after midnight with a stomach full of grilled sausages.

The next morning the mosquitoes were merciless in the shade.

img_20160623_084605

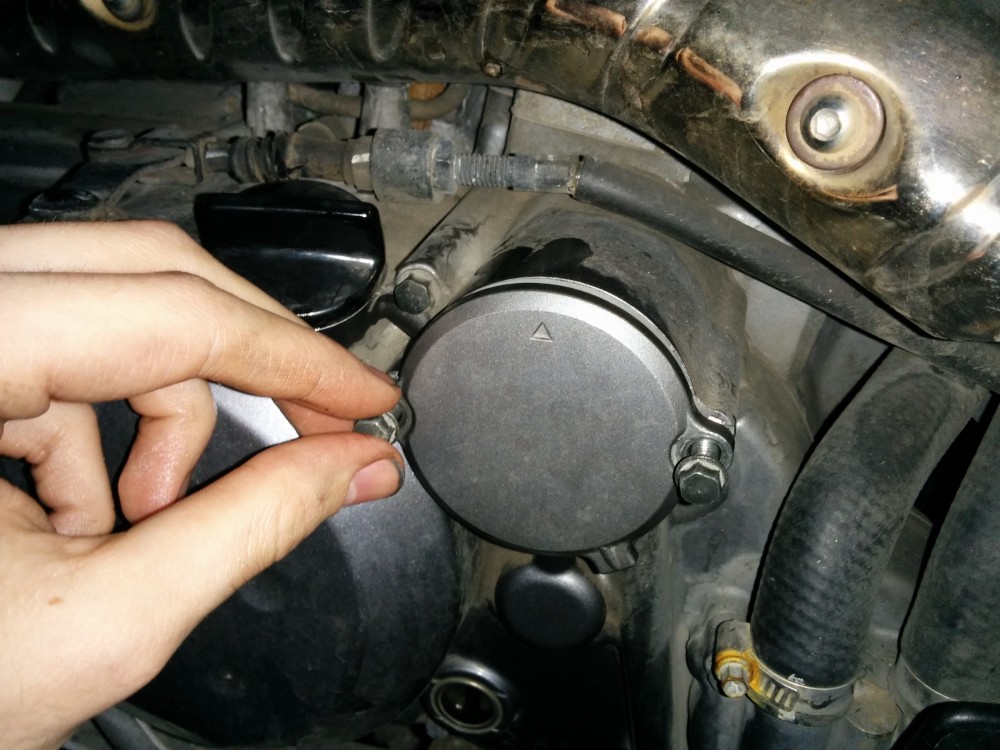
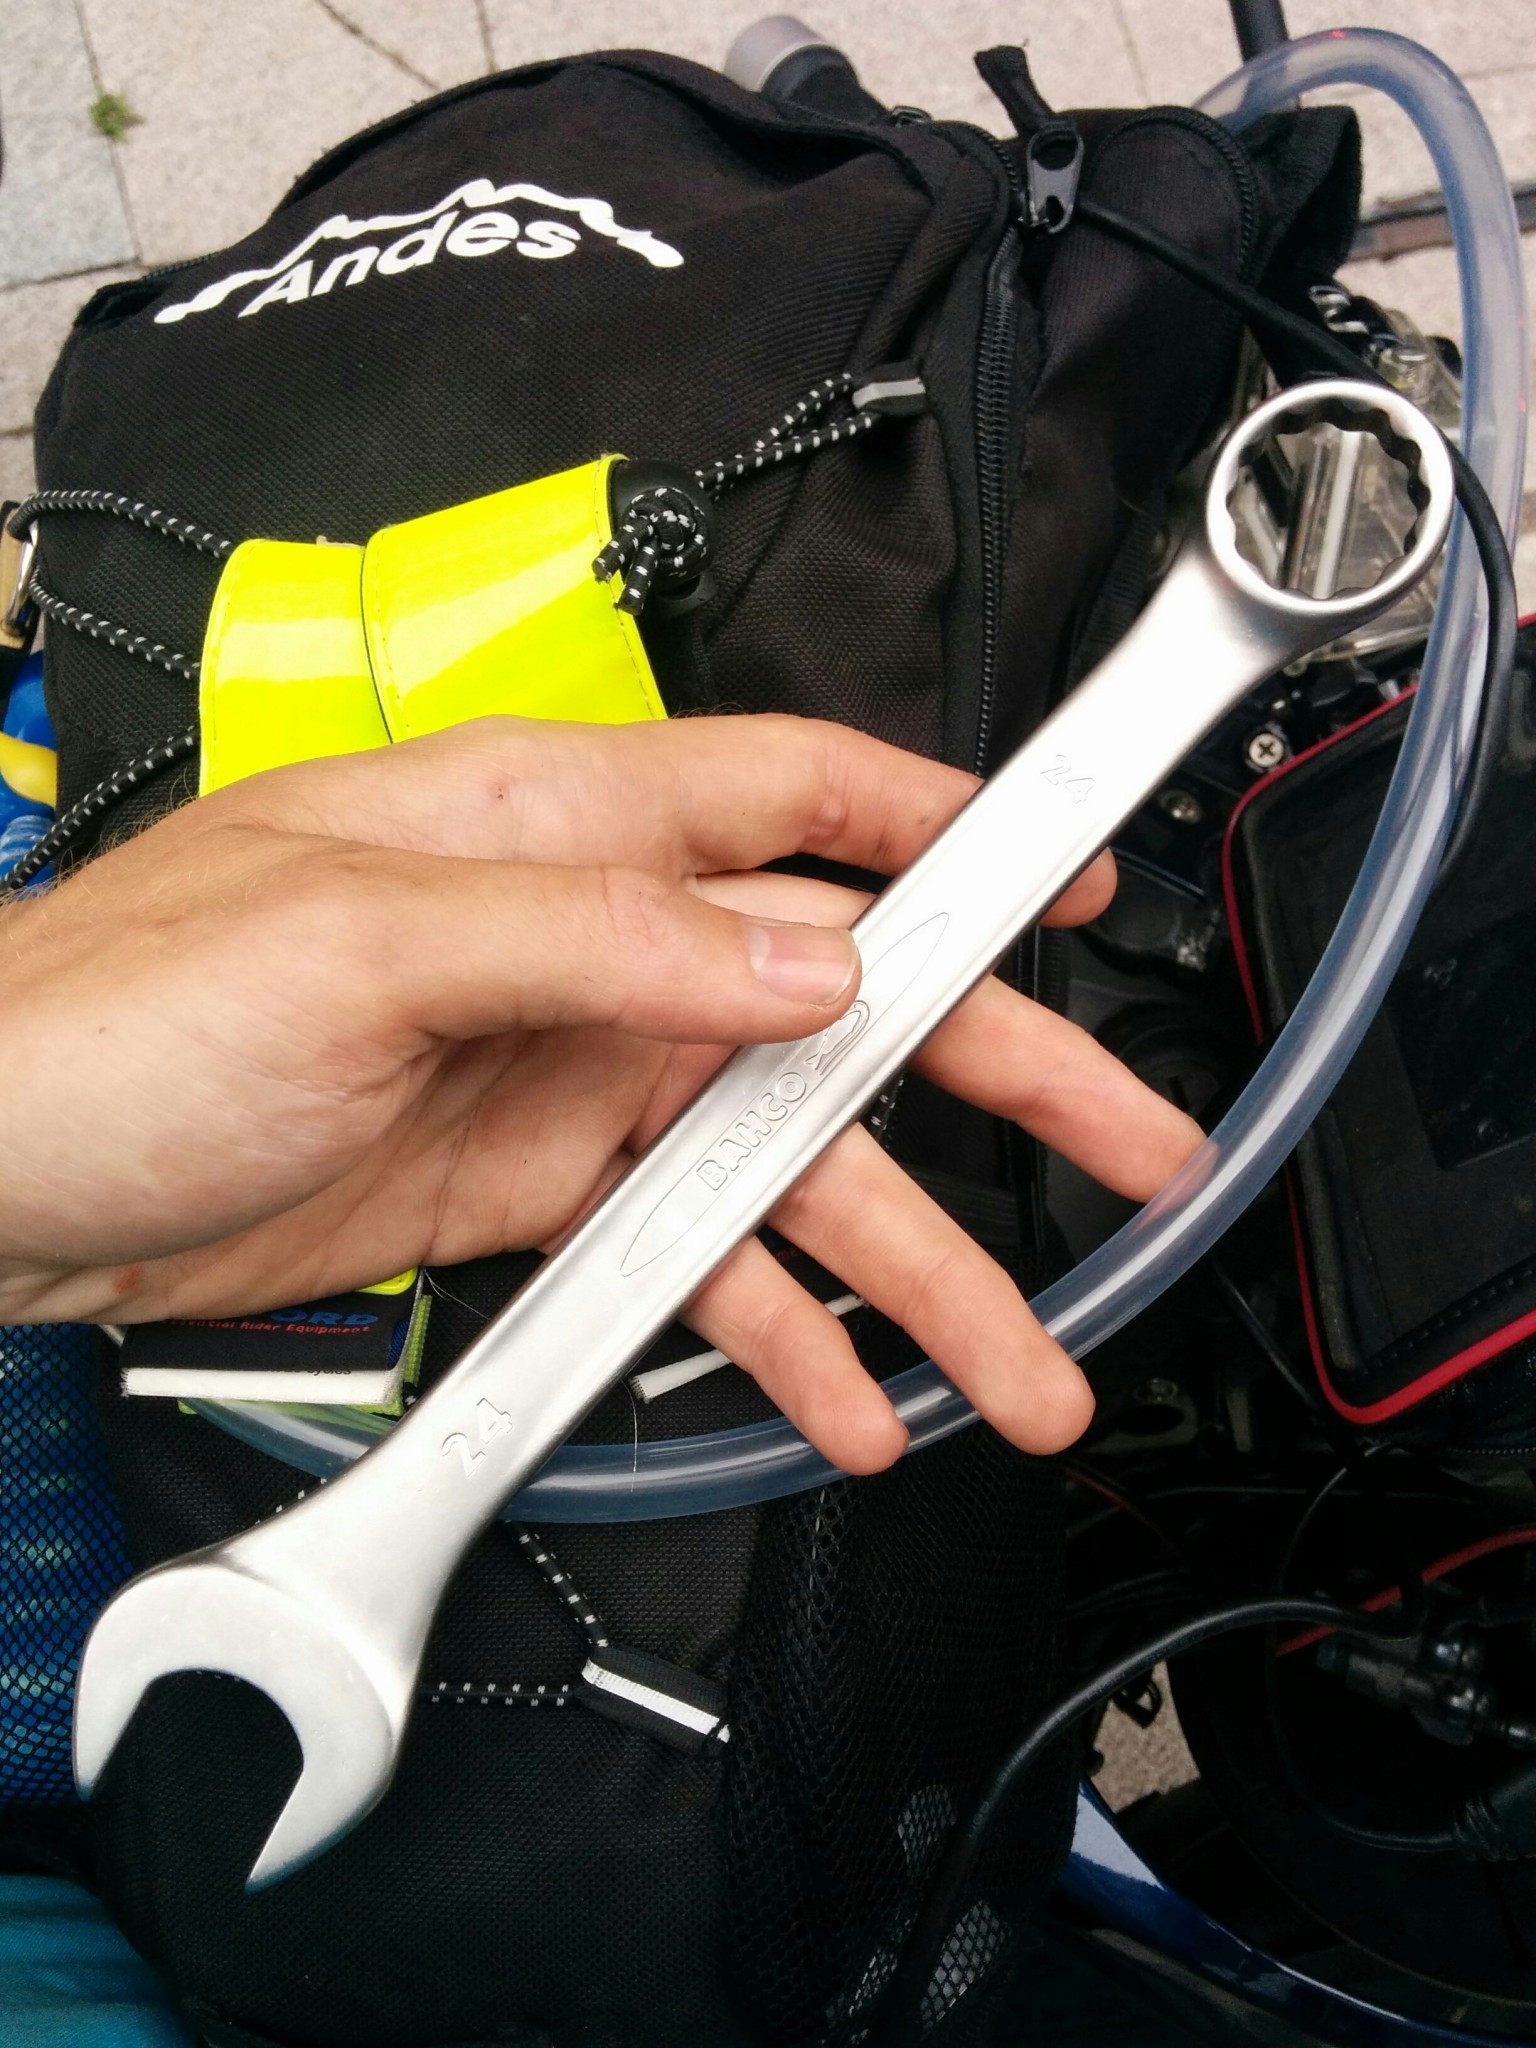
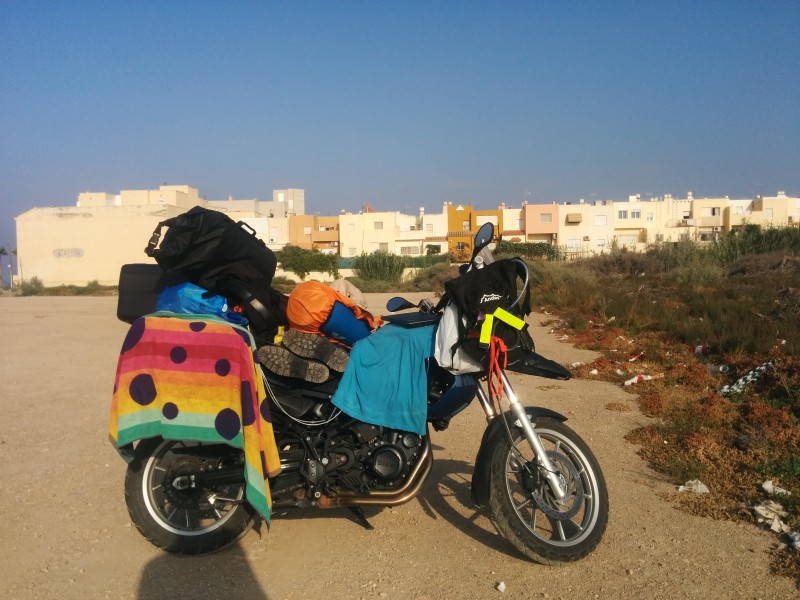
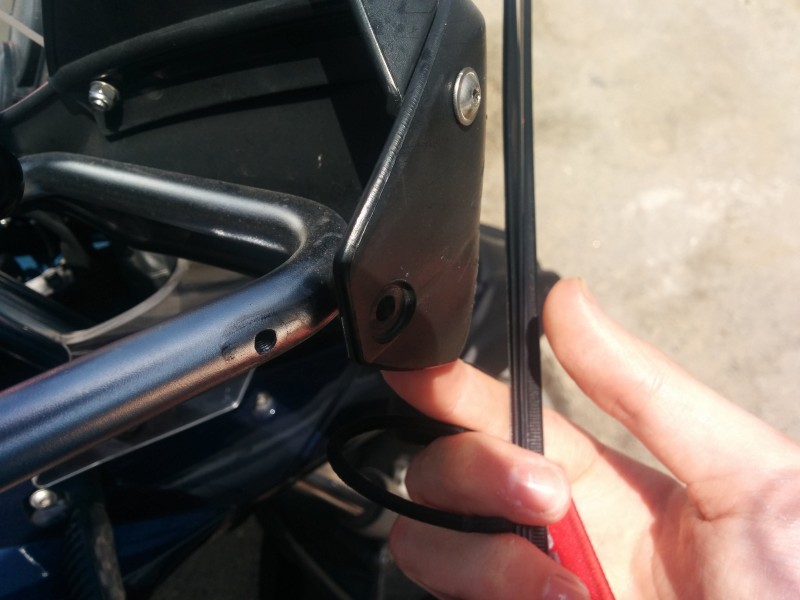
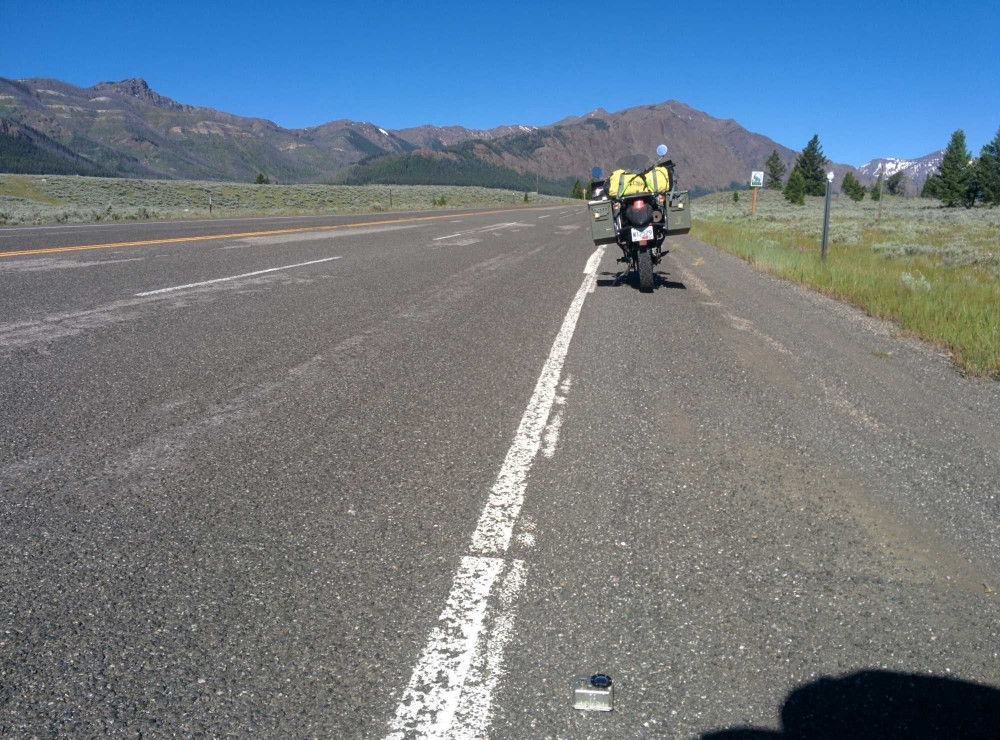
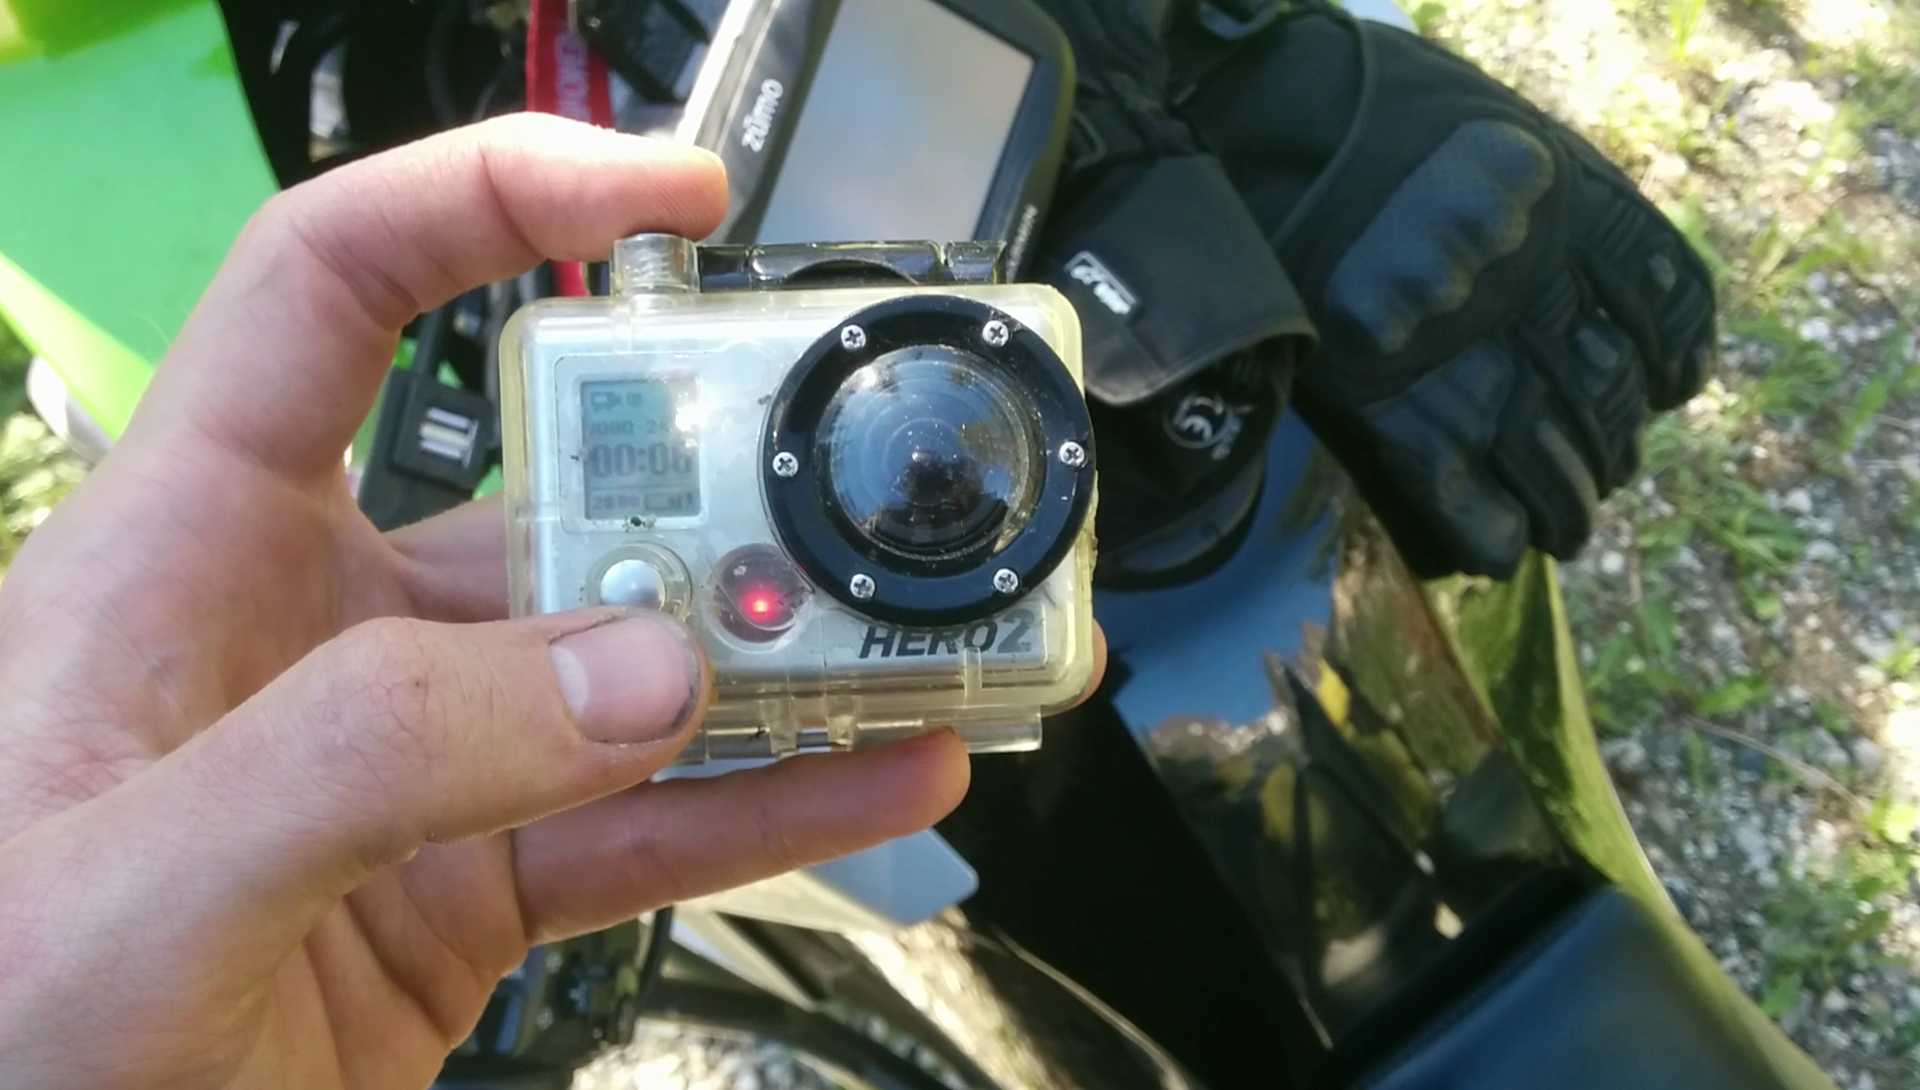
As I started packing my things while having a little cereal breakfast I wanted to prepare my GoPro camera for the day but after searching every possible crack I still could not find it. I realized I must have lost it. Most likely the magnet mount I built for the metal panniers had come off on bumpy ground and I immediately had a suspicion where. The previous day about 10km back I had just reached level ground coming down the mountains when I suddenly felt a massive bump in the road. I hadn’t seen any obstacle on the road in my headlights so I just kept going after a quick stop to check the bike over.

I always have a red neon ribbon tied to the little camera so I would be able to spot it in cases I ever lost it. As I backtracked my way (which was easy because my GPS logged my previous path) I found the ribbon and the camera on the road. Luckily nobody had taken it home an no car had rolled over it.

img_20160623_092139

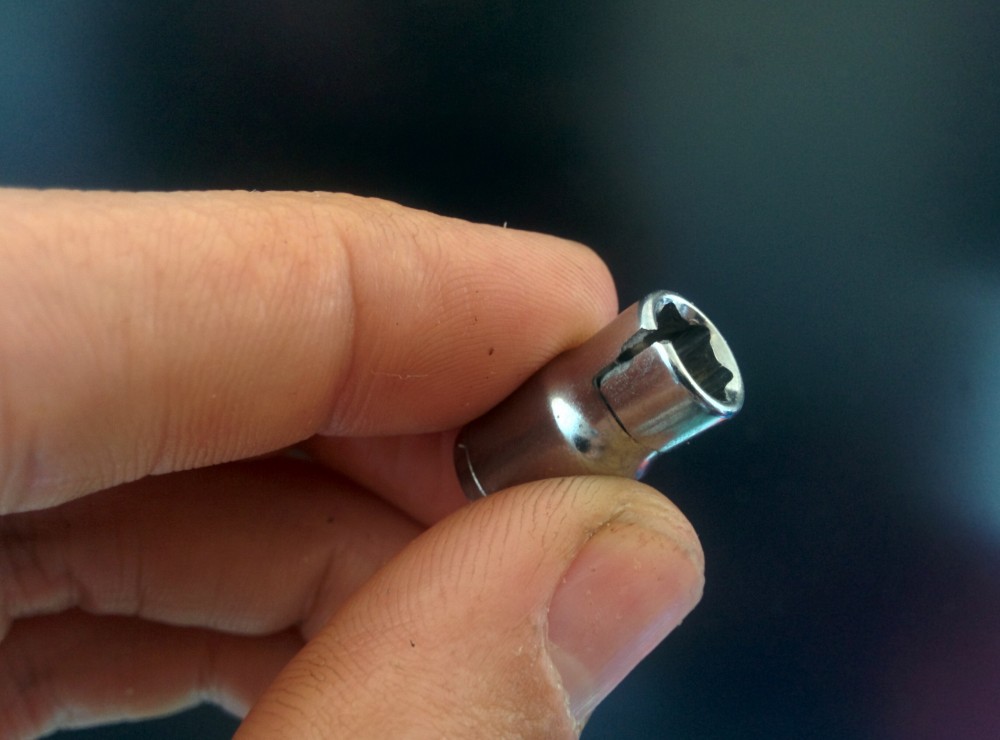
The cheap protective casing I had used had broken off the mount but the camera looked fine despite it smashing to the ground at 70km/h when I hit this pothole:

img_20160623_092224

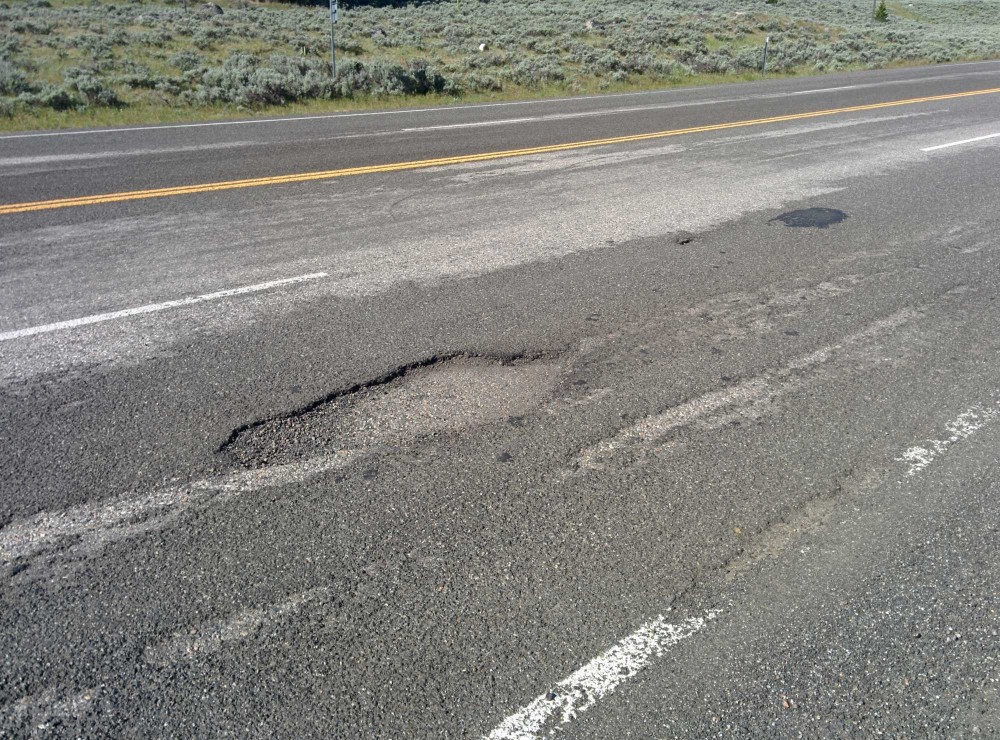
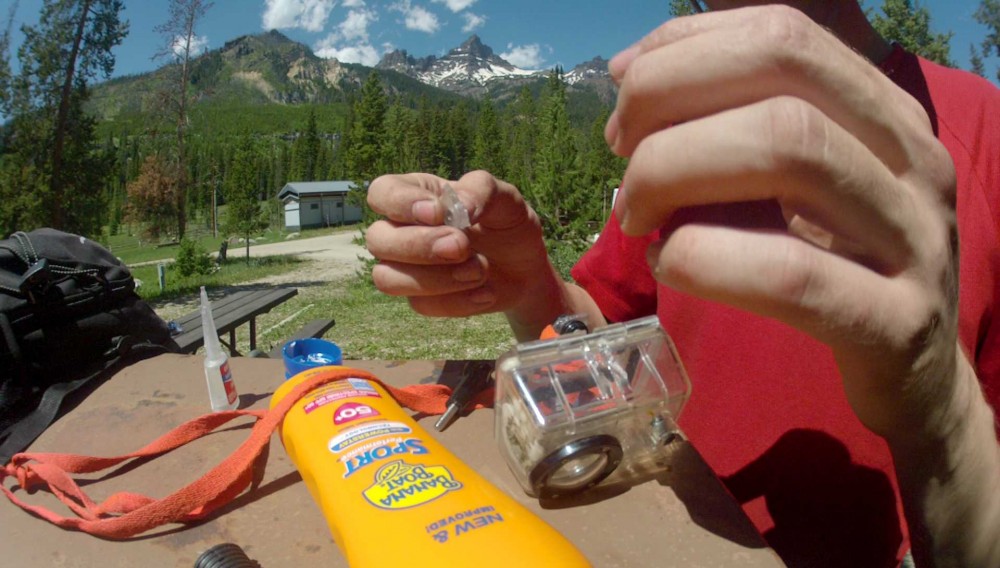
I was fully expecting the camera to be broken internally and the previously recorded footage to be gone but when I came back to my campsite to check it the memory card the data was all there and even the camera worked like nothing had happened. This camera has taken a lot of abuse in the seven years I have had it and it’s truly indestructible.

vlcsnap-2016-07-01-16h20m58s883

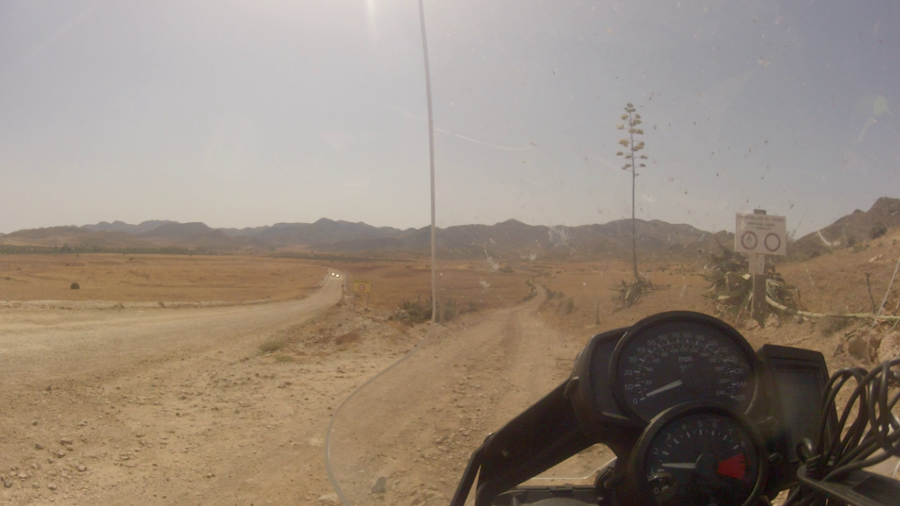
I glued the broken housing pieces together and by noon was finally on my way east into the park.

vlcsnap-2016-06-30-22h22m28s893

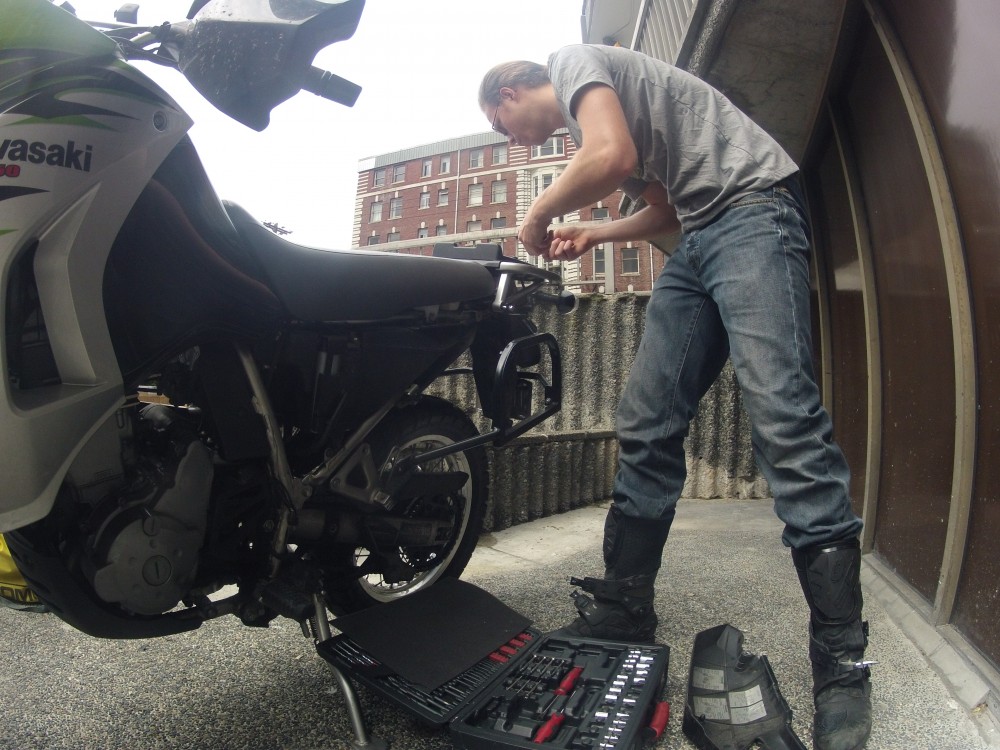
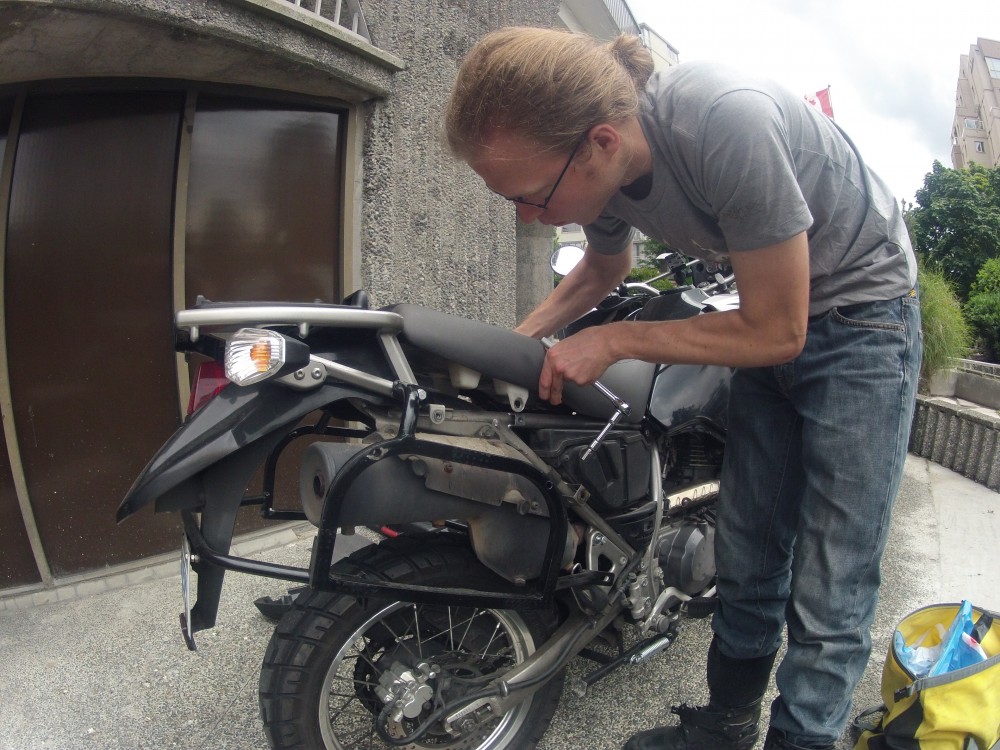
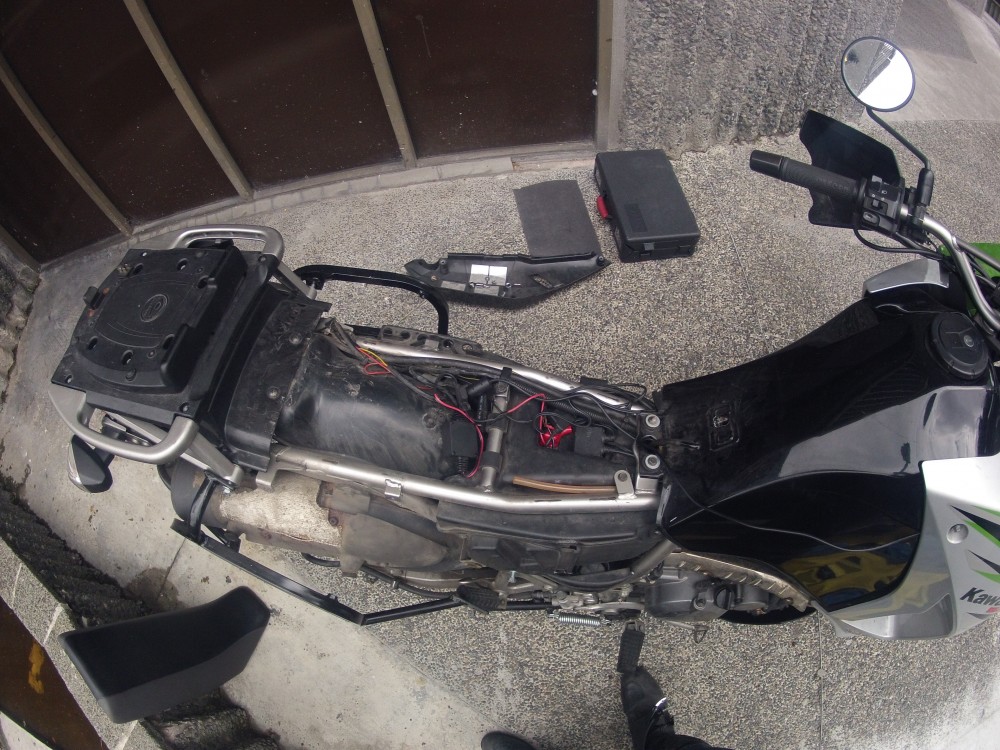
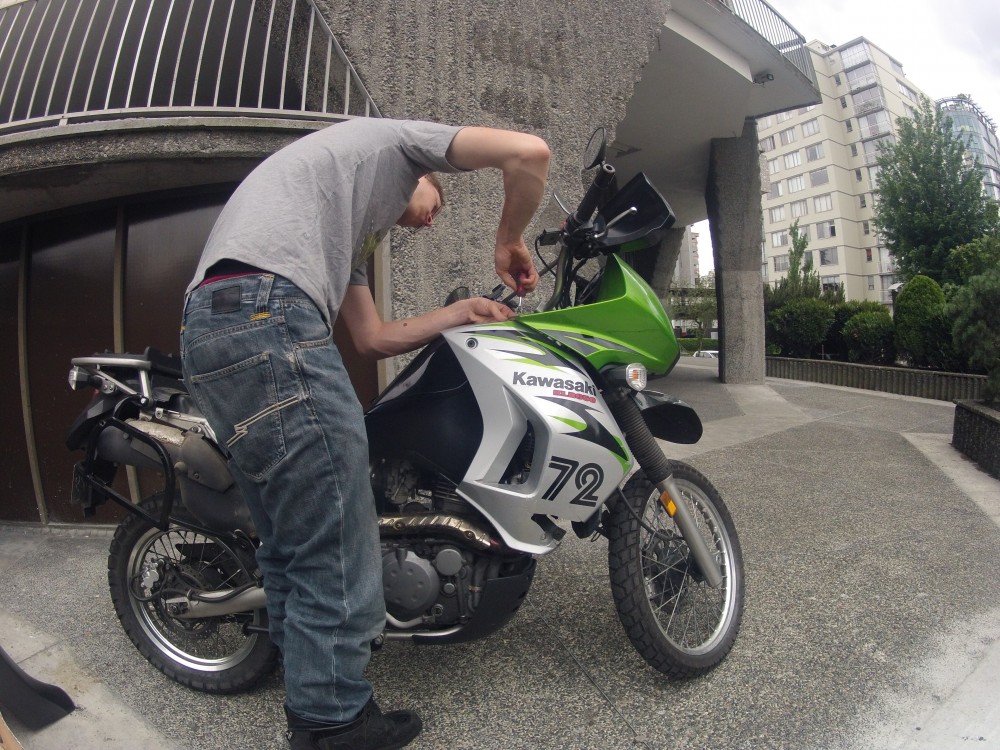
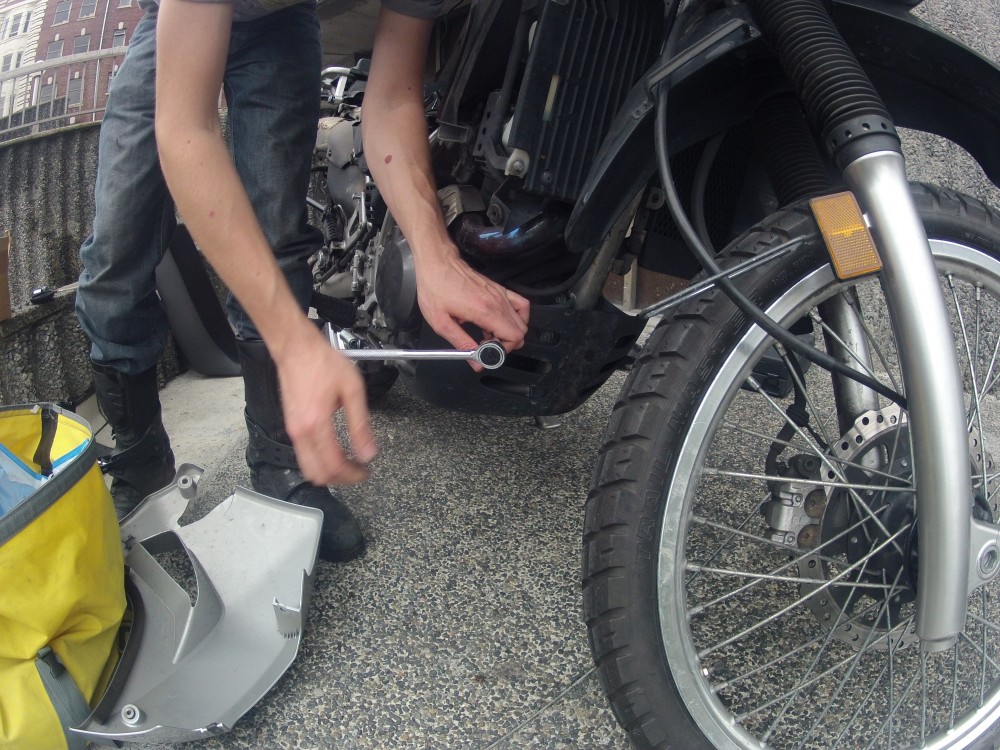
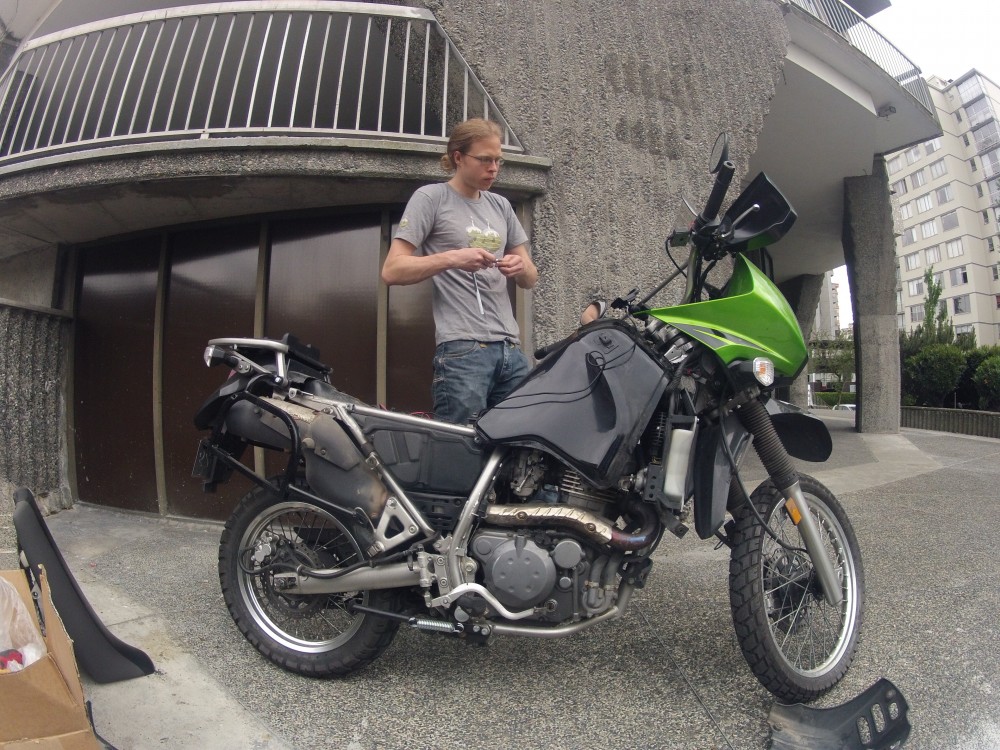
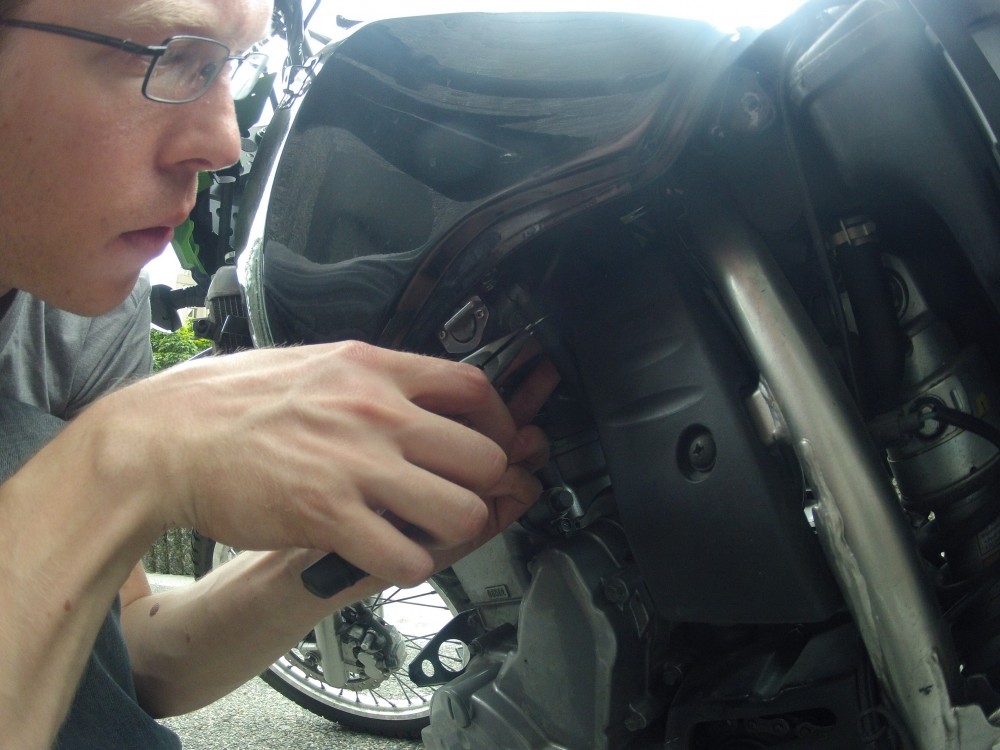
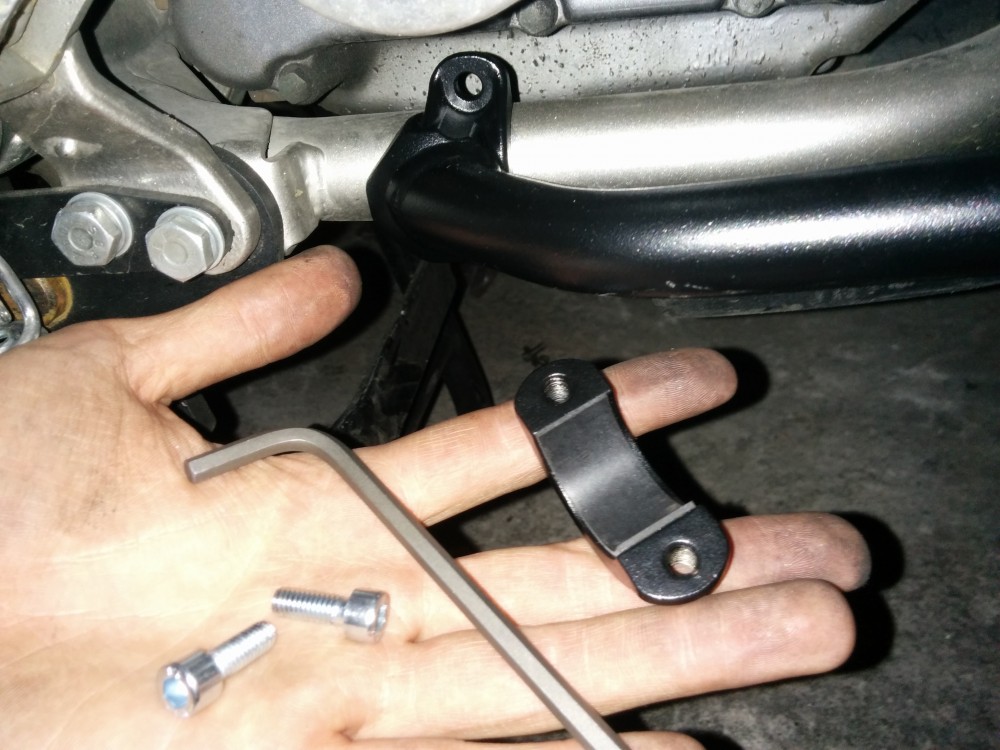
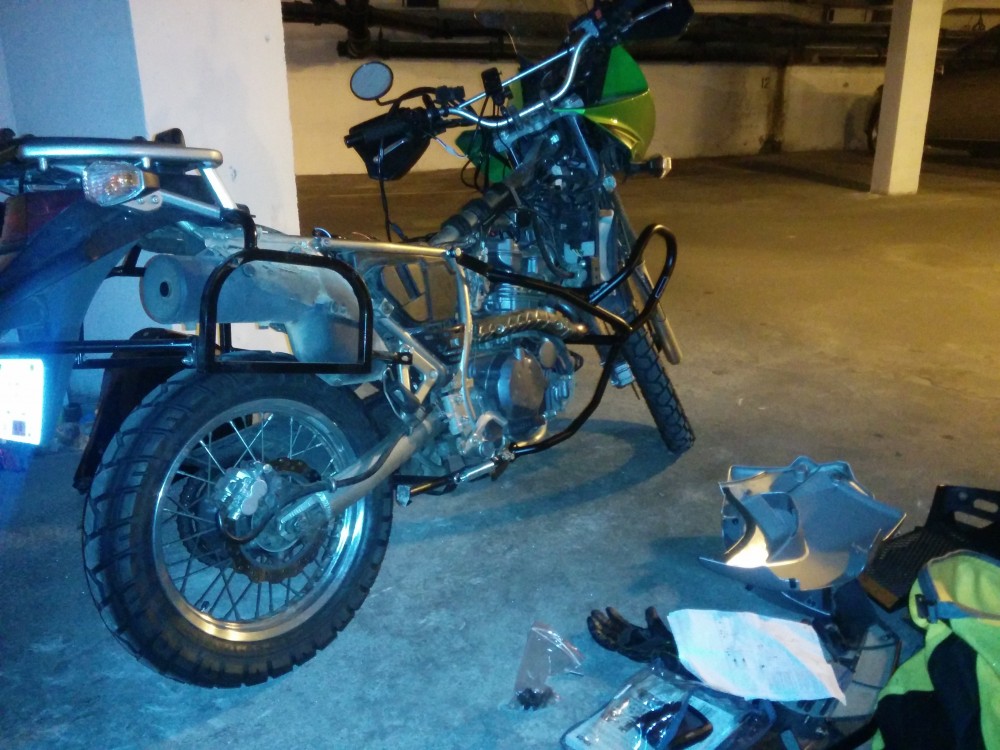
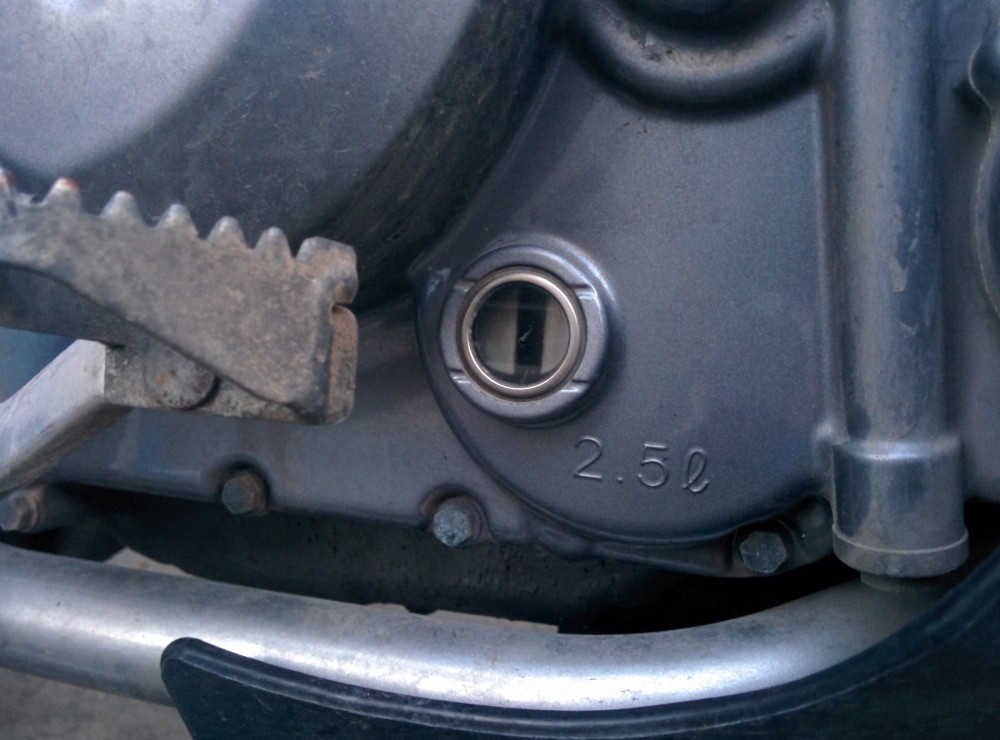
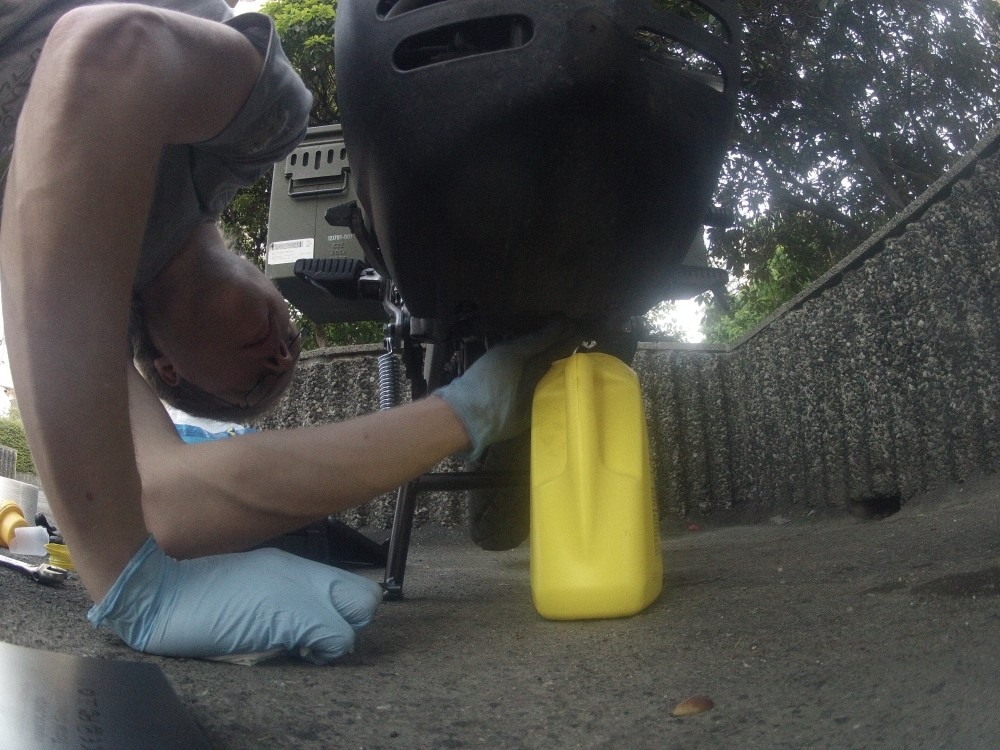
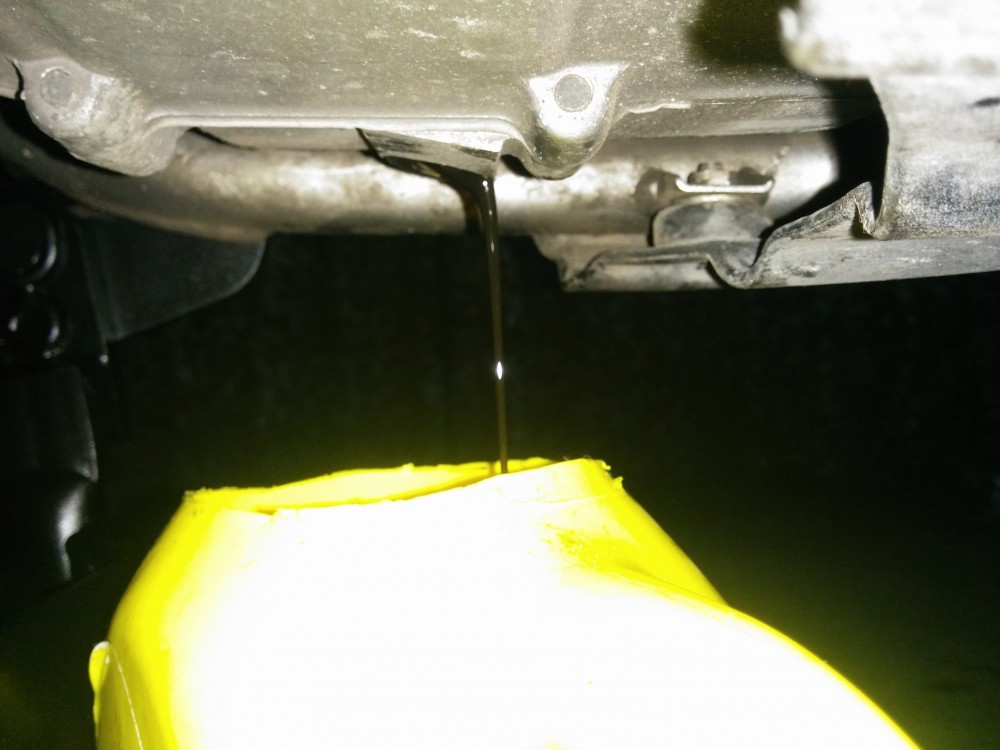
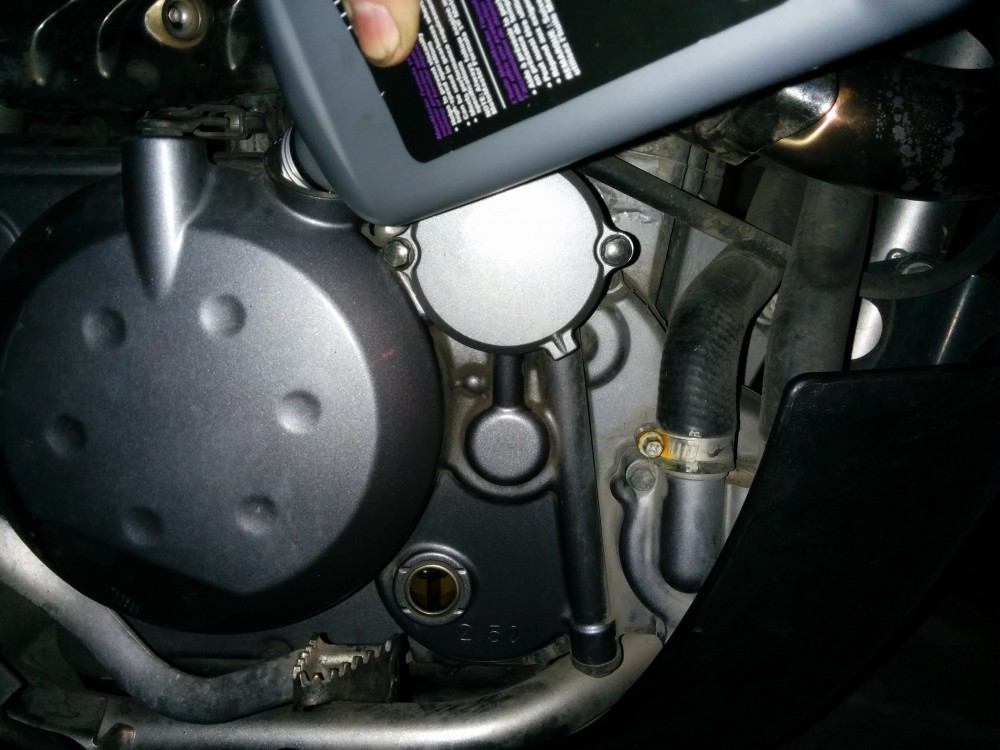
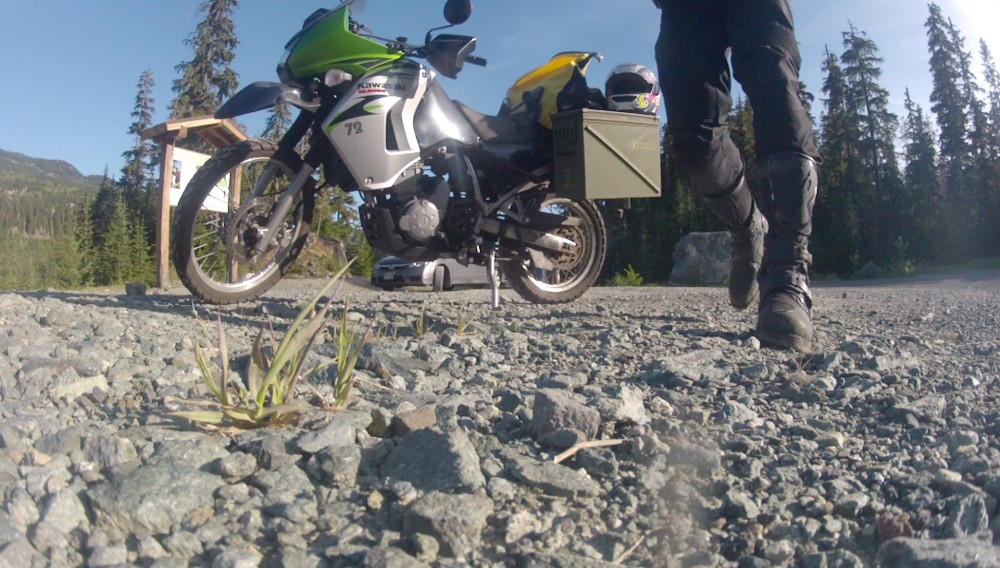
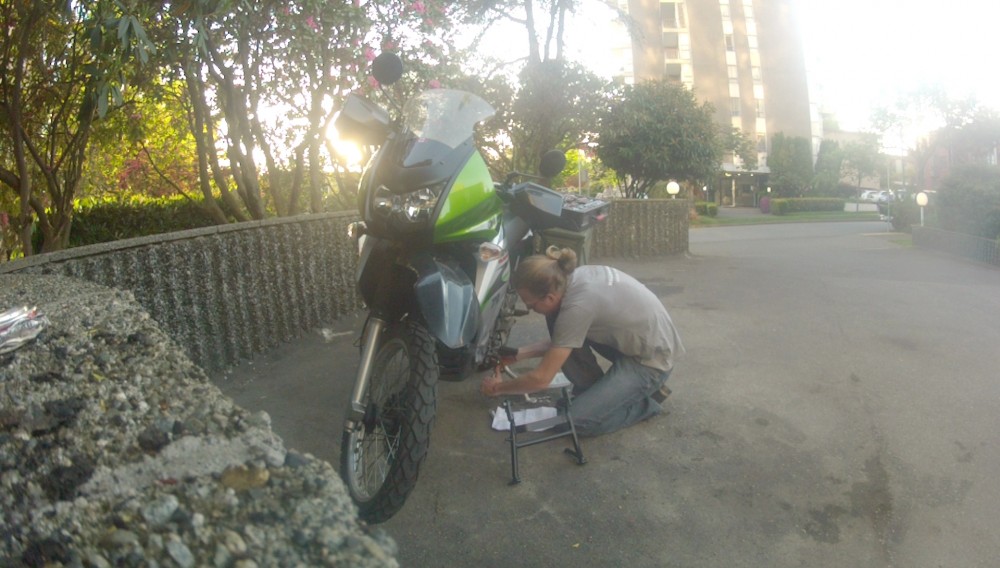
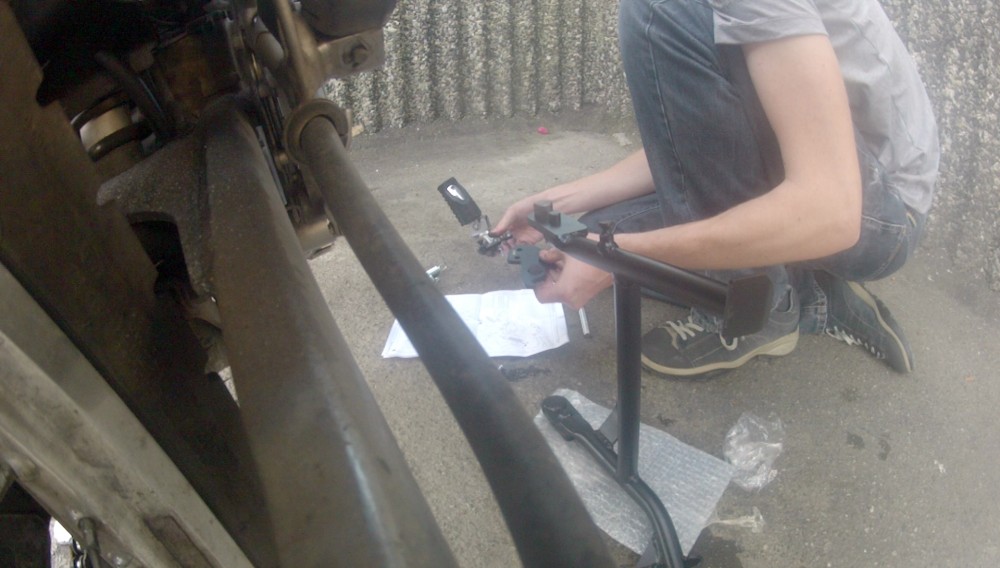
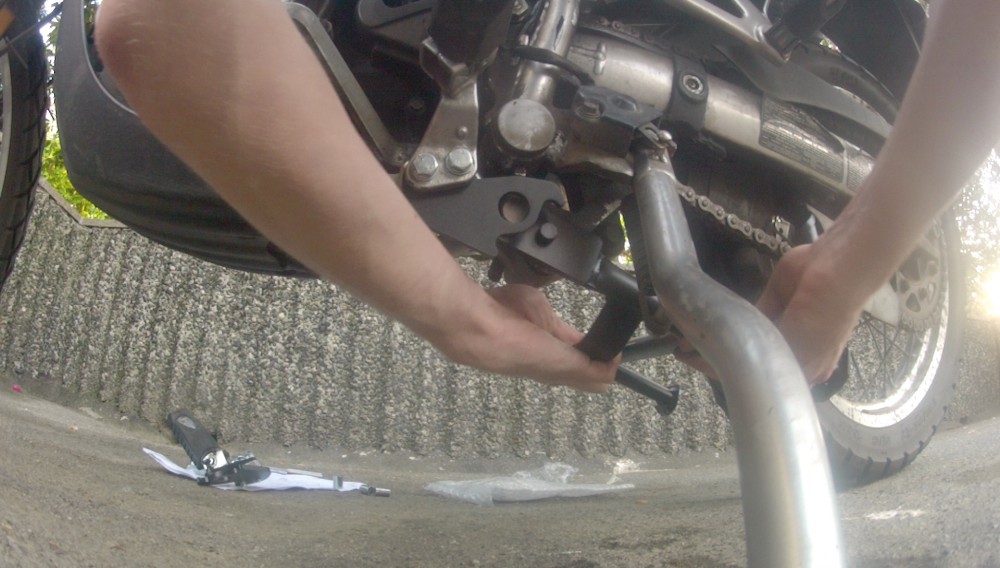
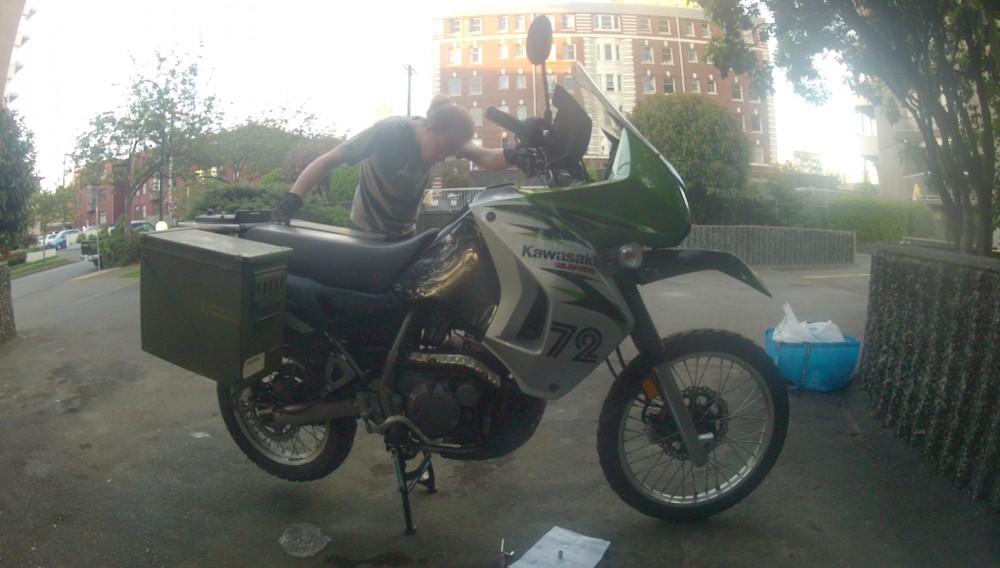
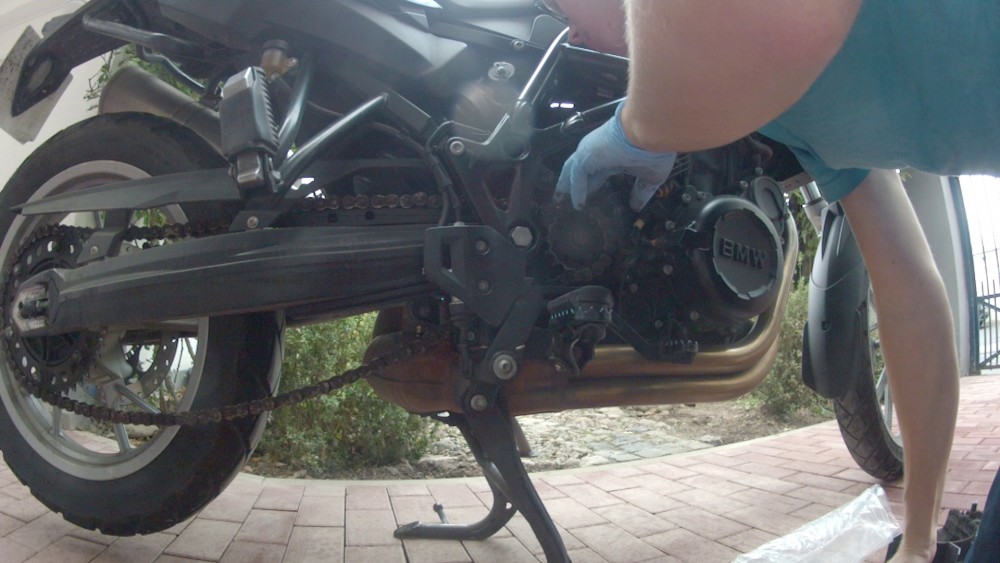
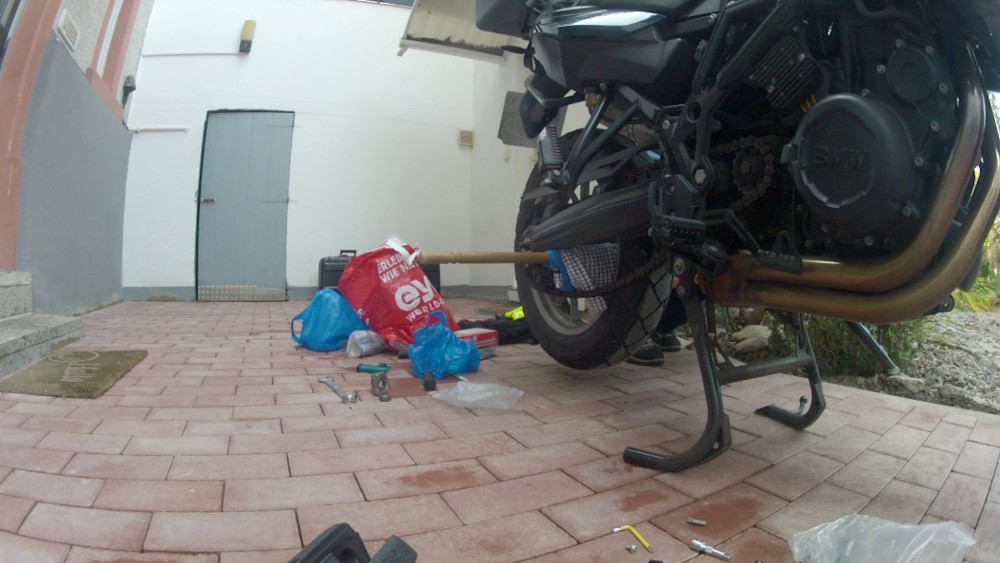
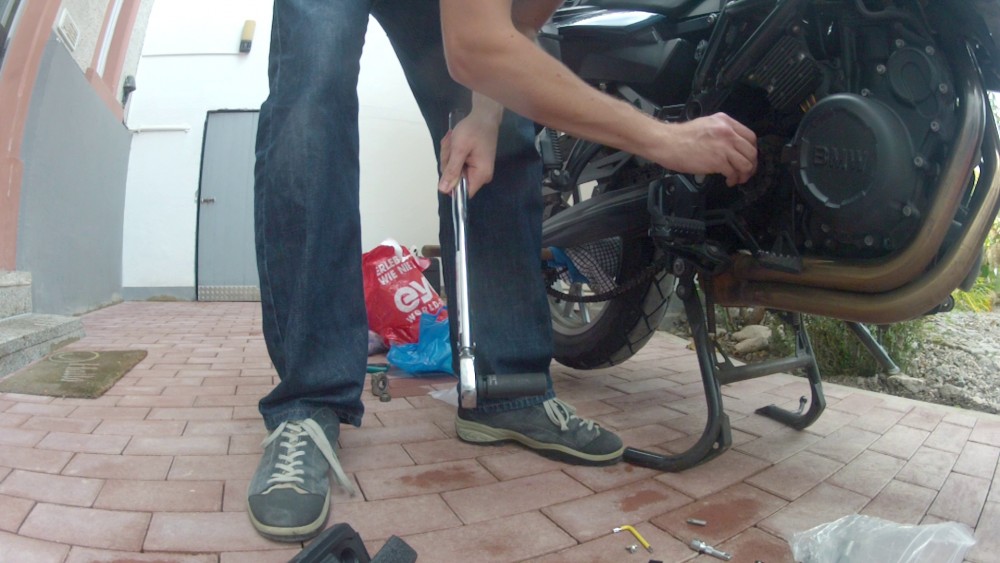
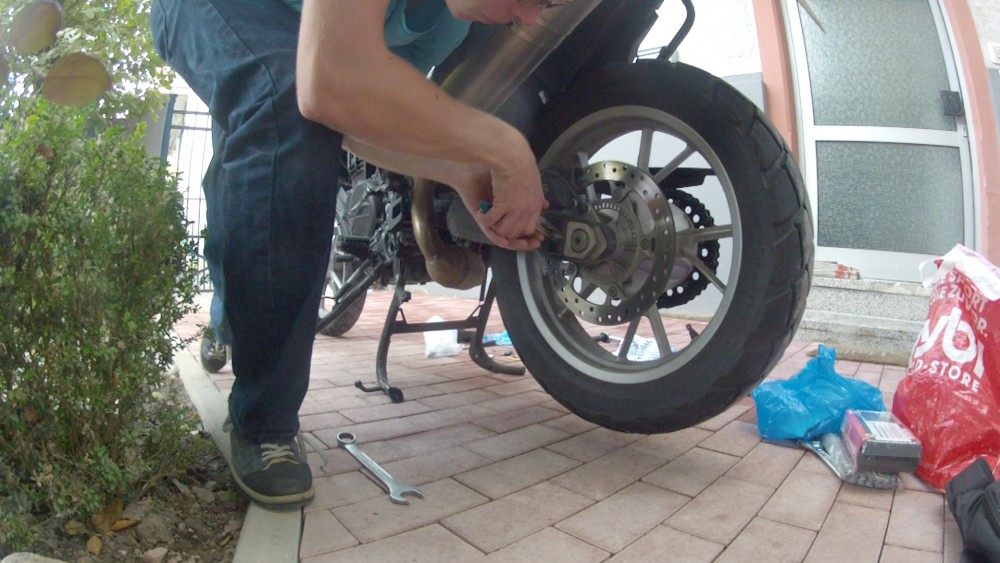
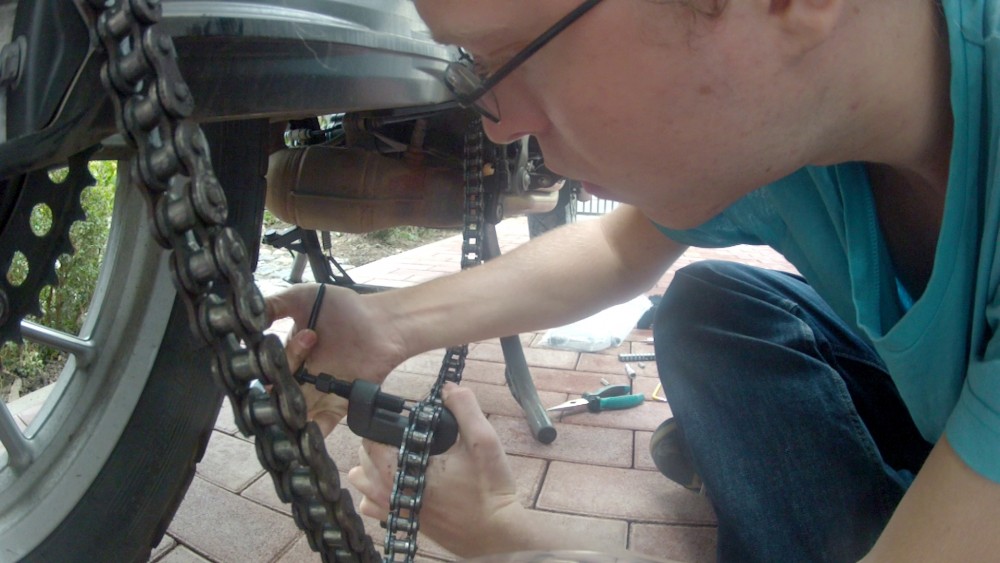
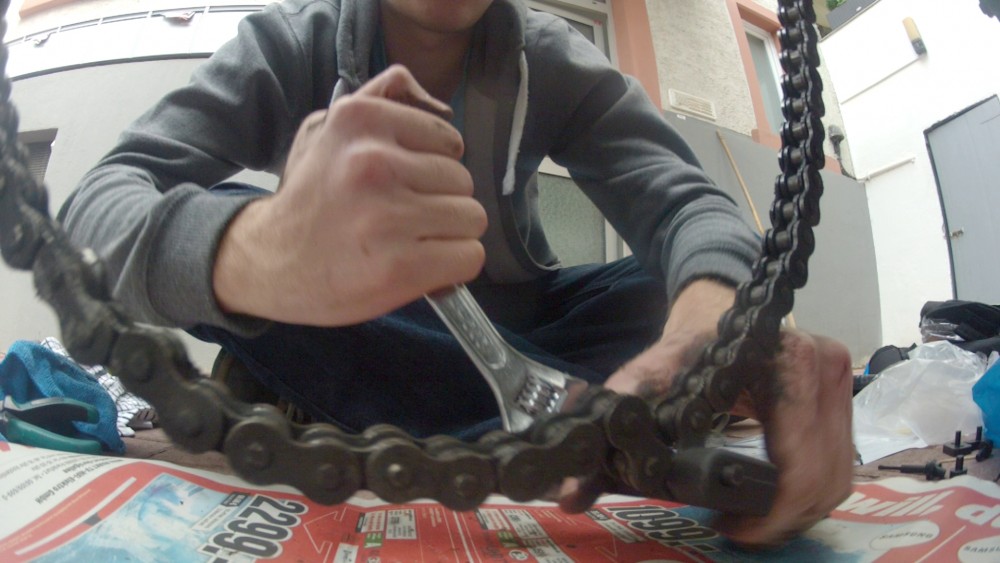
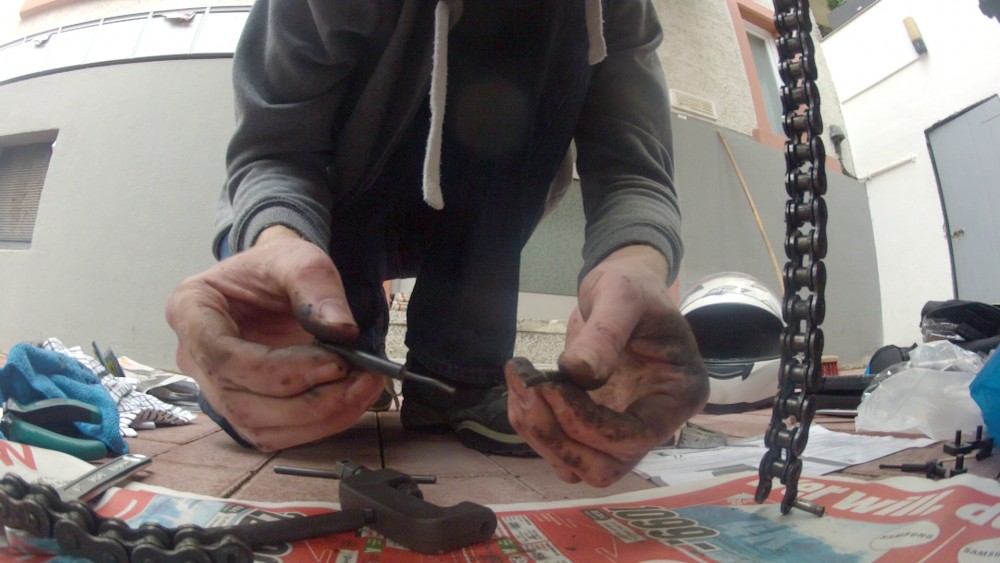
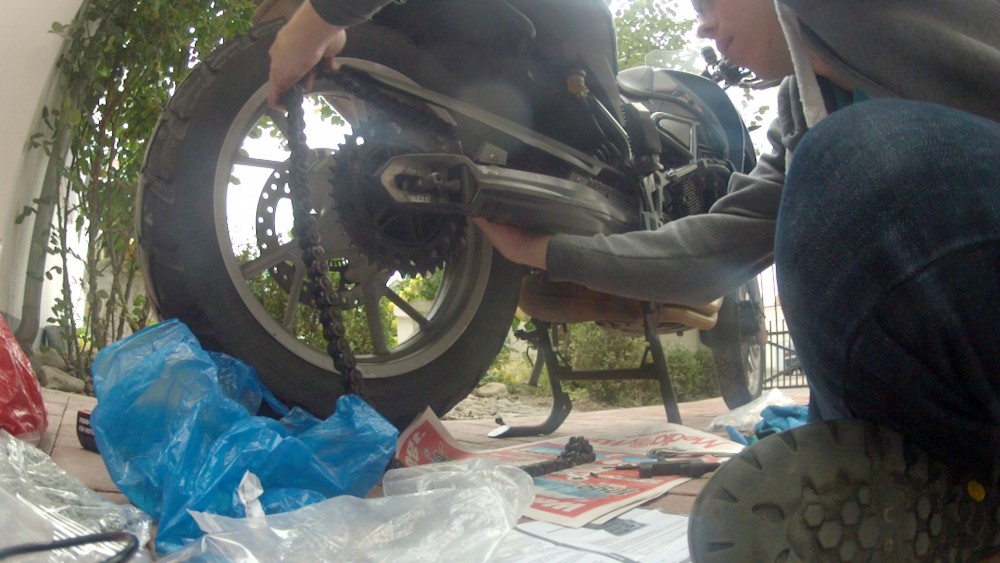
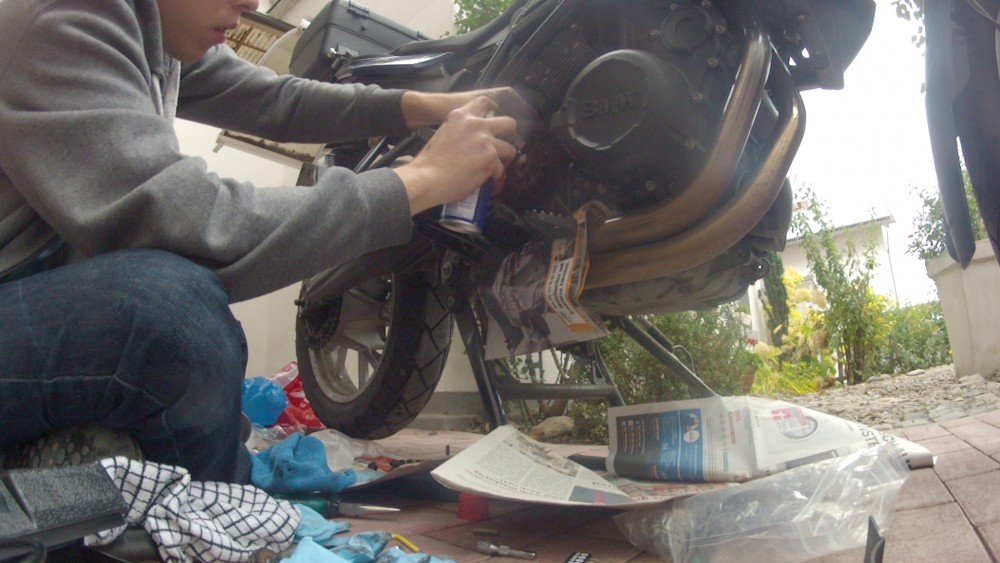
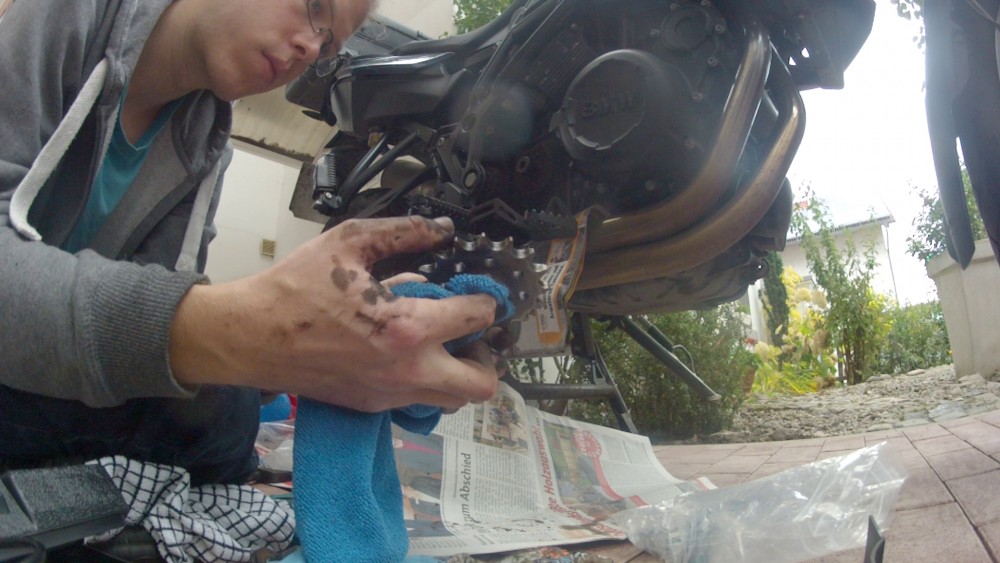
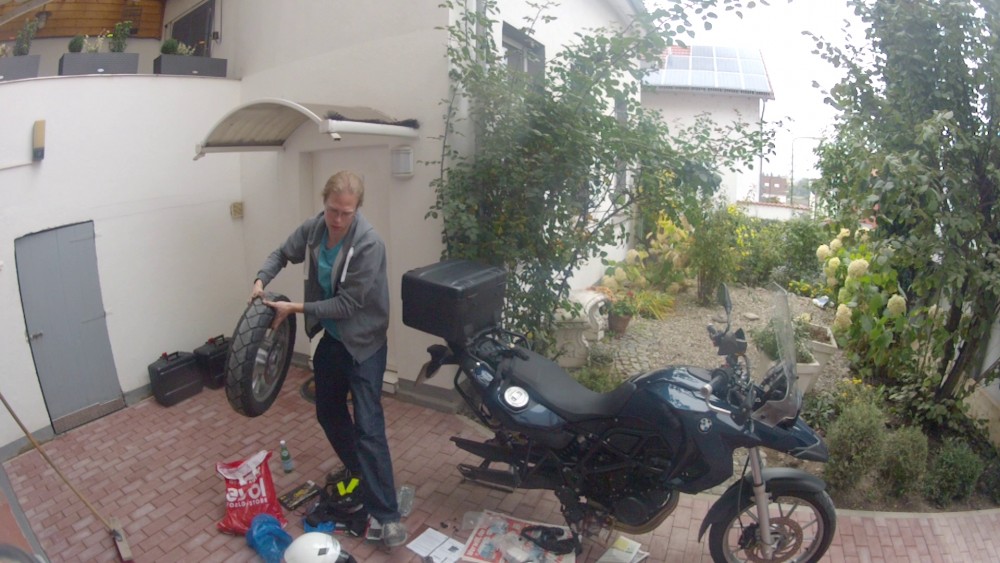
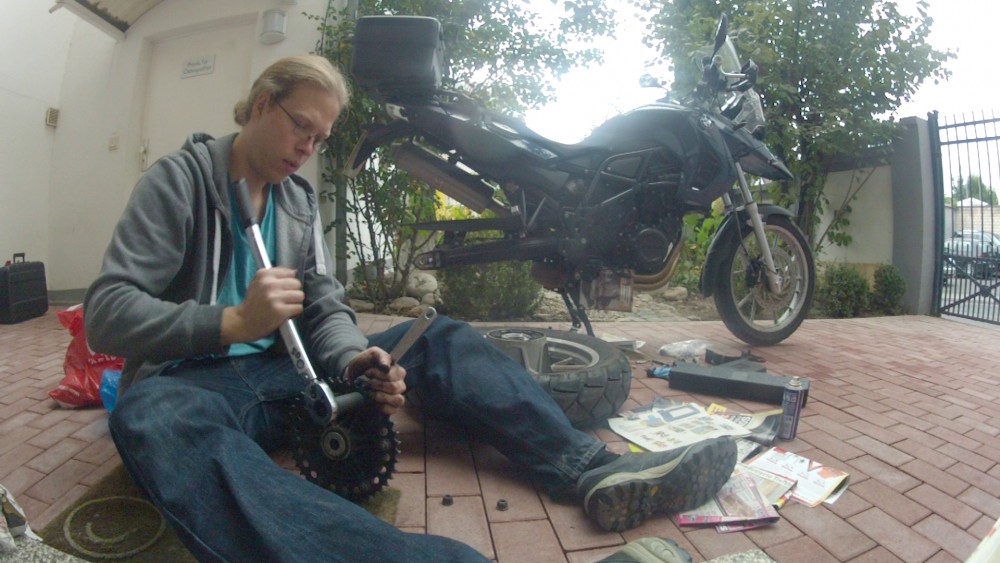
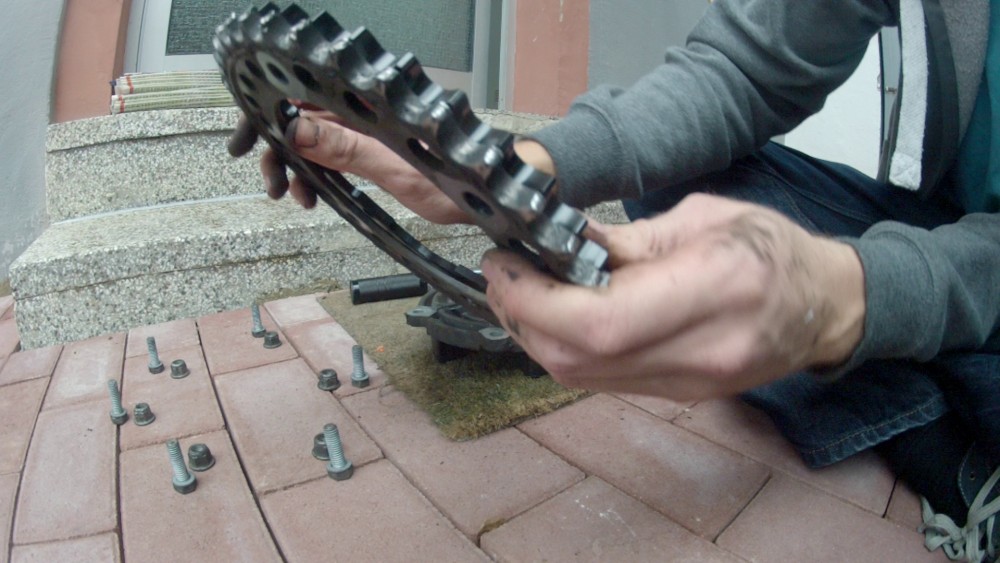
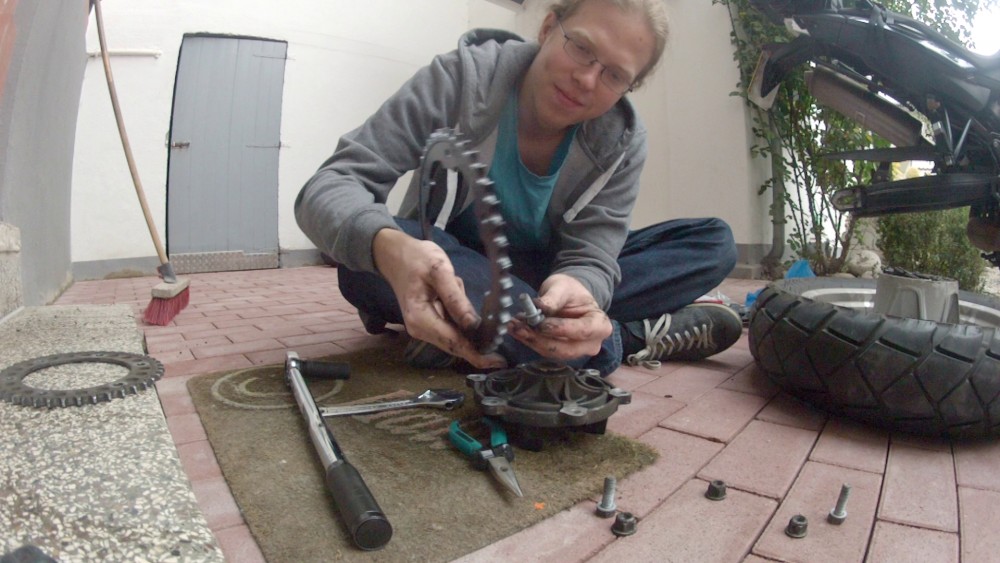
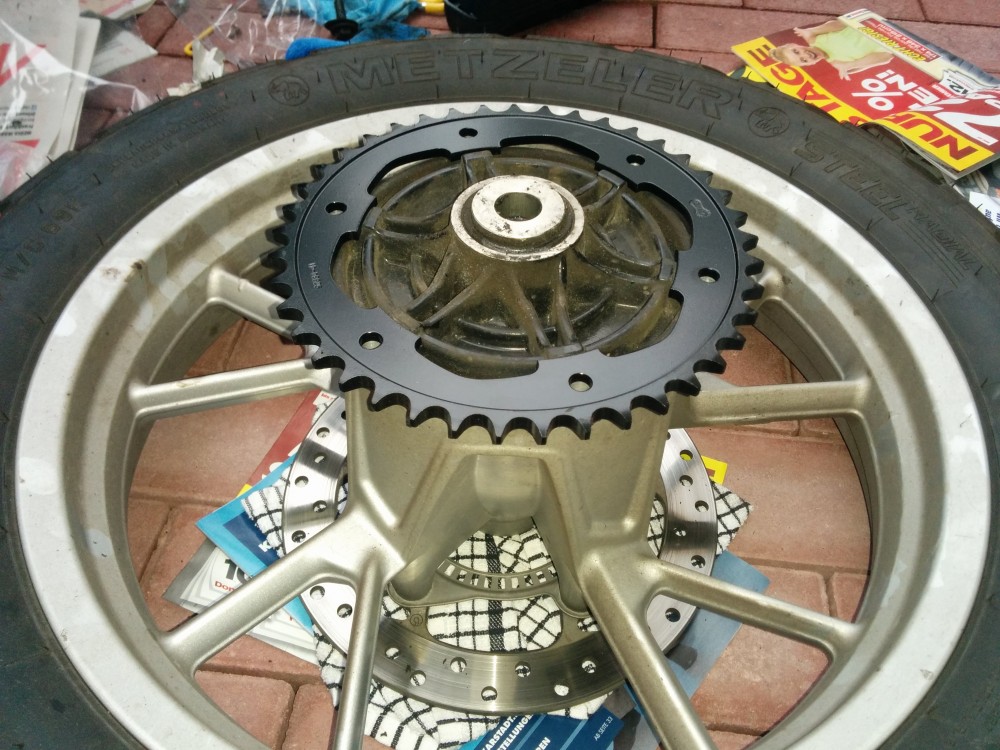
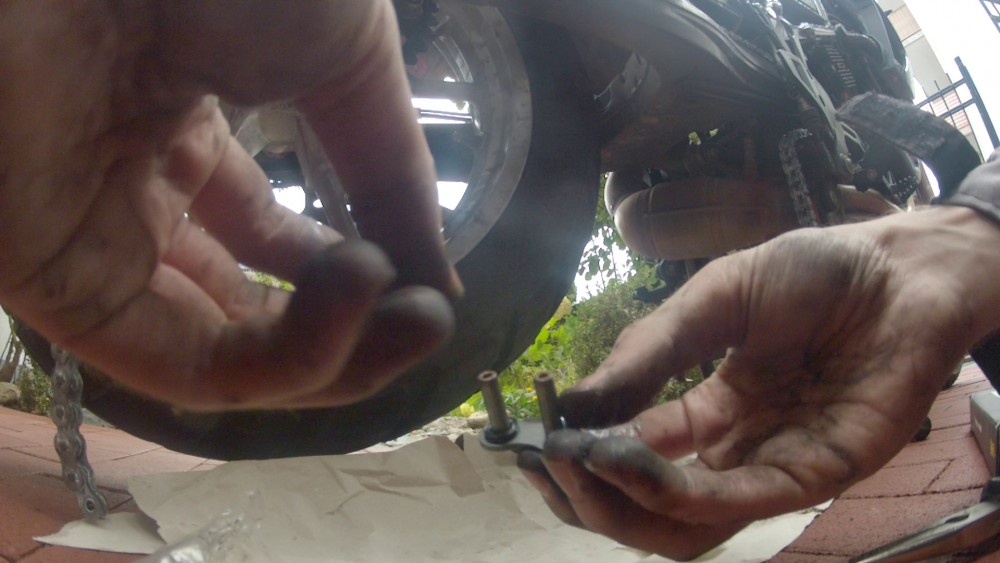
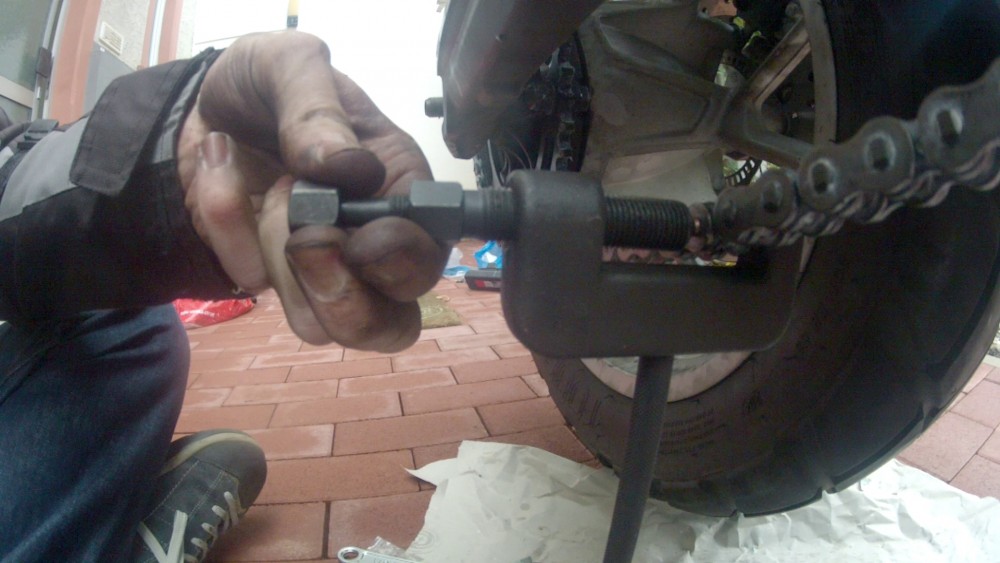
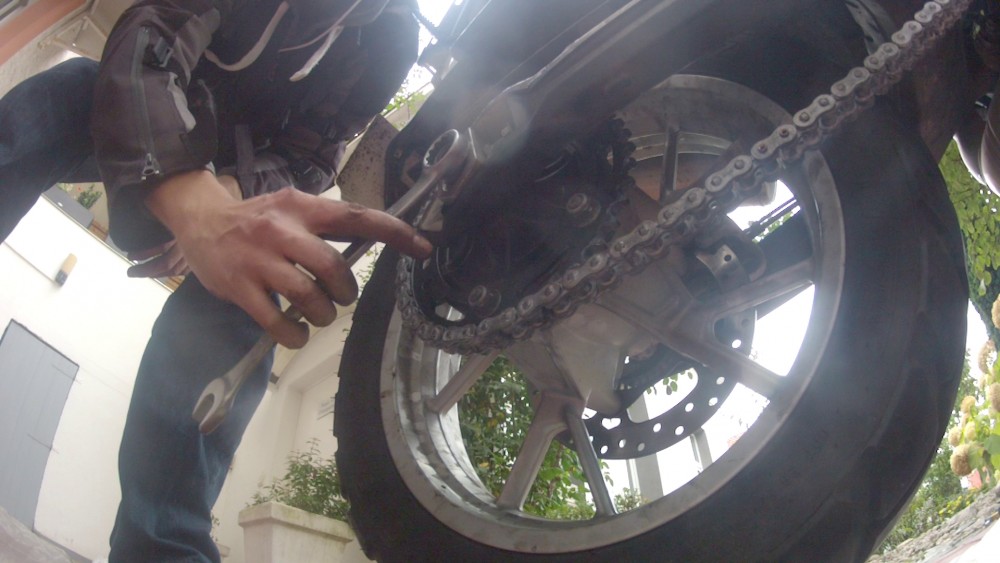
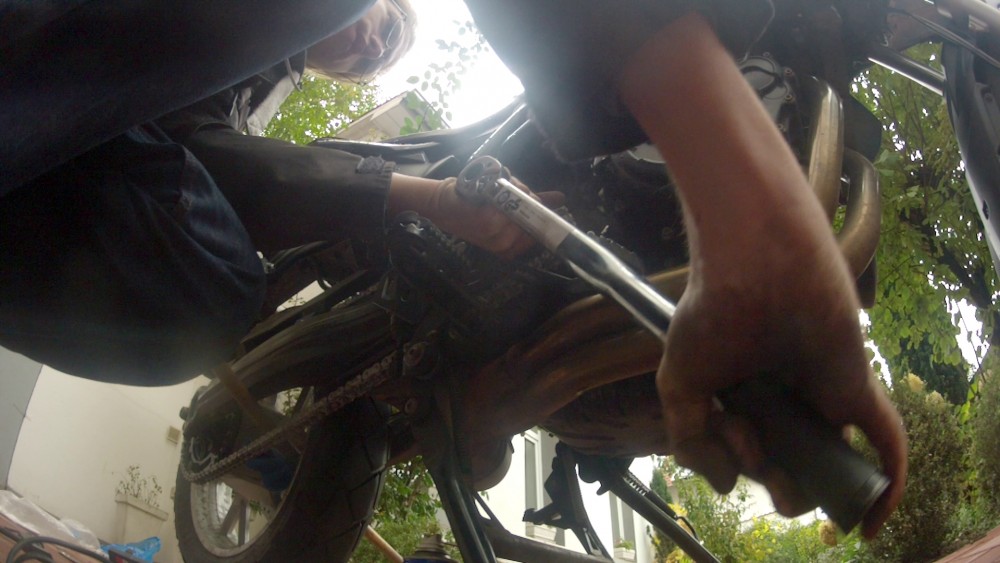
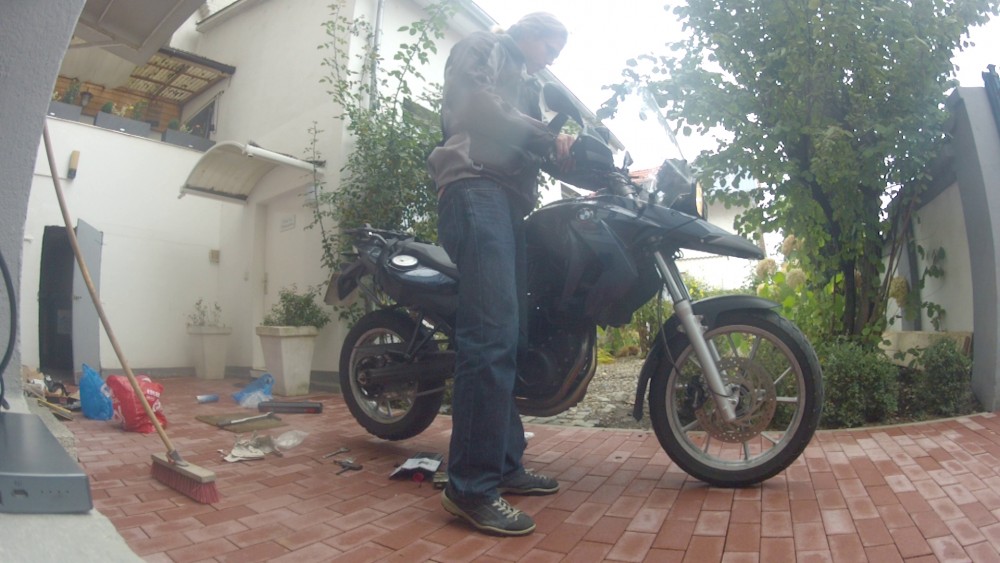
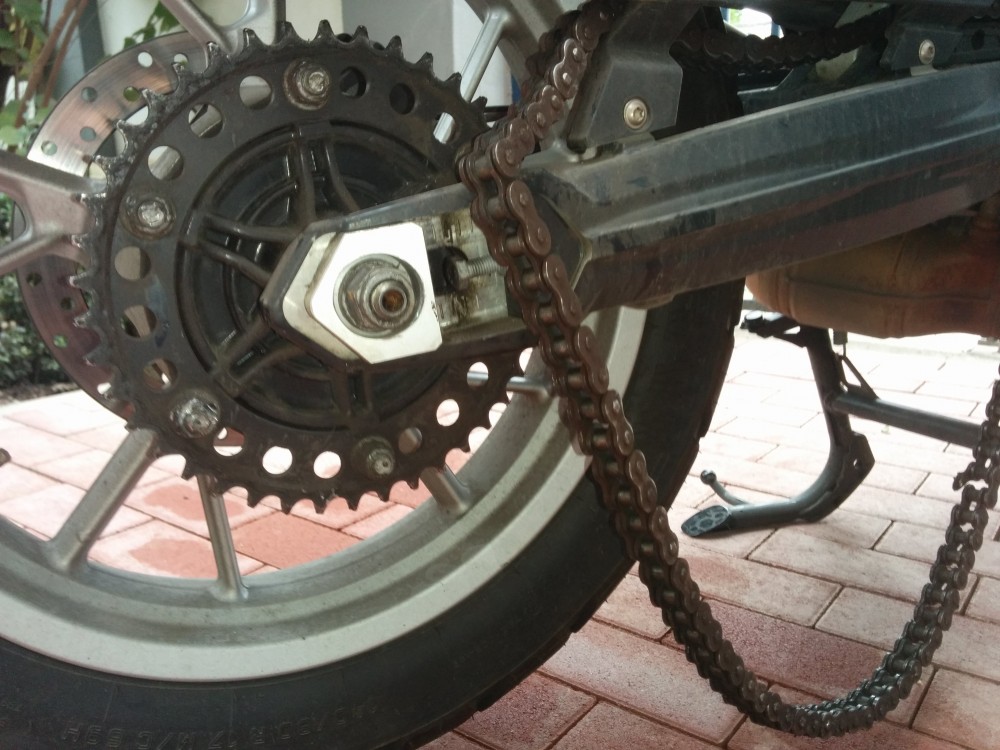
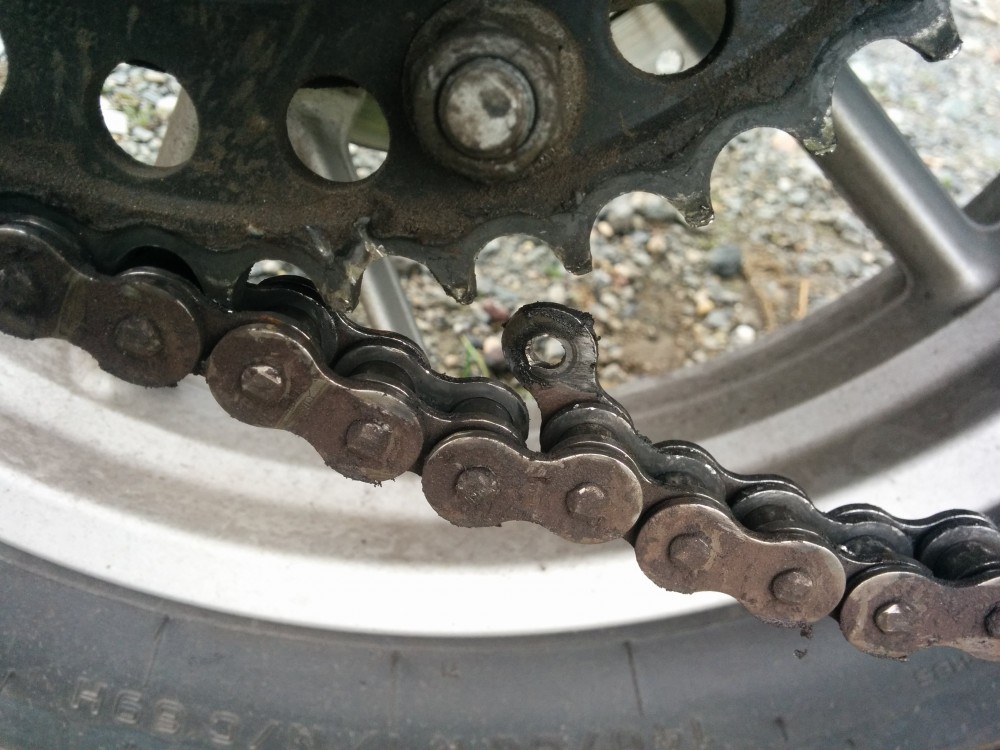
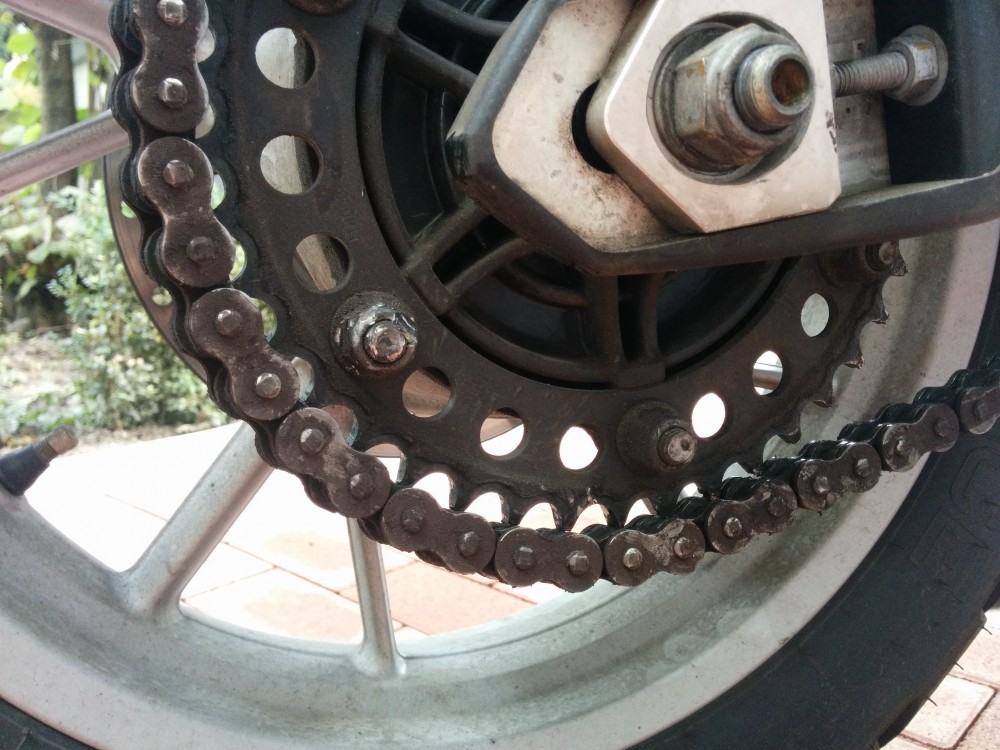
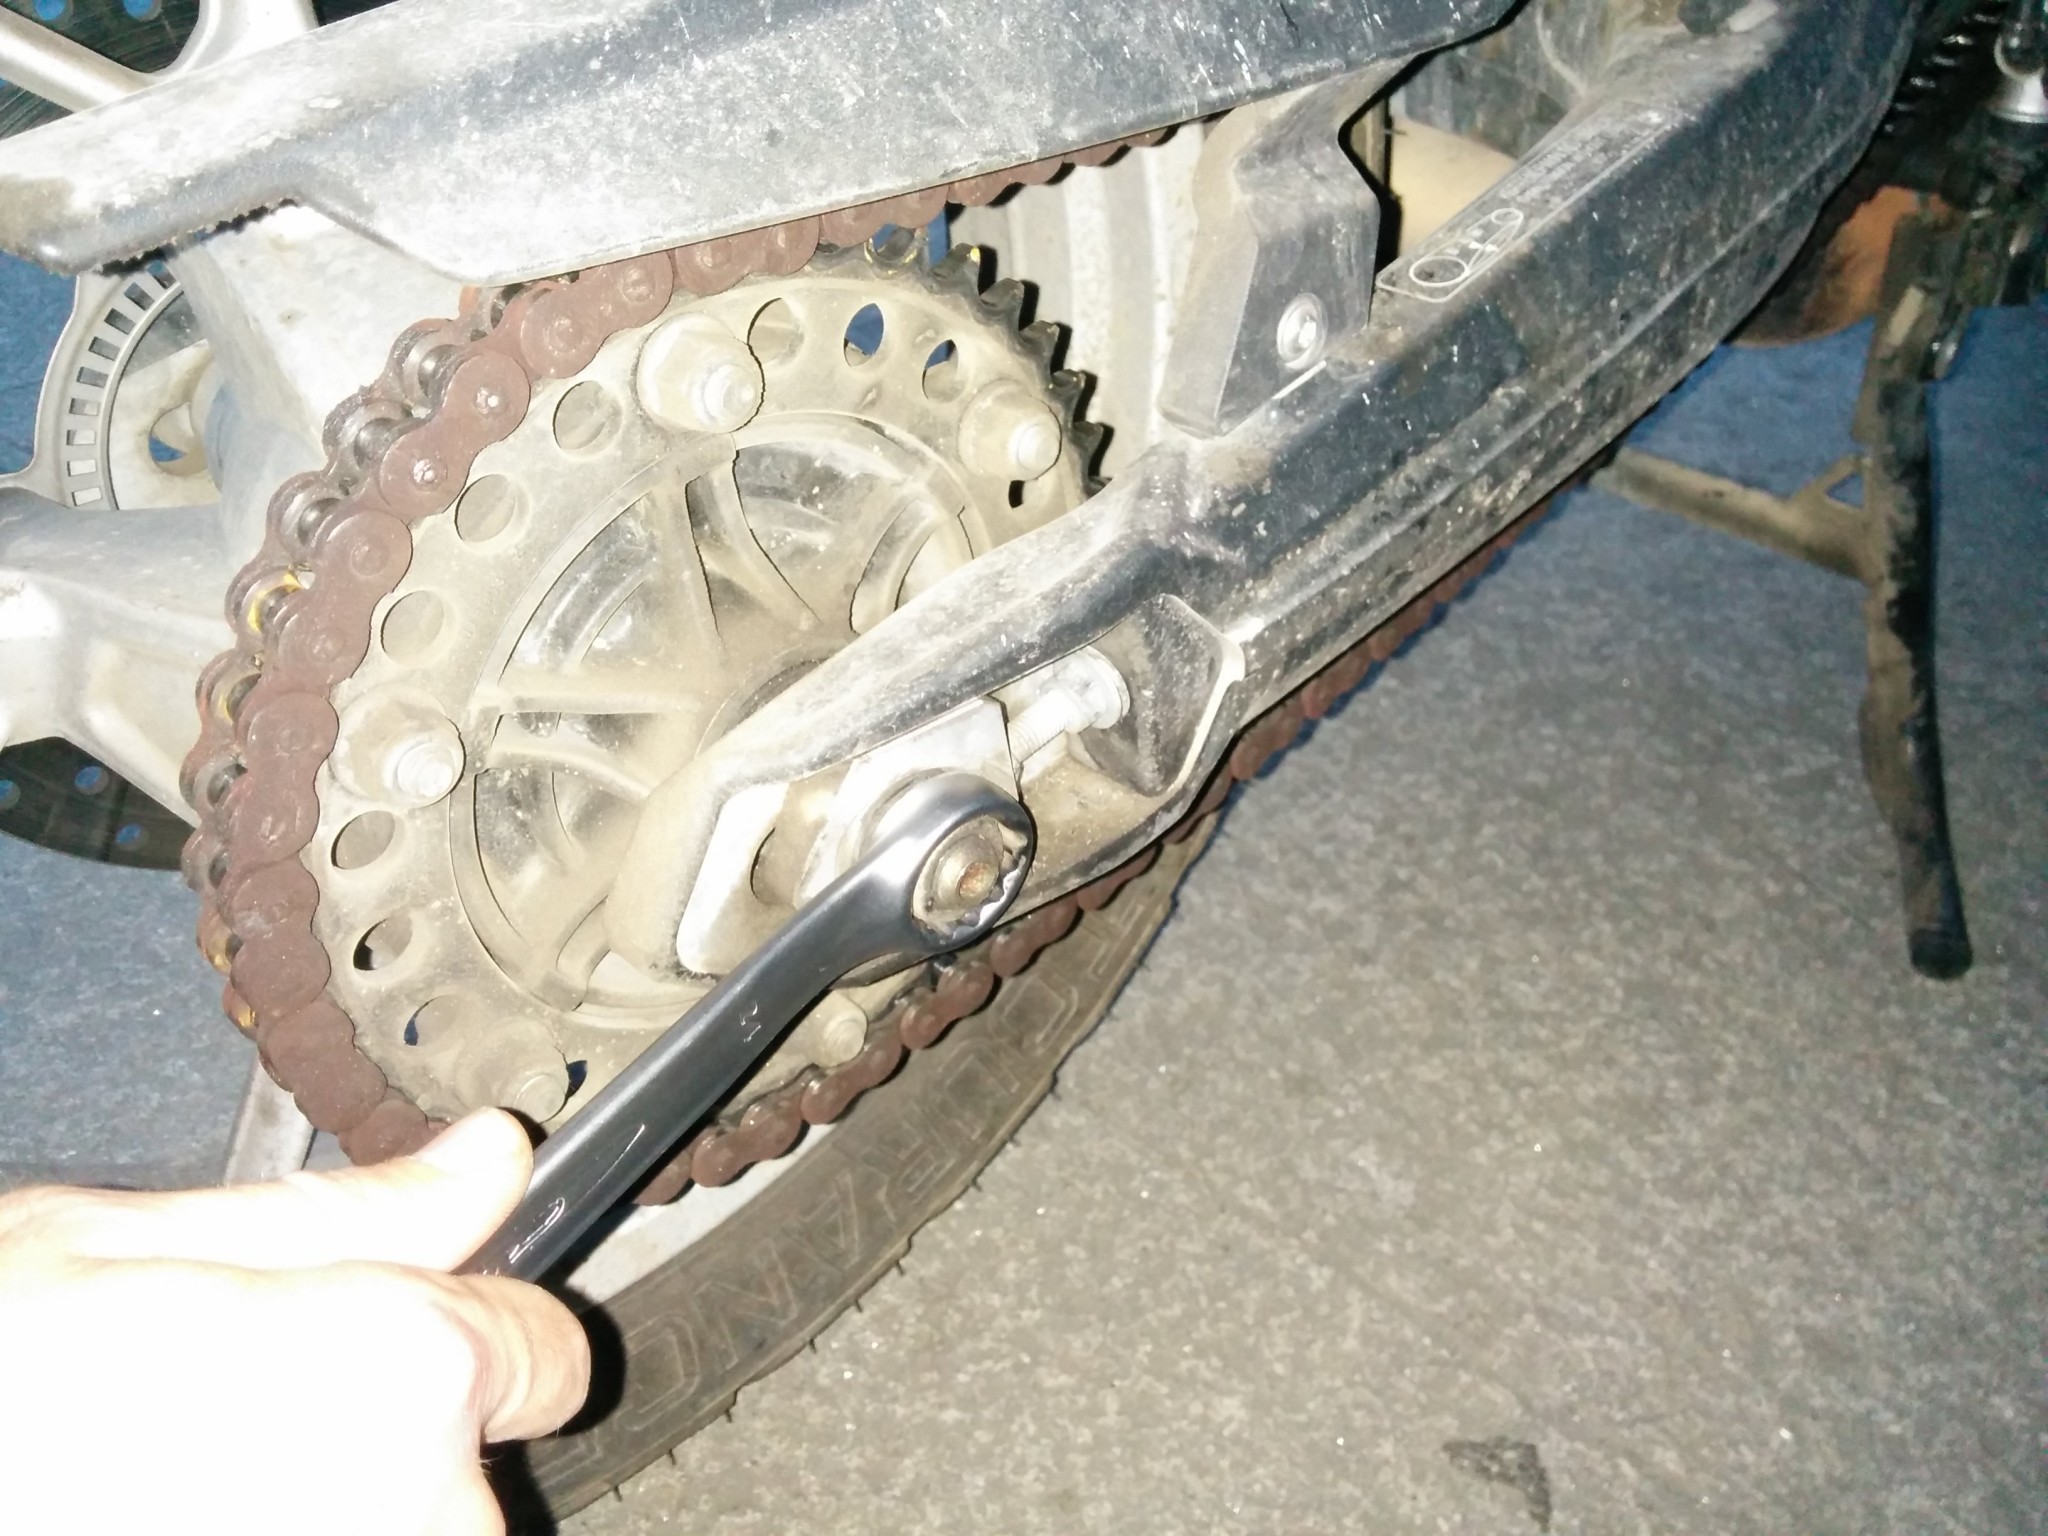
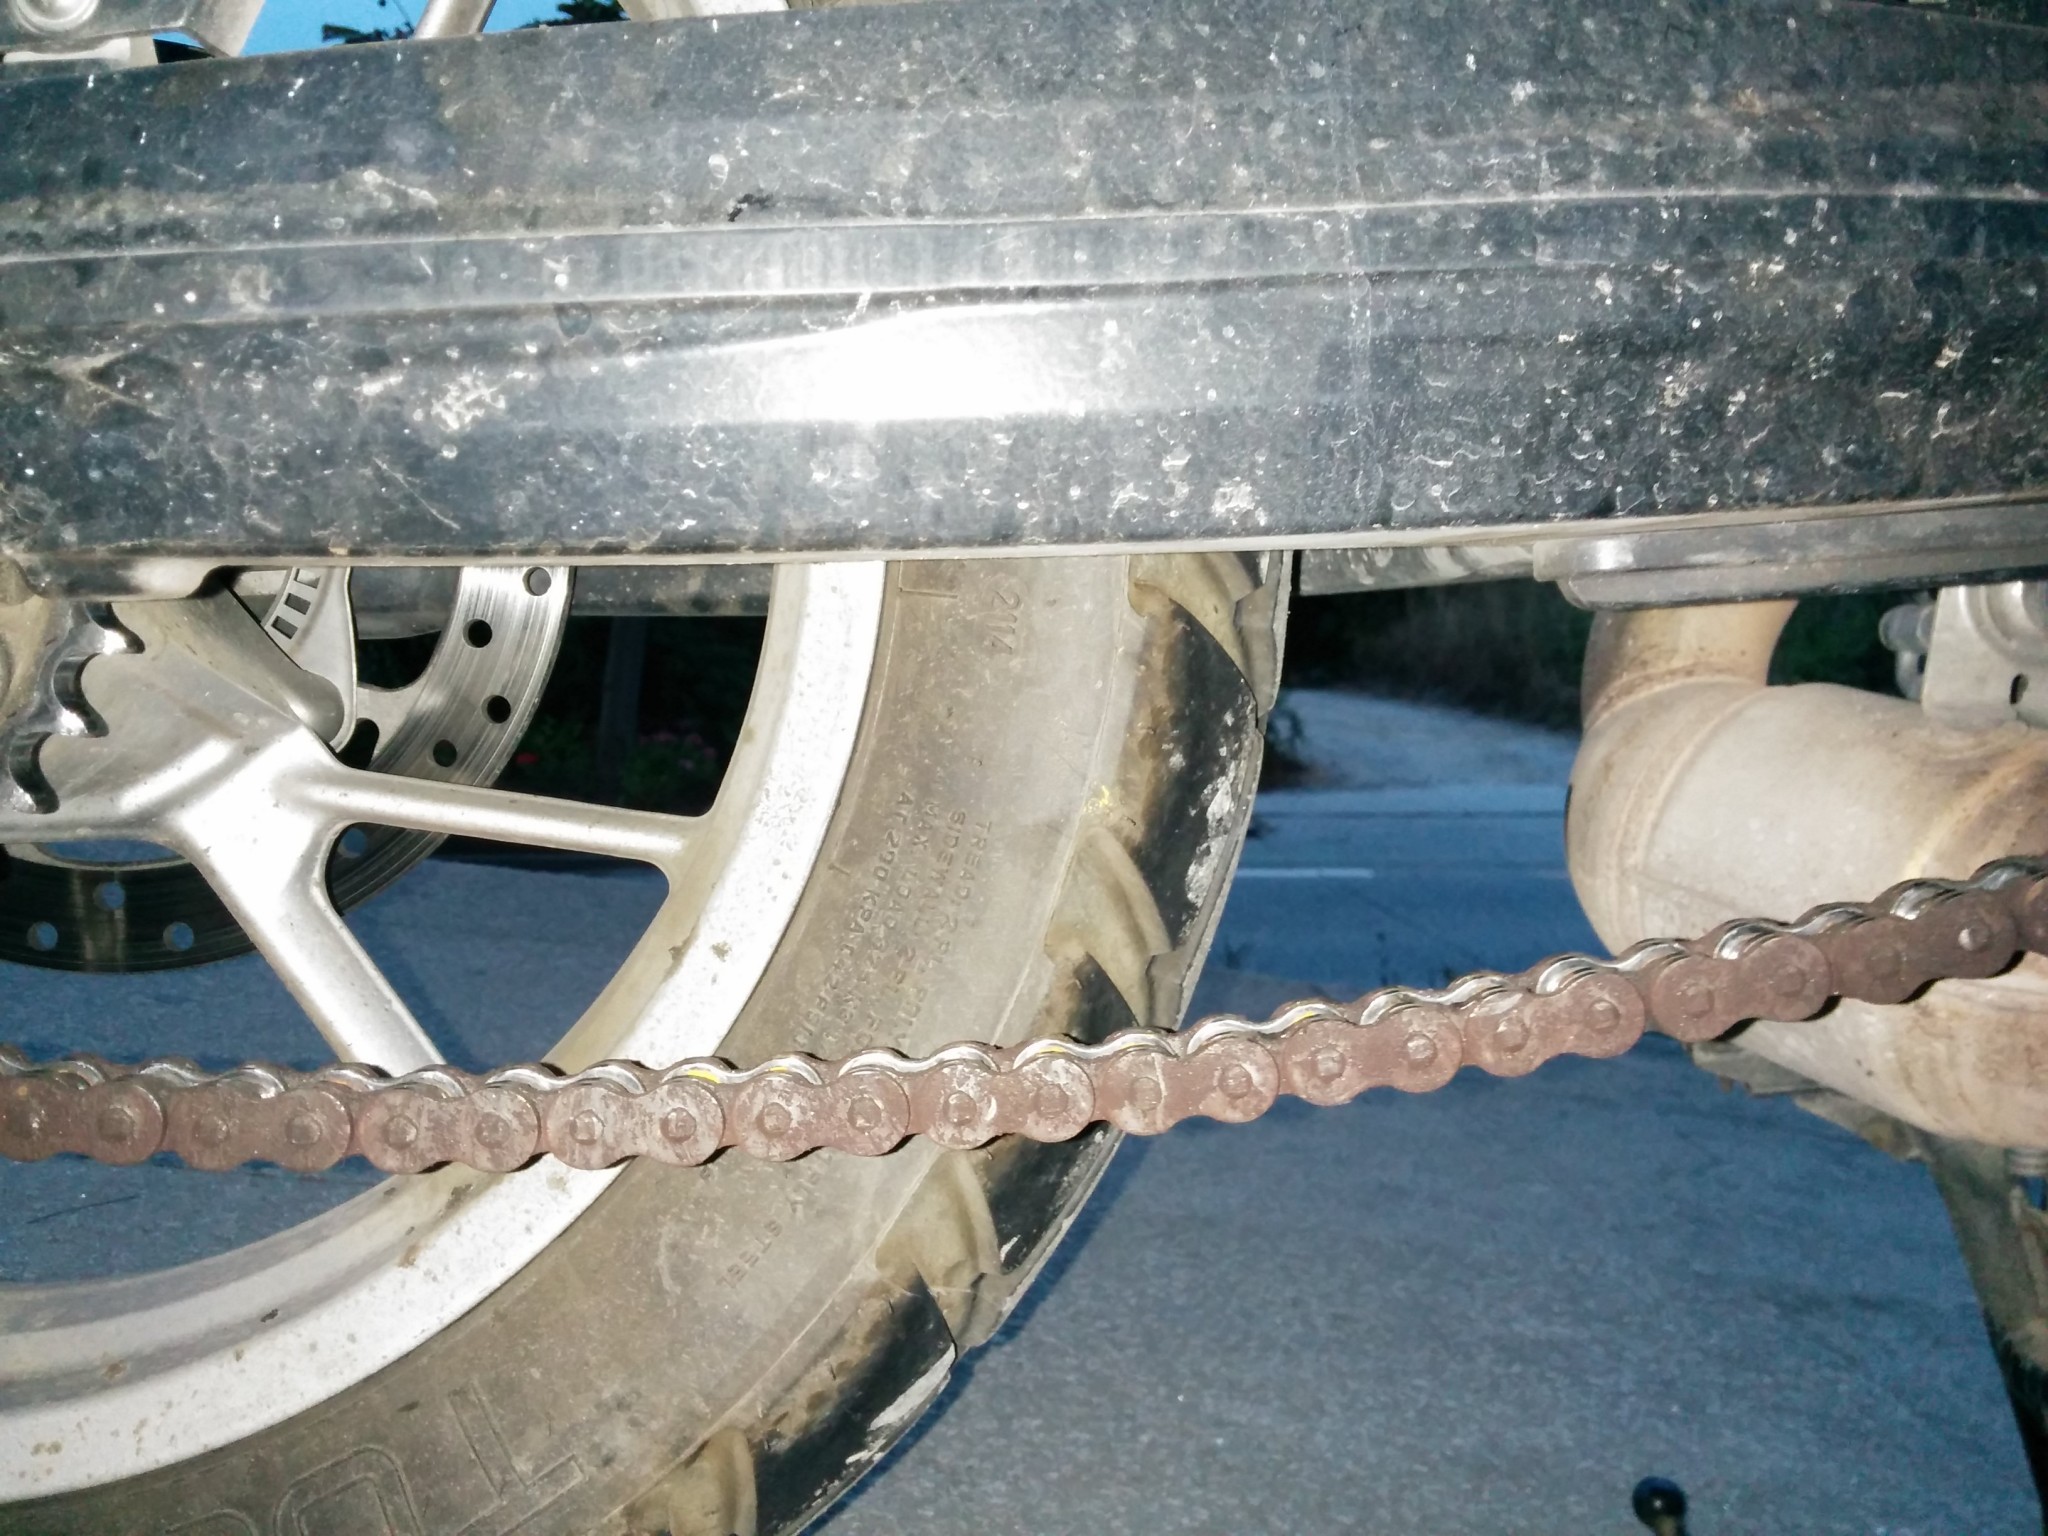
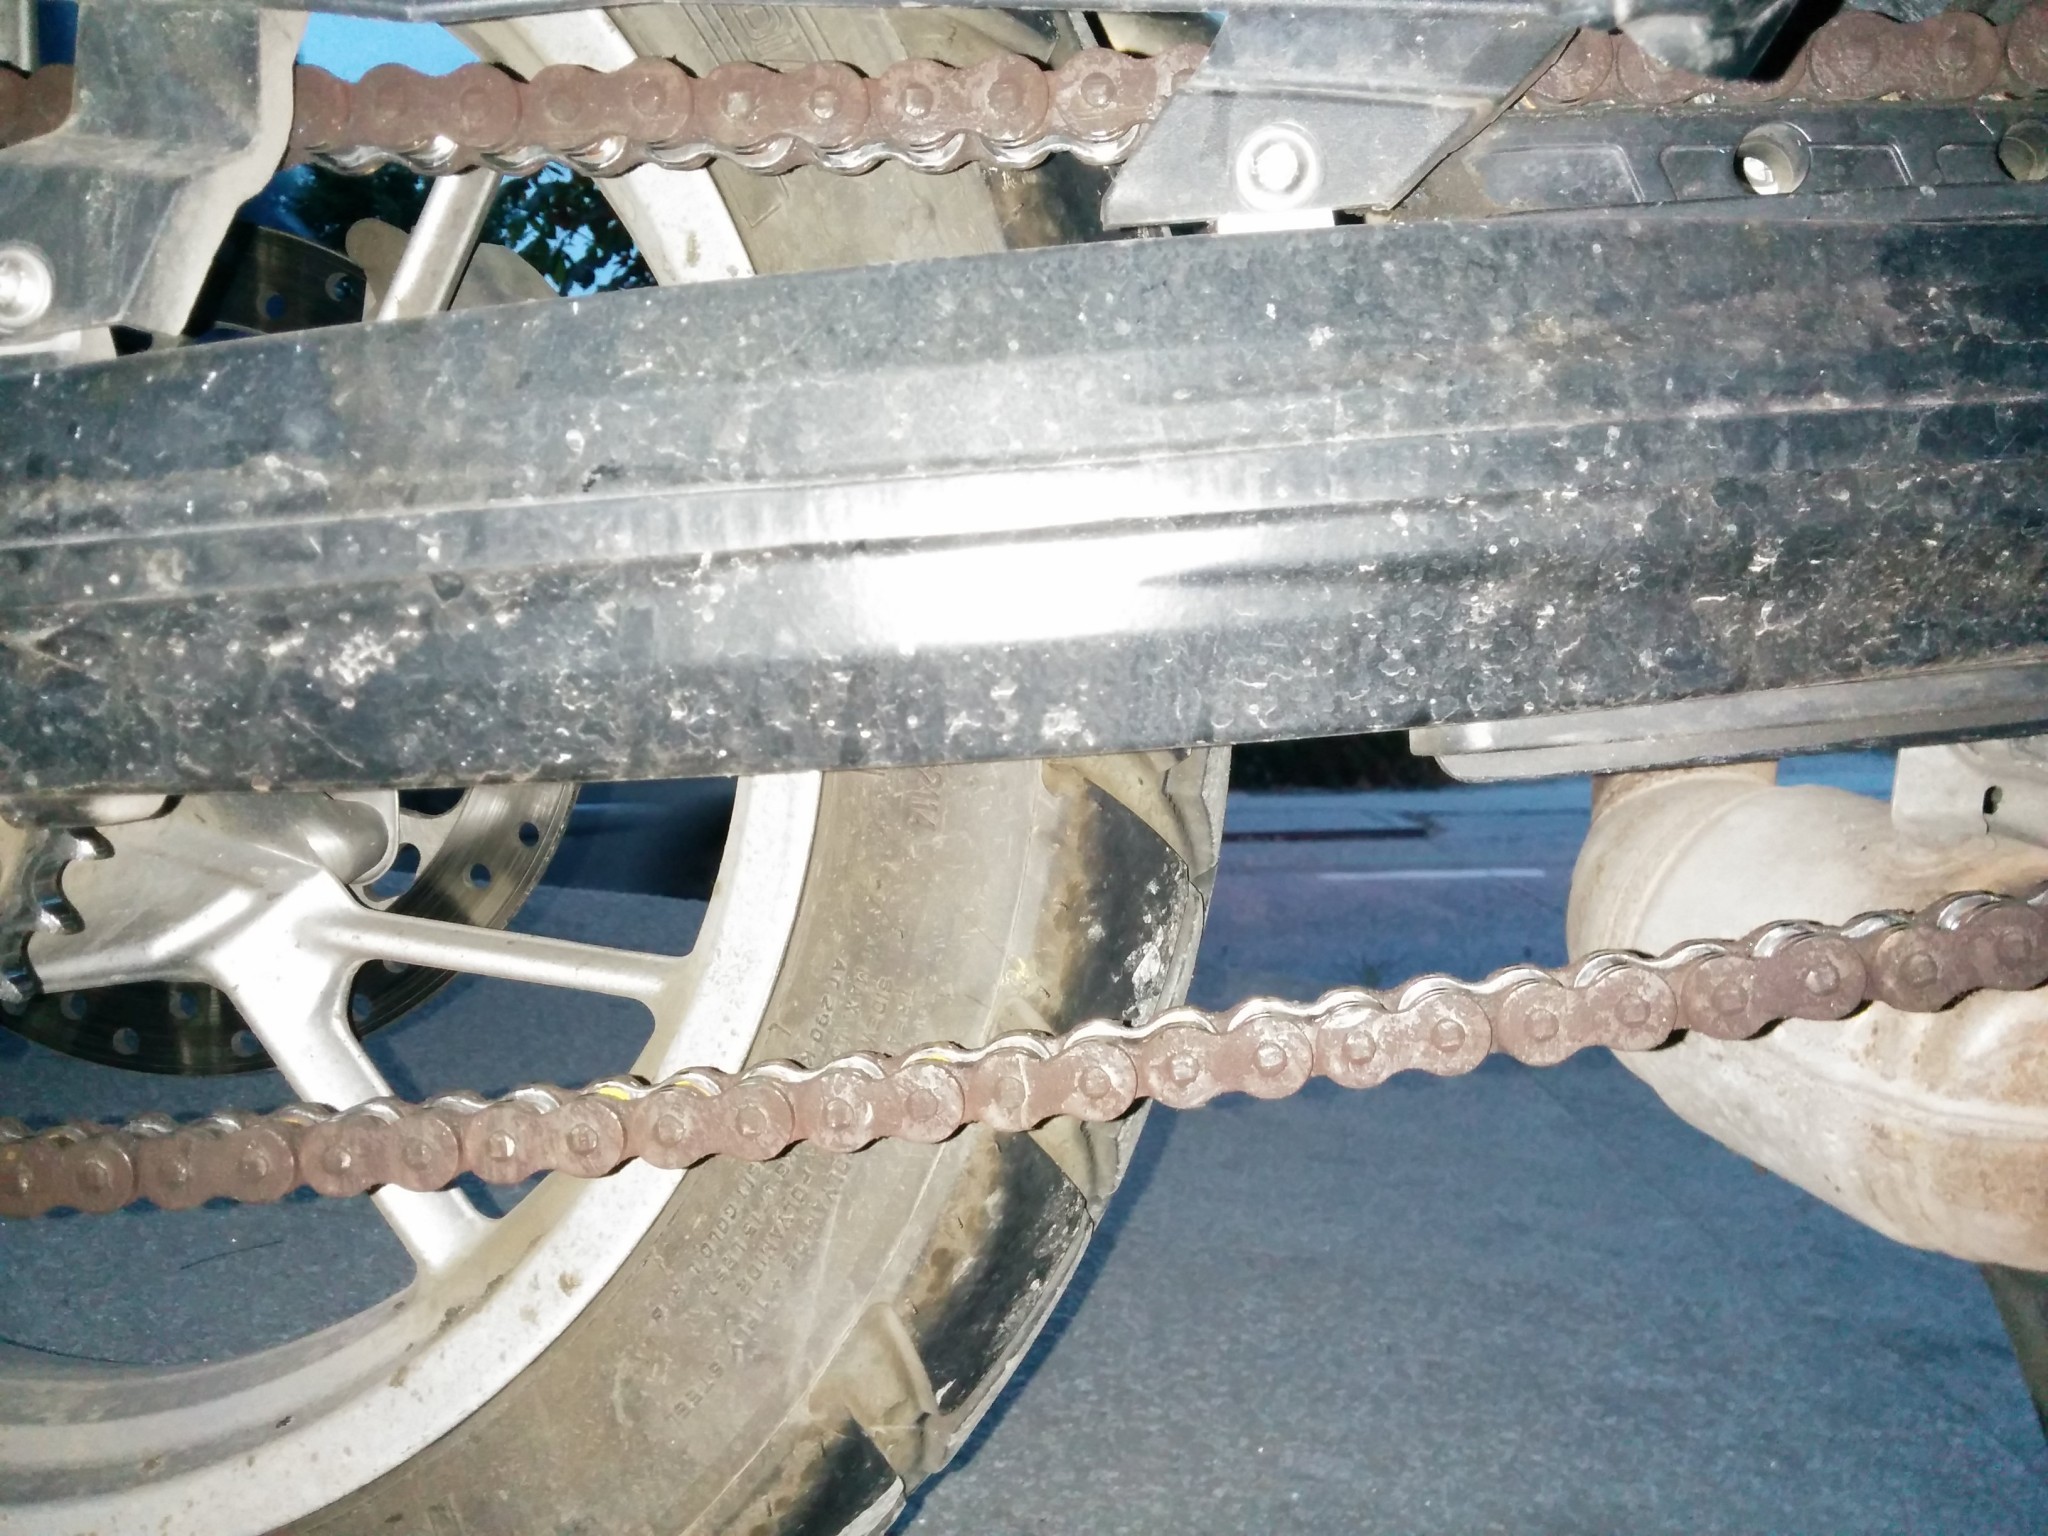
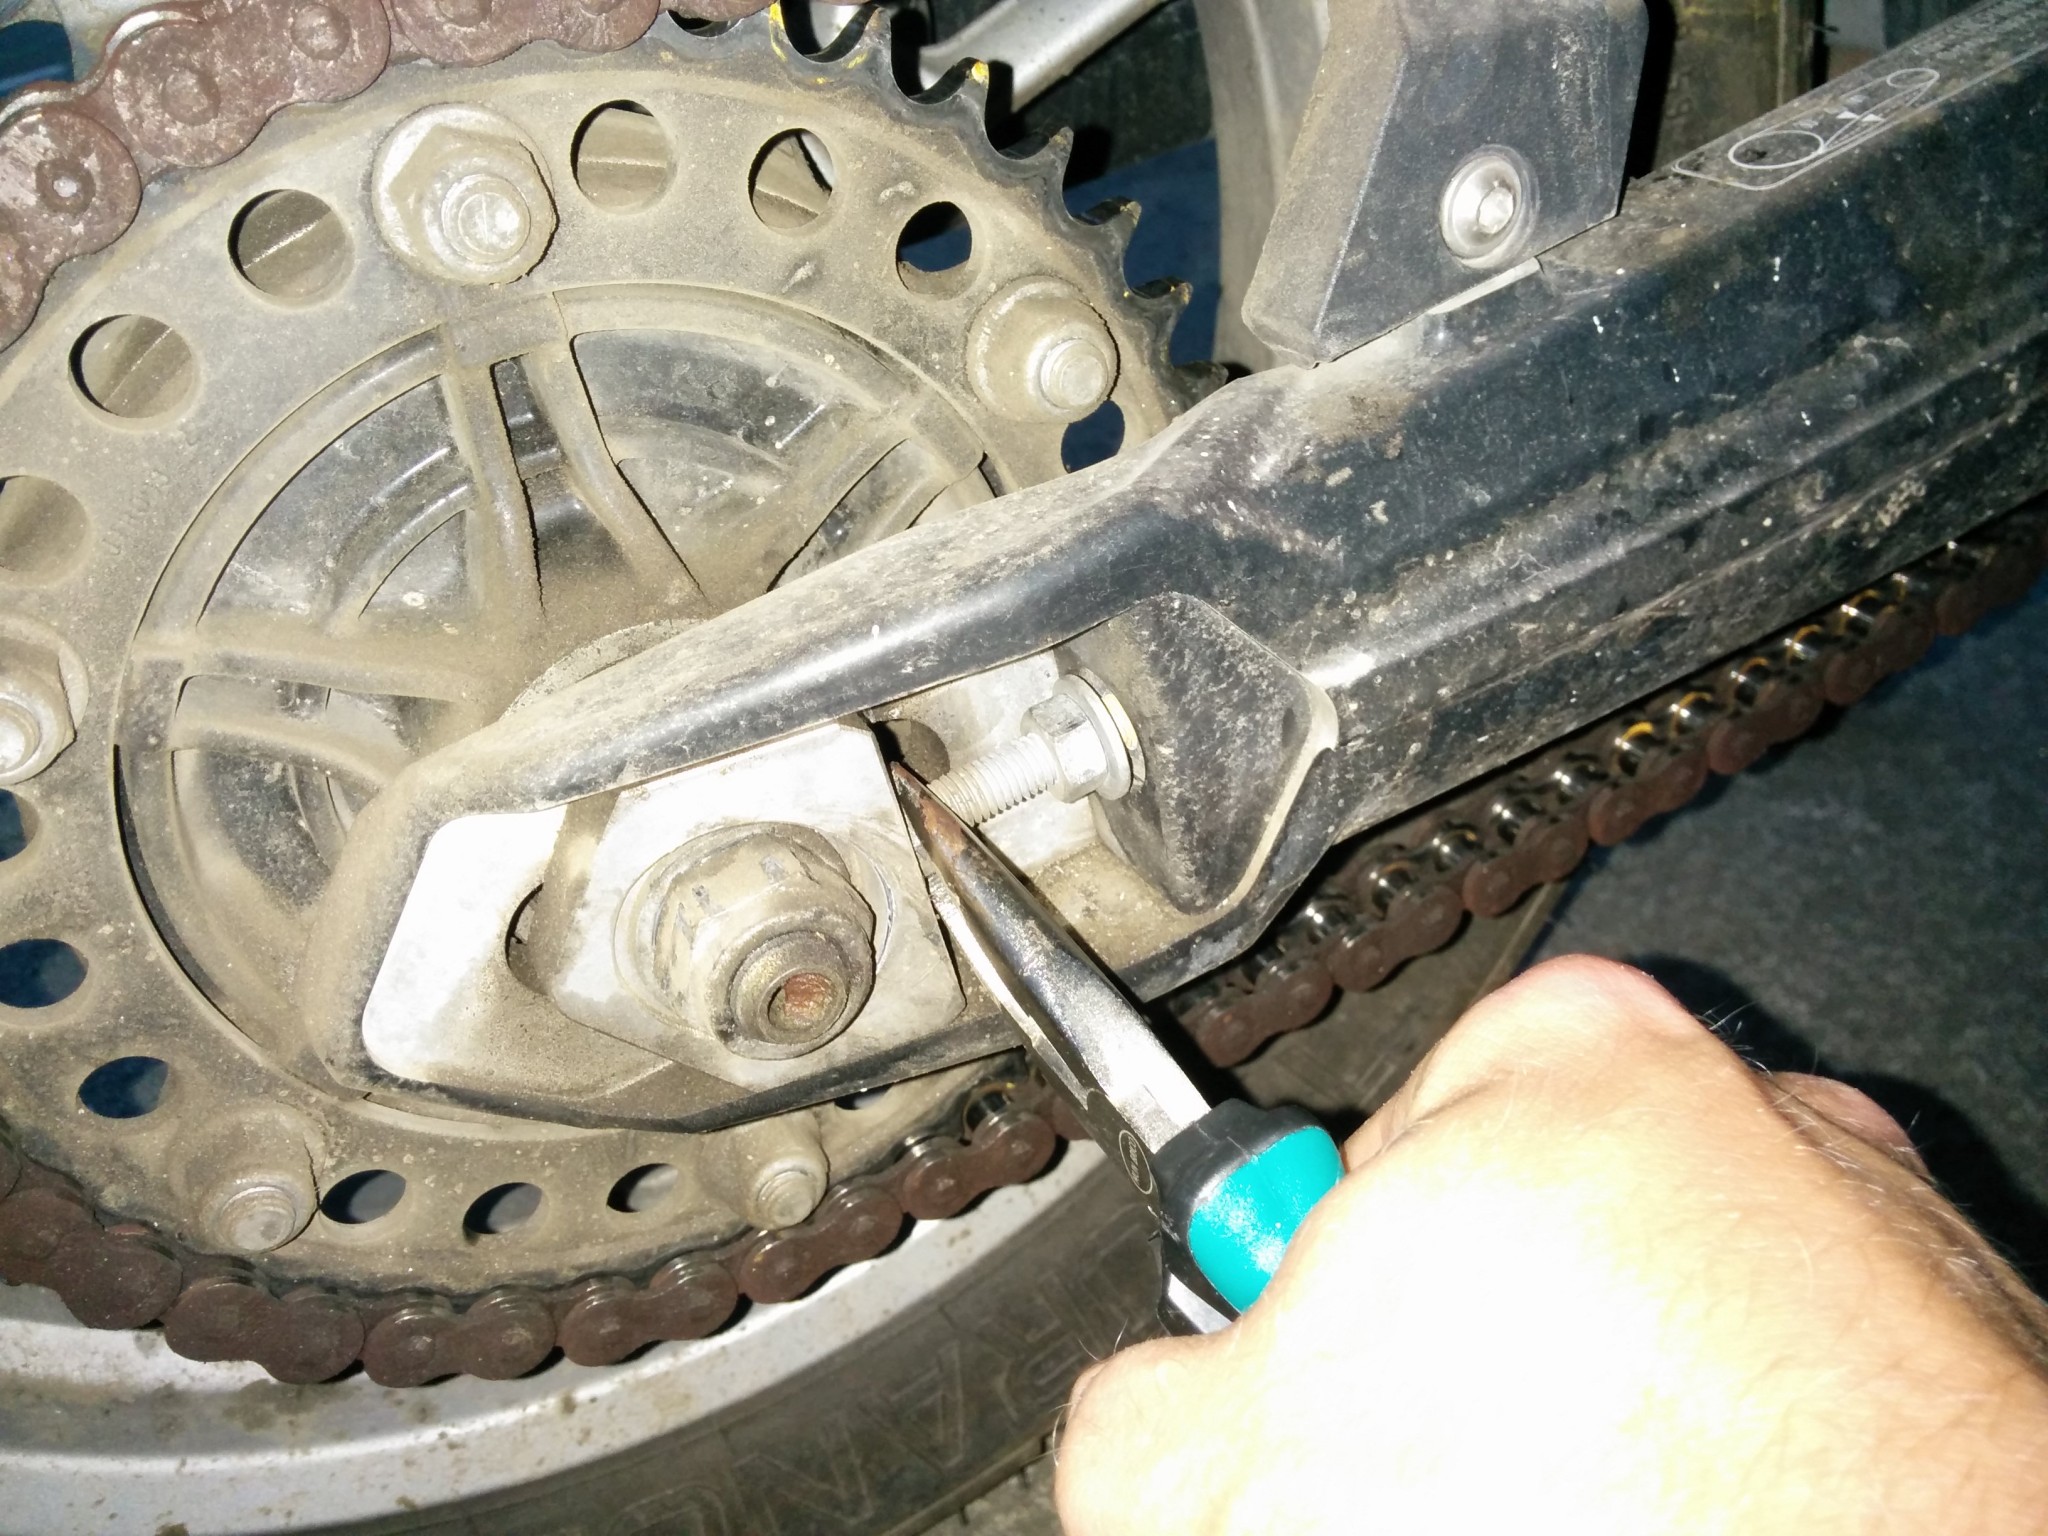
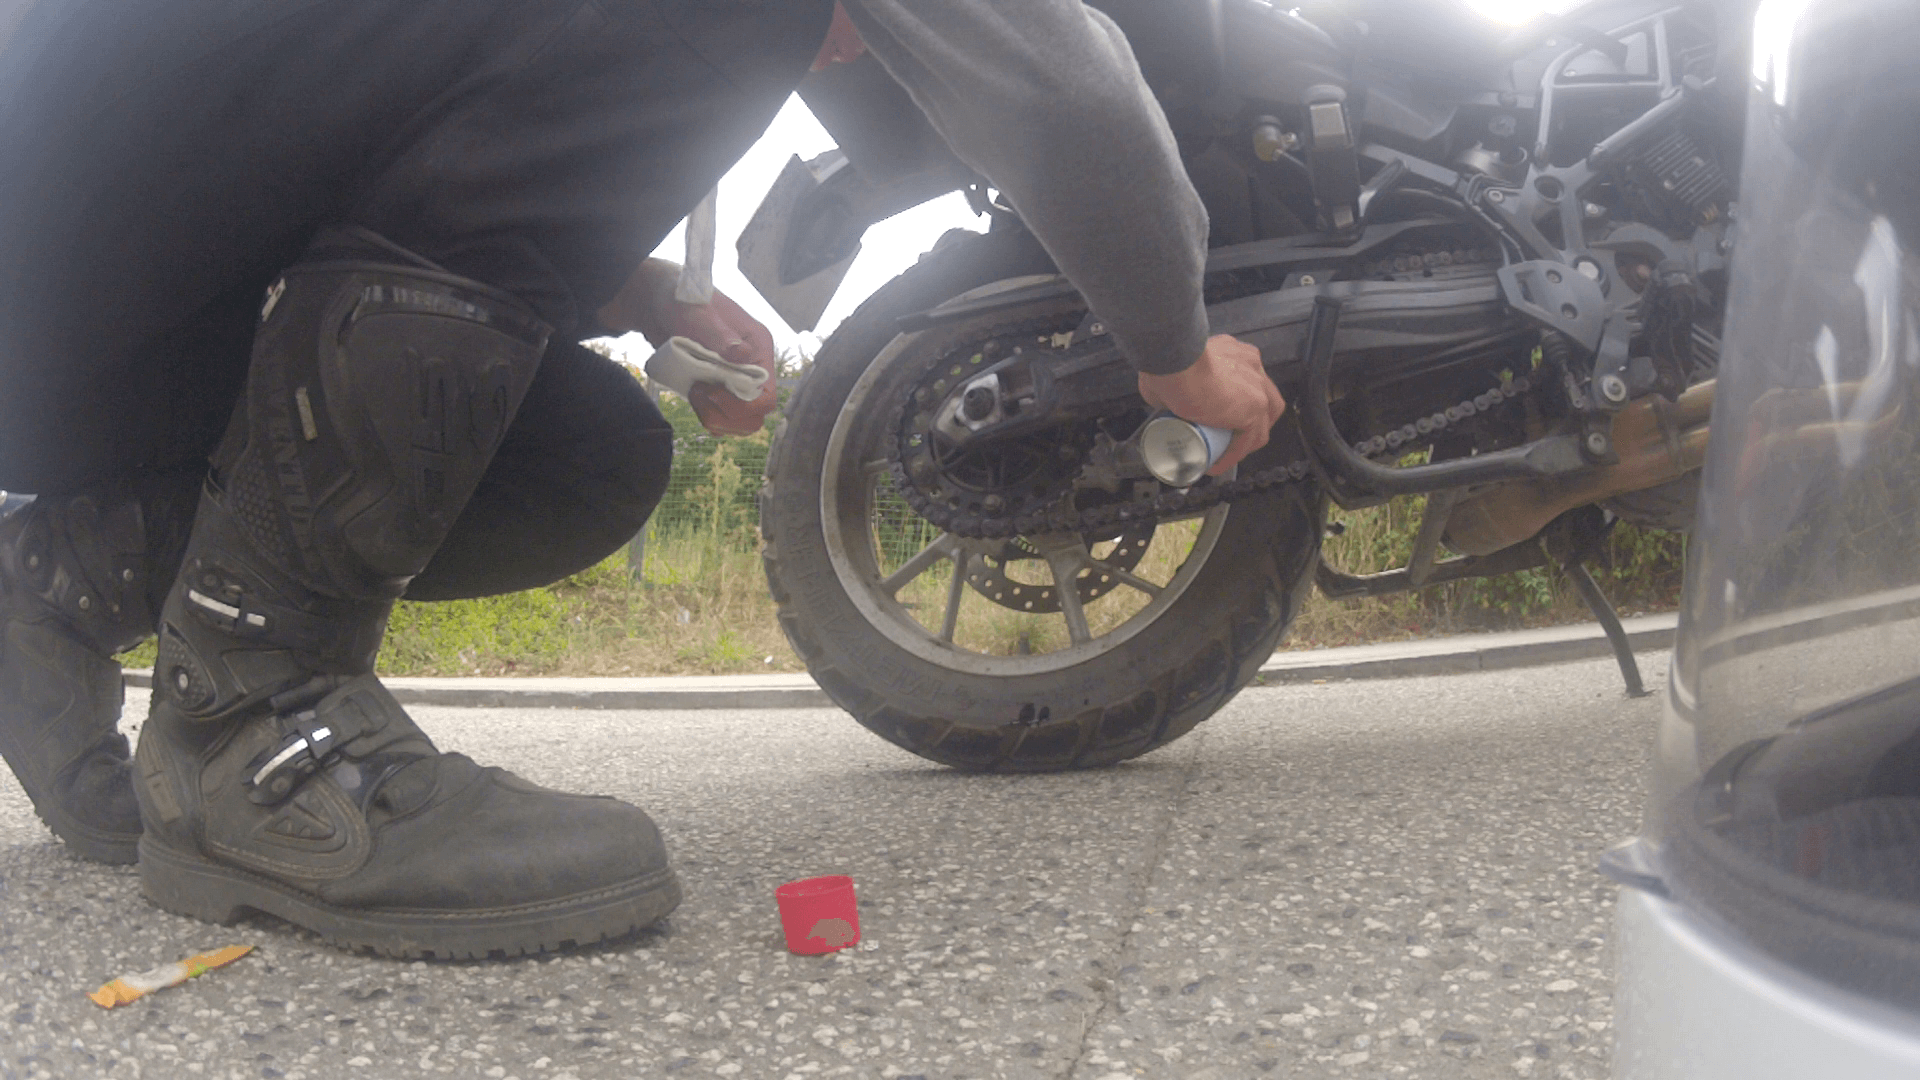
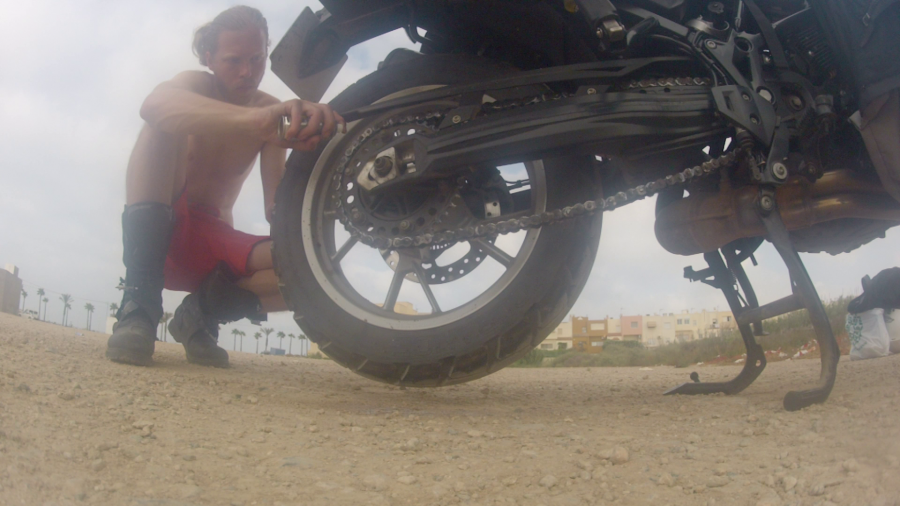
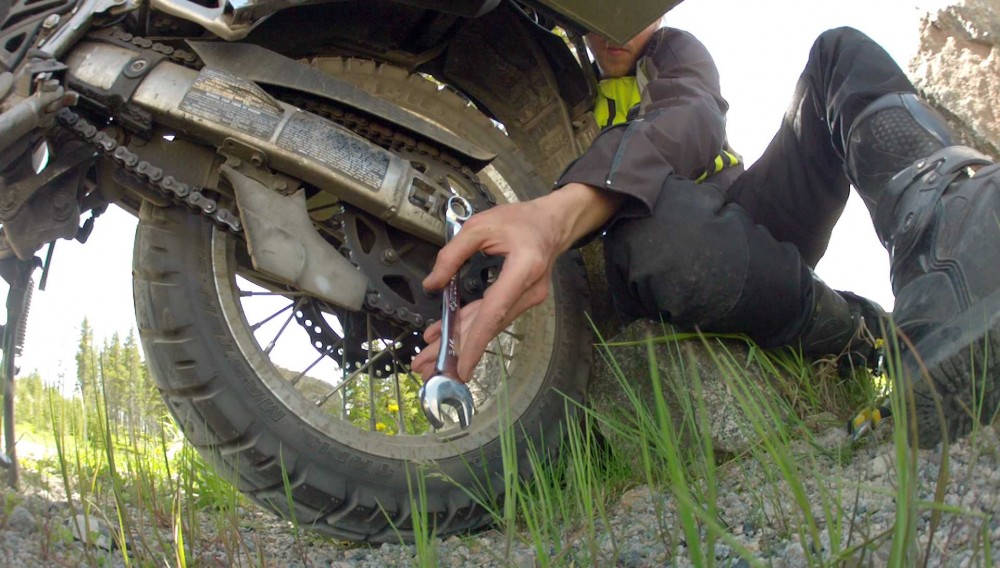
Progress didn’t last long and the bikes handling showed me that it too needed attention. A chain adjustment was in order which I could do in the shade of a little tree which even had a chair ready for me.

_mg_6042_

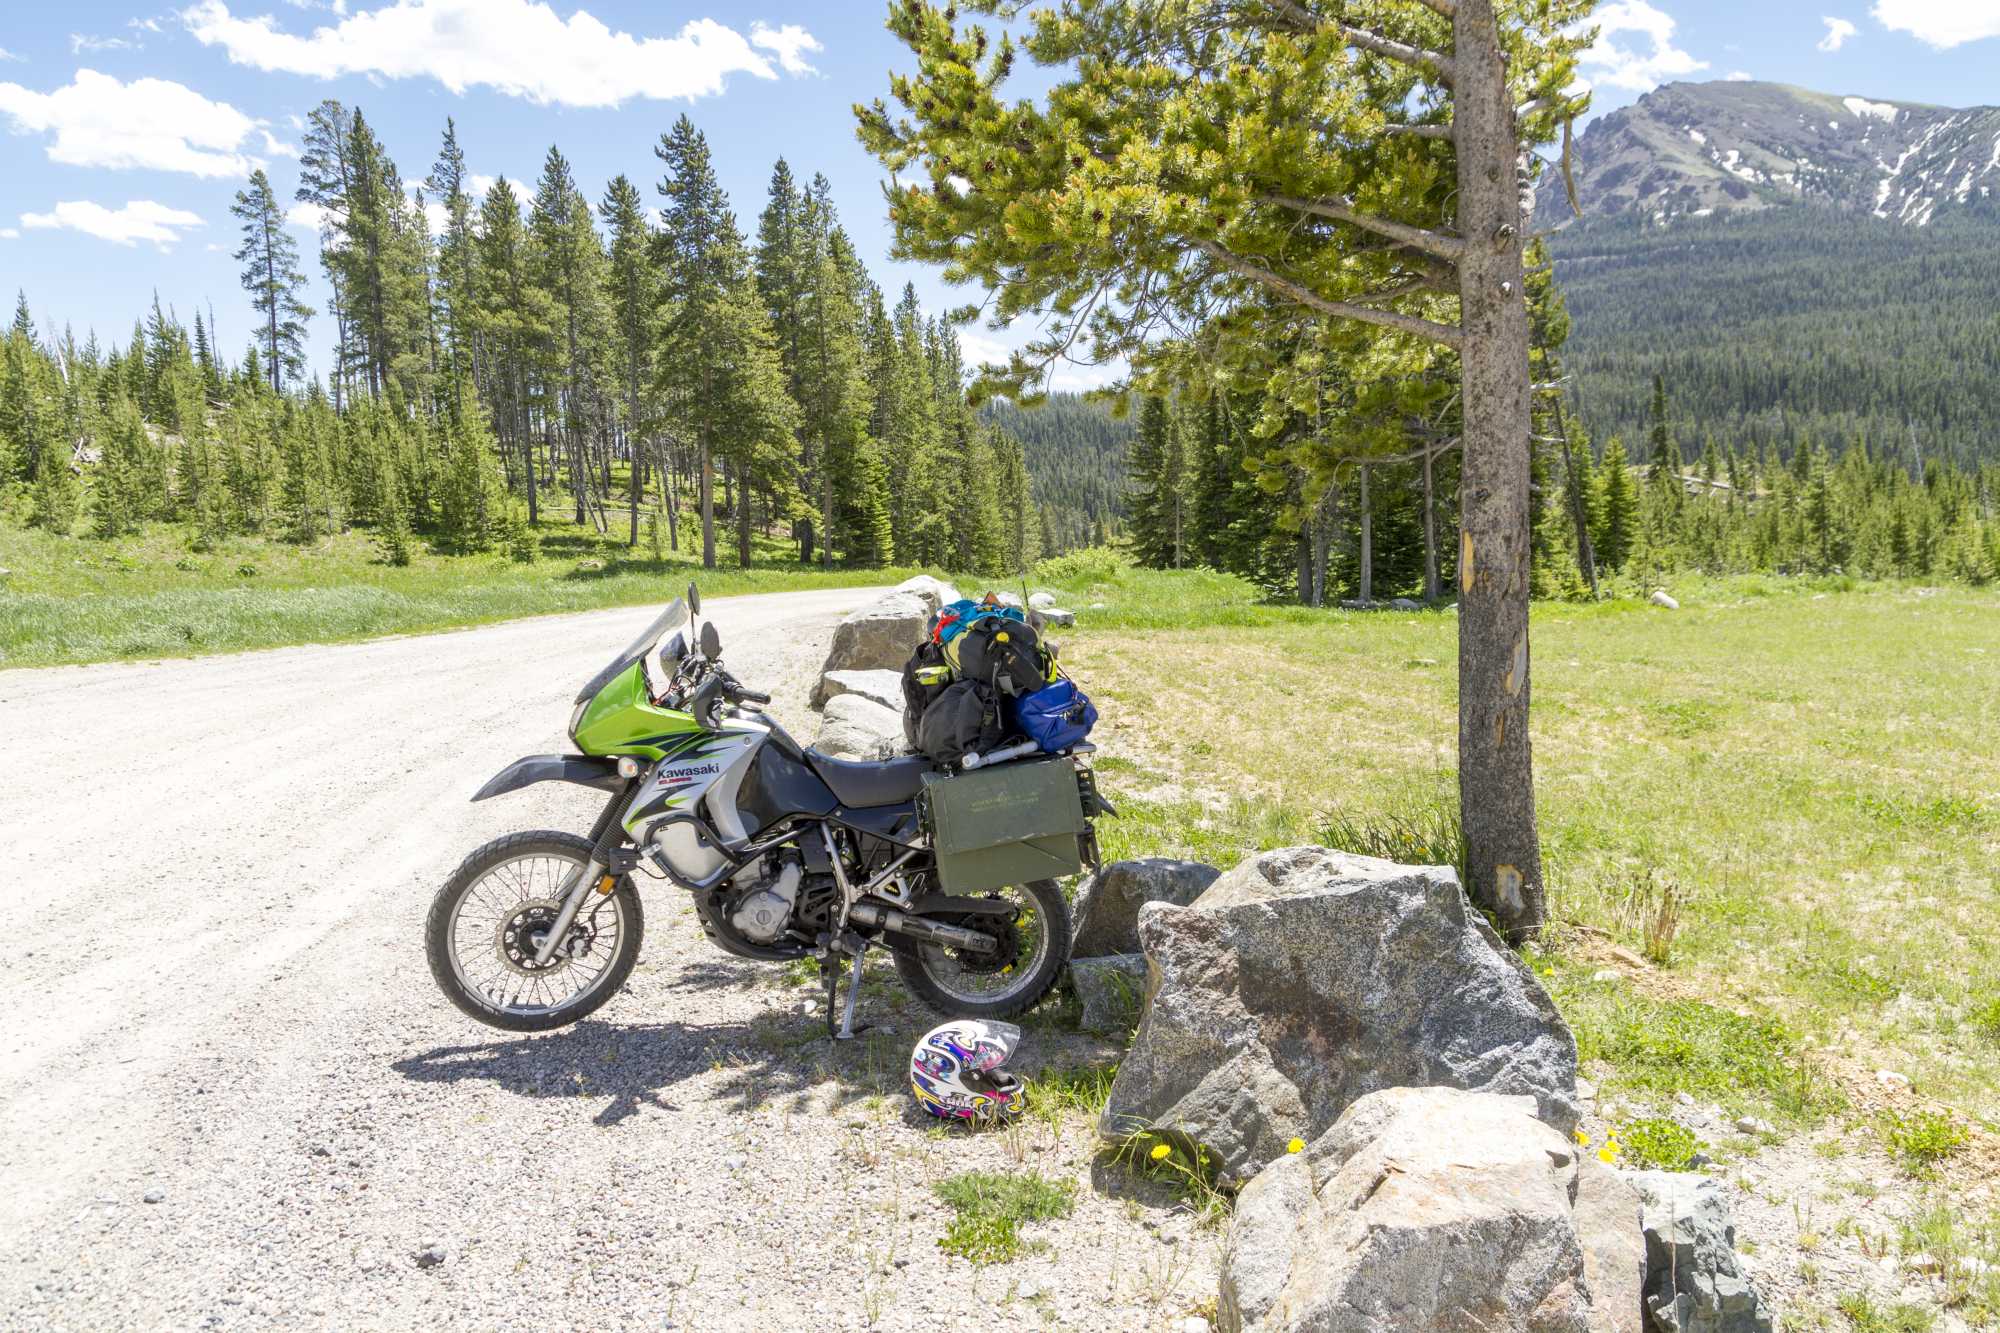
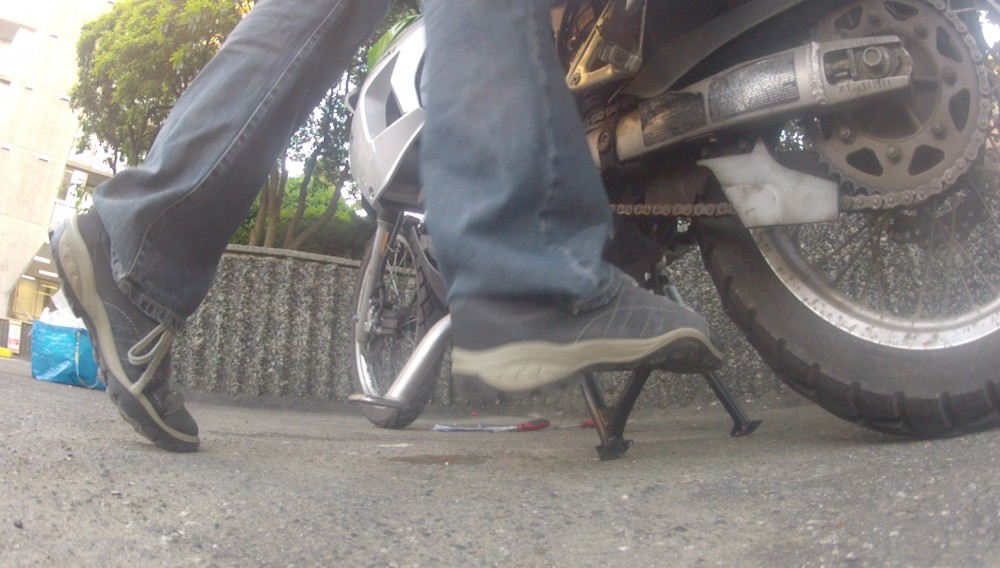
The job was quickly done and the handling improved noticeably.

vlcsnap-2016-06-30-22h23m51s441

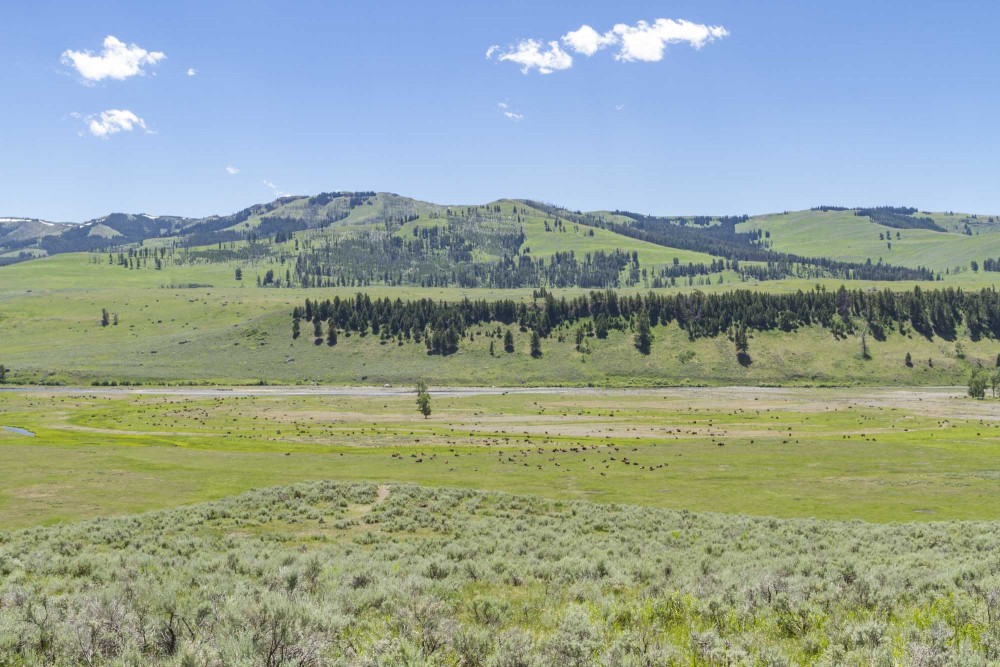
Back in the National Park I spotted a big herd of buffaloes grazing on a prairie.

_mg_6060_

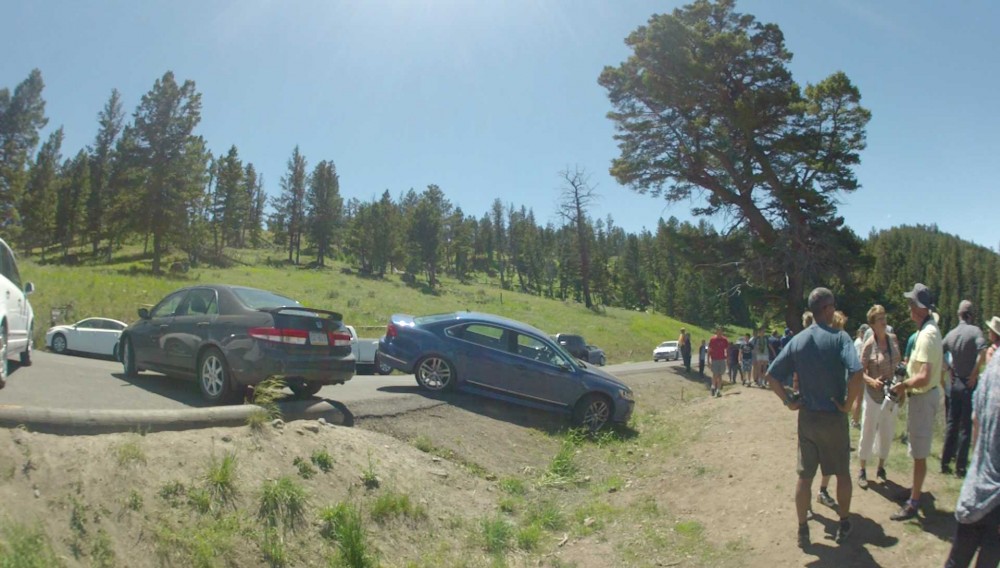
Further on I noticed cars stopping on the side of the road. A park ranger was there too along with three bears. A sow with two cubs. They were 200 meters away though so it was was only possible to see a few dark spots in the shadow of a tree. Everybody wanted to be closer like one lady who drove her flashy BMW into the ditch.

vlcsnap-2016-06-30-22h24m54s016

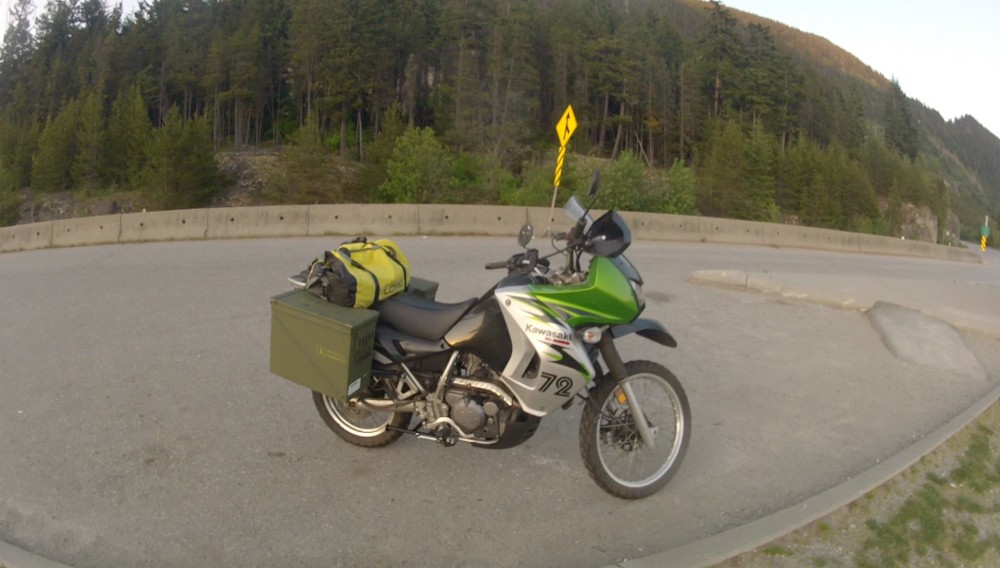
Back at the center of the park I met a family again which I had had a nice chat with two days ago further Norther in the park. They admired the bike and were very interested in my trip. They had driven to the park from Colorado. I found it interesting that that many people including this family had come from quite far. Many of the license plates in the park were from all over the US, not just the adjacent states. Road trips are a big thing in the US and much more common than in Europe.

vlcsnap-2016-06-30-22h25m54s290

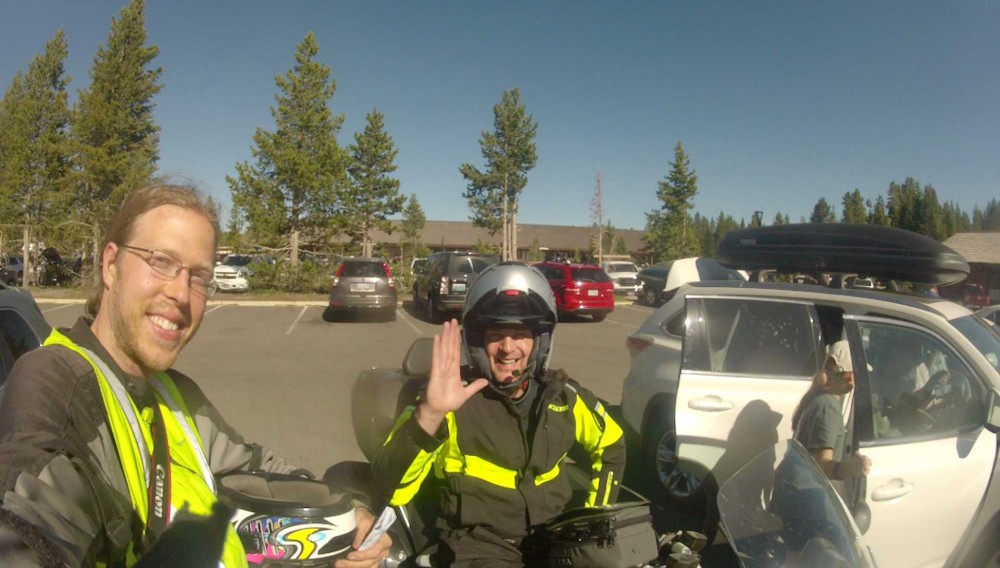
Shortly after I met a fellow motorcyclist who traveled on his big BMW K1300GT and I finally had the opportunity to get some first hand feedback on the motorcycle jacked I have been planing to buy for a long time, the Klim Latitude Jacket he was wearing. He was very happy with it and recommended it highly. Unfortunately it has become so expensive recently that I decided to not buy it.

vlcsnap-2016-06-30-22h26m32s426

Always hungry I decided to get instant noodles from the tiny convenience store there and I shared a table with an interesting group of people. There were two friendly and curious couples in their 60s who were travelling the West coast for few weeks. I had a great chat with them until they told me that they were Mormon missionaries. First I thought they were screwing with me because they had seemed so – normal. I don’t know what I expected Mormon missionaries to be like but apparently I at least expected them to be recognizable as crazy people from afar. Yet they seemed genuine, reasonable and friendly. Still I suddenly felt uncomfortable in their presence. They asked me if I knew anything about Mormons which I denied so they proceeded to tell me that all of them had lived abroad for many years doing their missionary work in South America and Africa. They had now left this work to their children who were just enthusiastic about it as them. It surprised me how baffled I was to experience these people as completely normal. They even went as far as offering me a place to stay once I reached Utah when I told them that it was my plan to also see Salt Lake City. They were excited to hear that I would have the chance to see all the big Mormon temples which Salt Lake City is know for because the church has it’s center there. I wanted to ask them to explain their religion to me but I felt it would be rude because I wasn’t sure I would be able to pretend I didn’t find it weird. After offering me some of their desert and me promising I would visit the Temple Square in Salt Lake City we parted ways and I eventually changed my heading from East to South to leave the park behind for the last time.

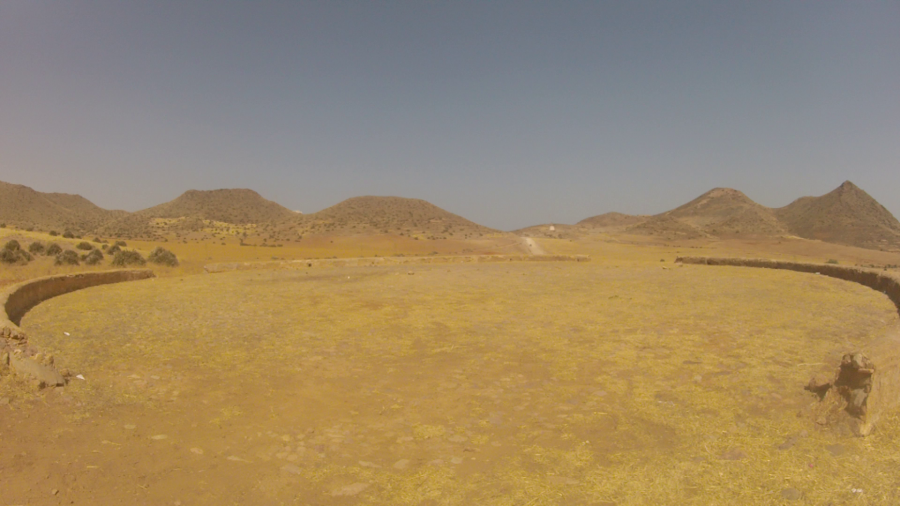
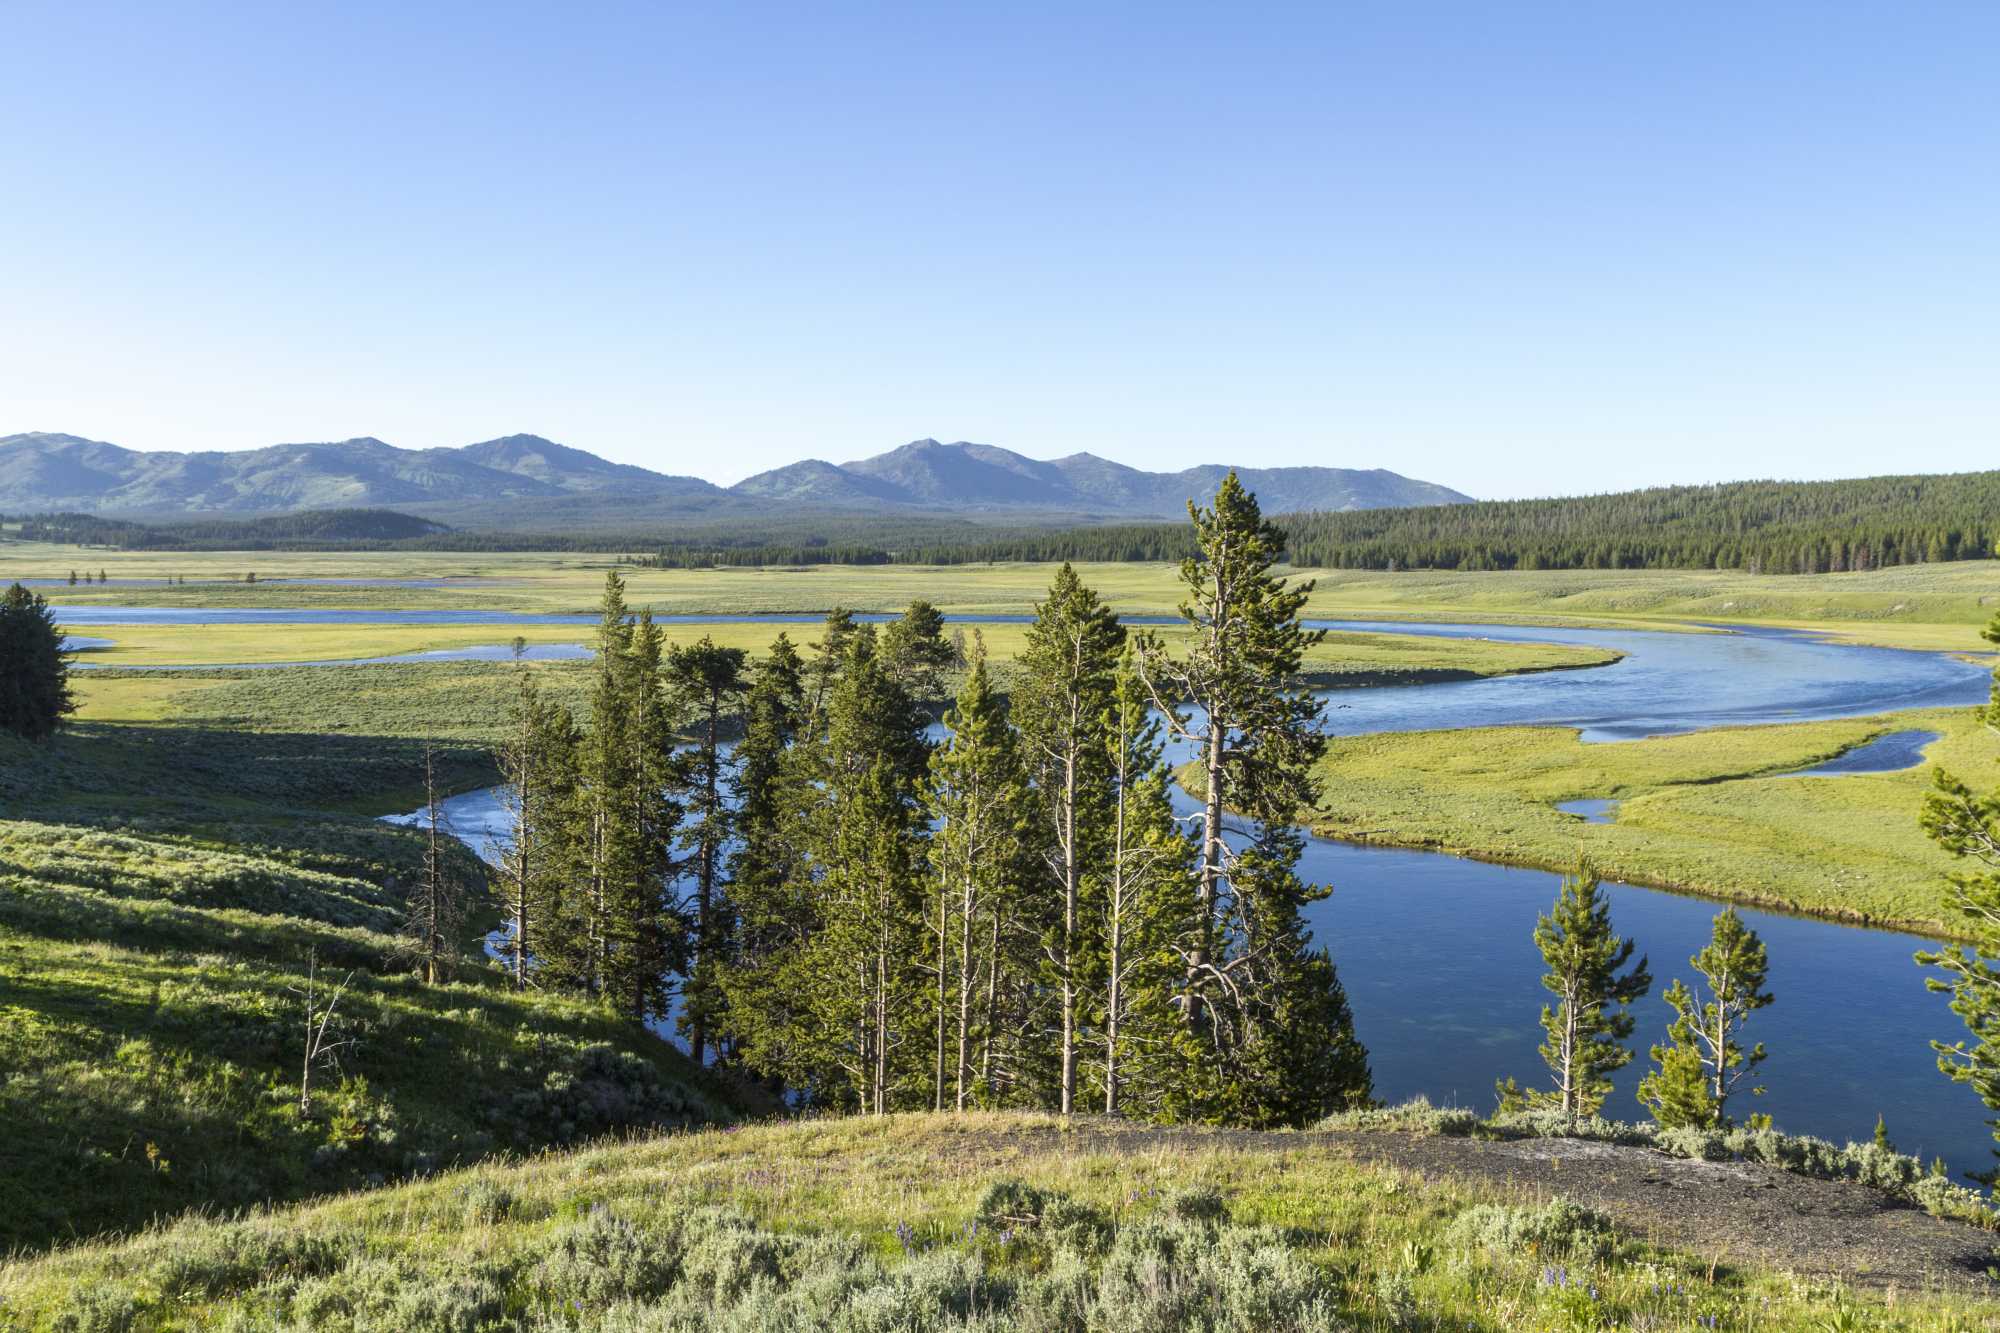
The afternoon sun made it and endurance challenge to reach the scenic outposts scattered around the main road in full gear.

_mg_6187_

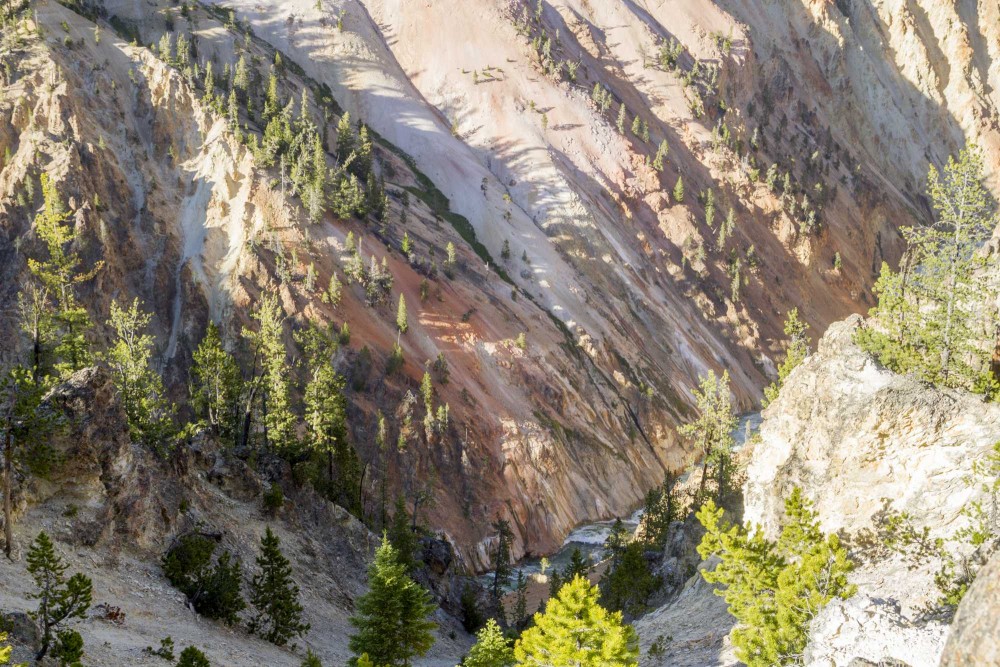
Needless to say it was worth it.

_mg_6177_

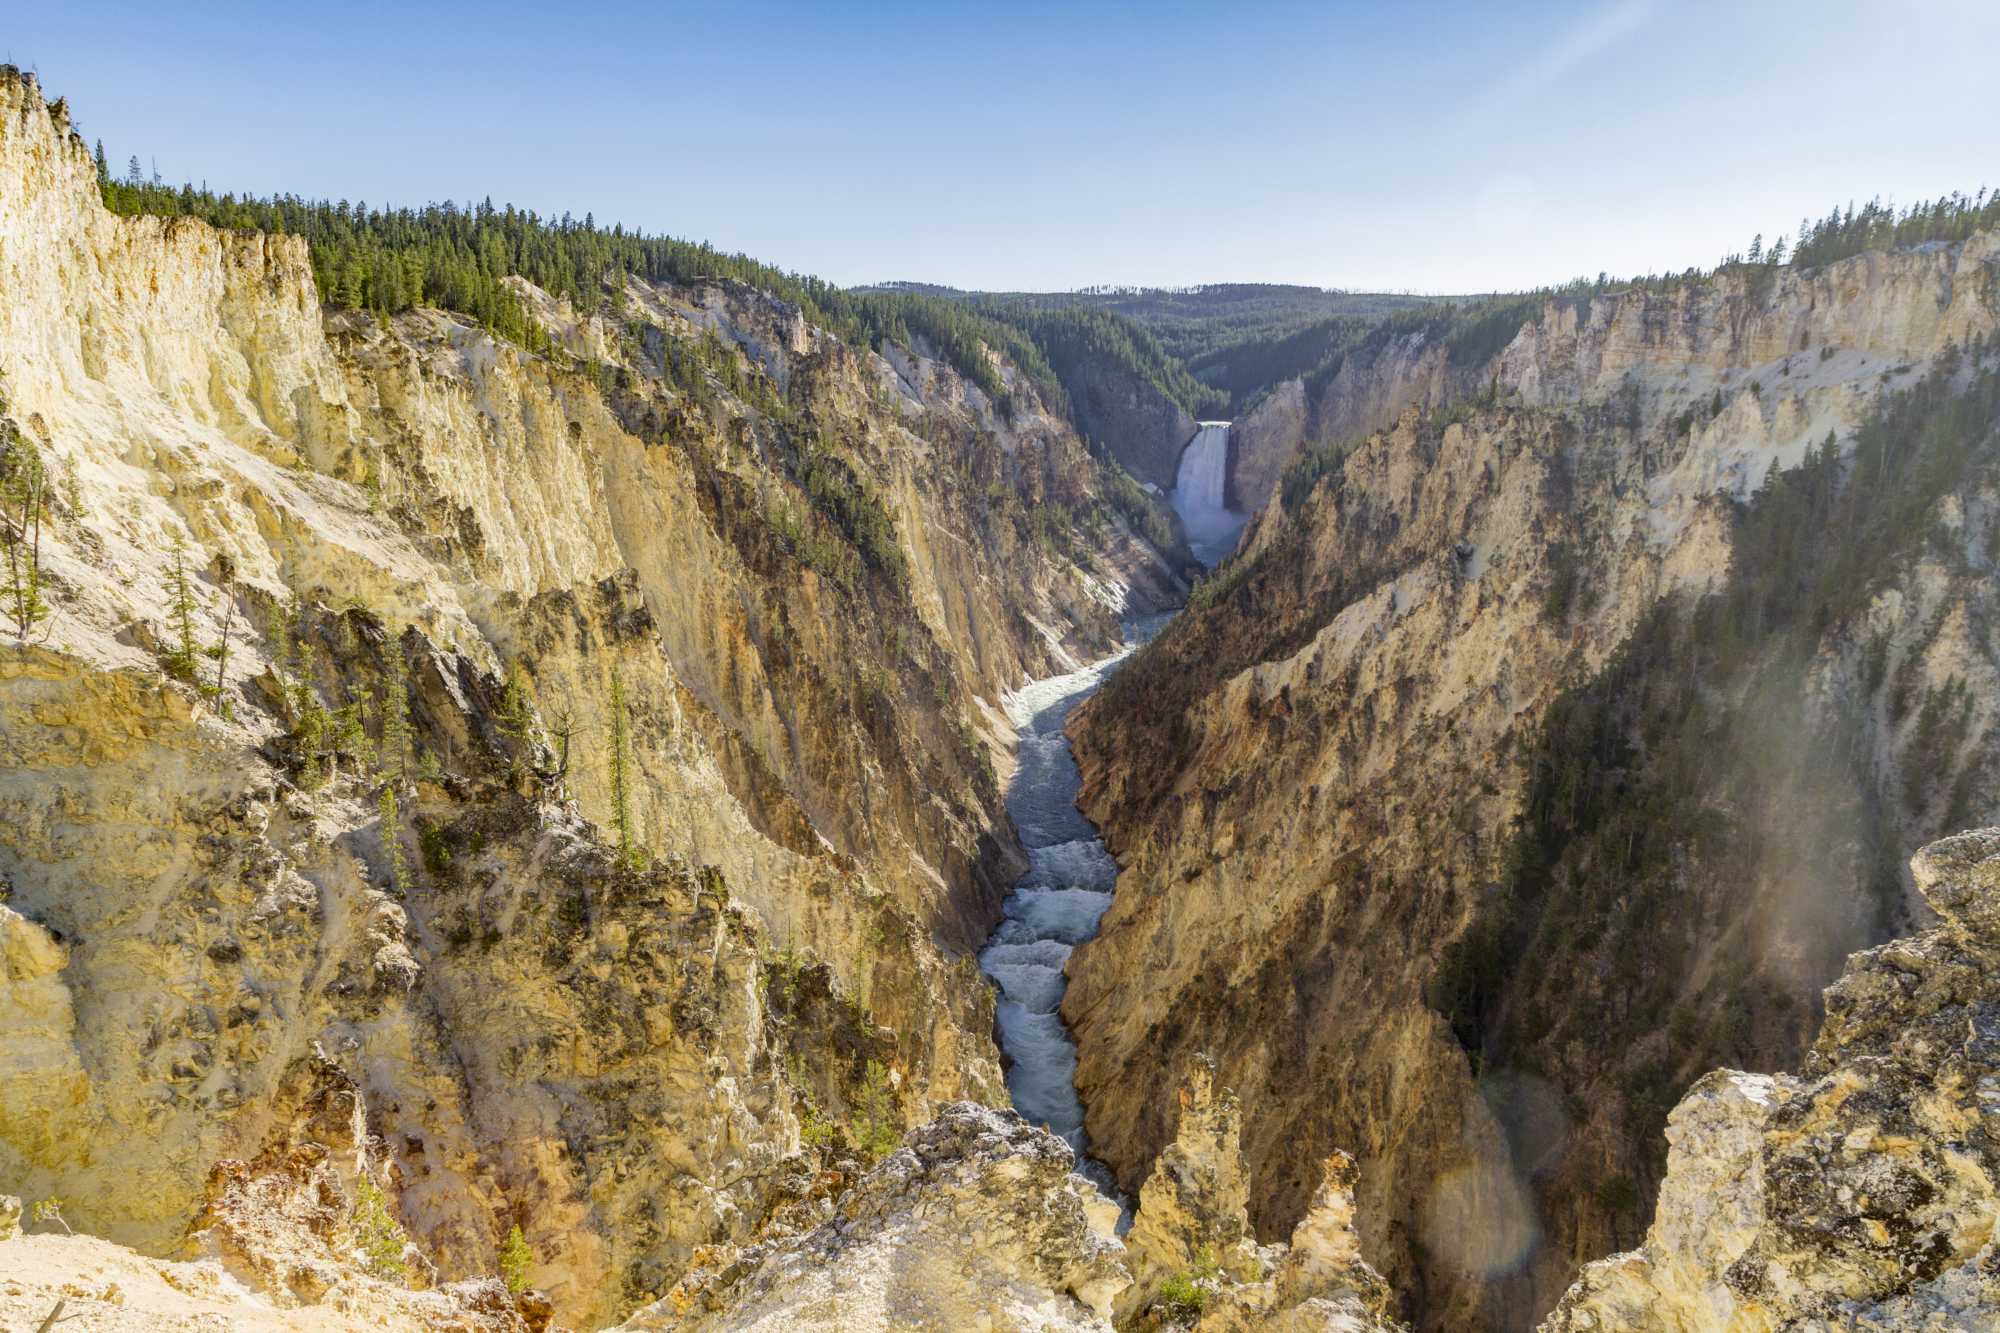
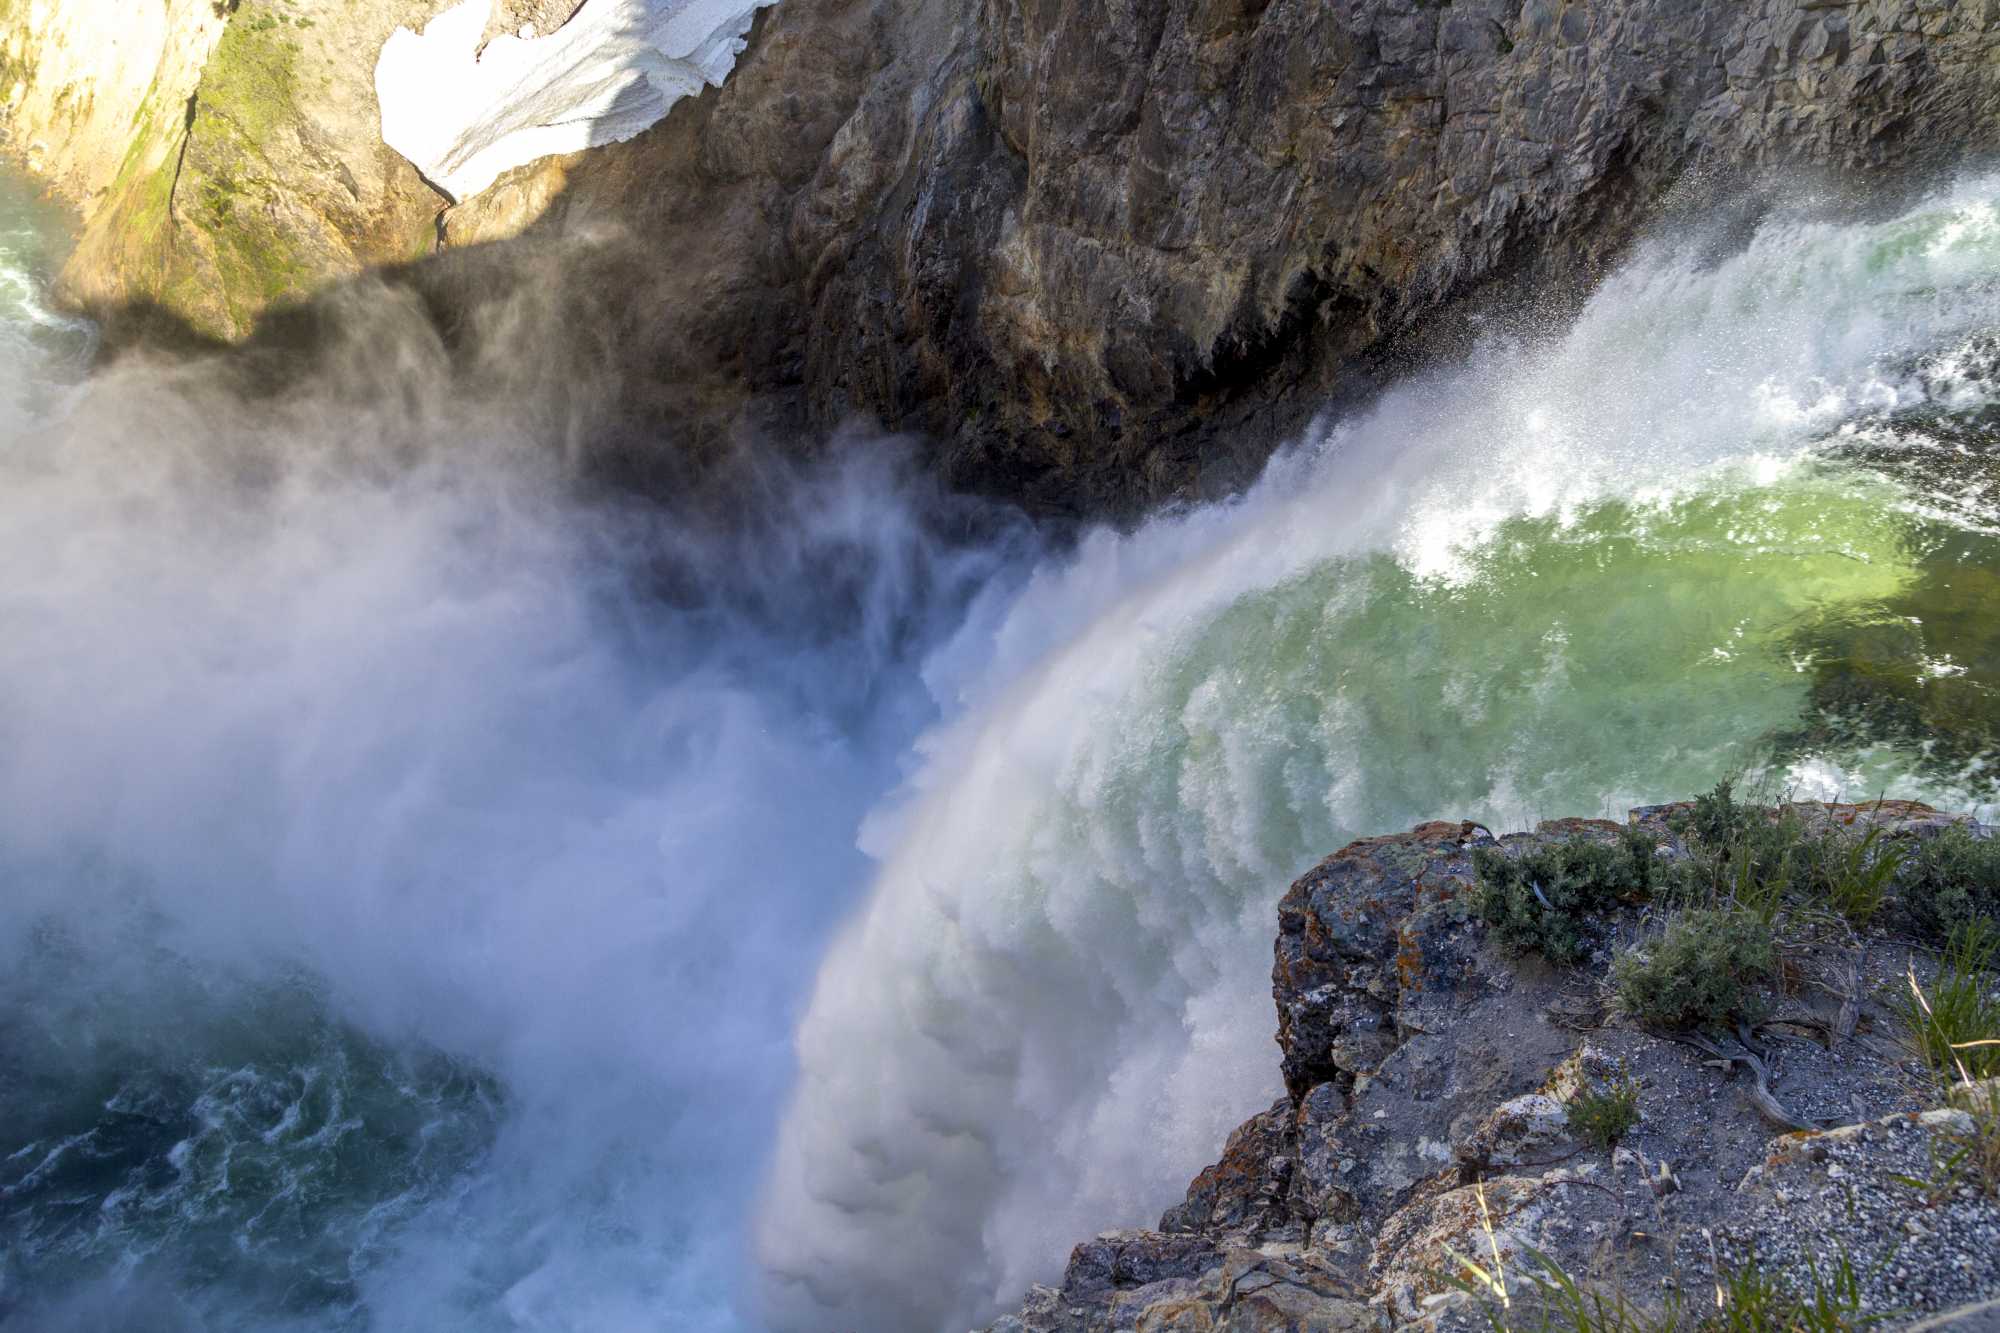
The scale alone was breathtaking.

_mg_6149_

_mg_6111_

_mg_6126_

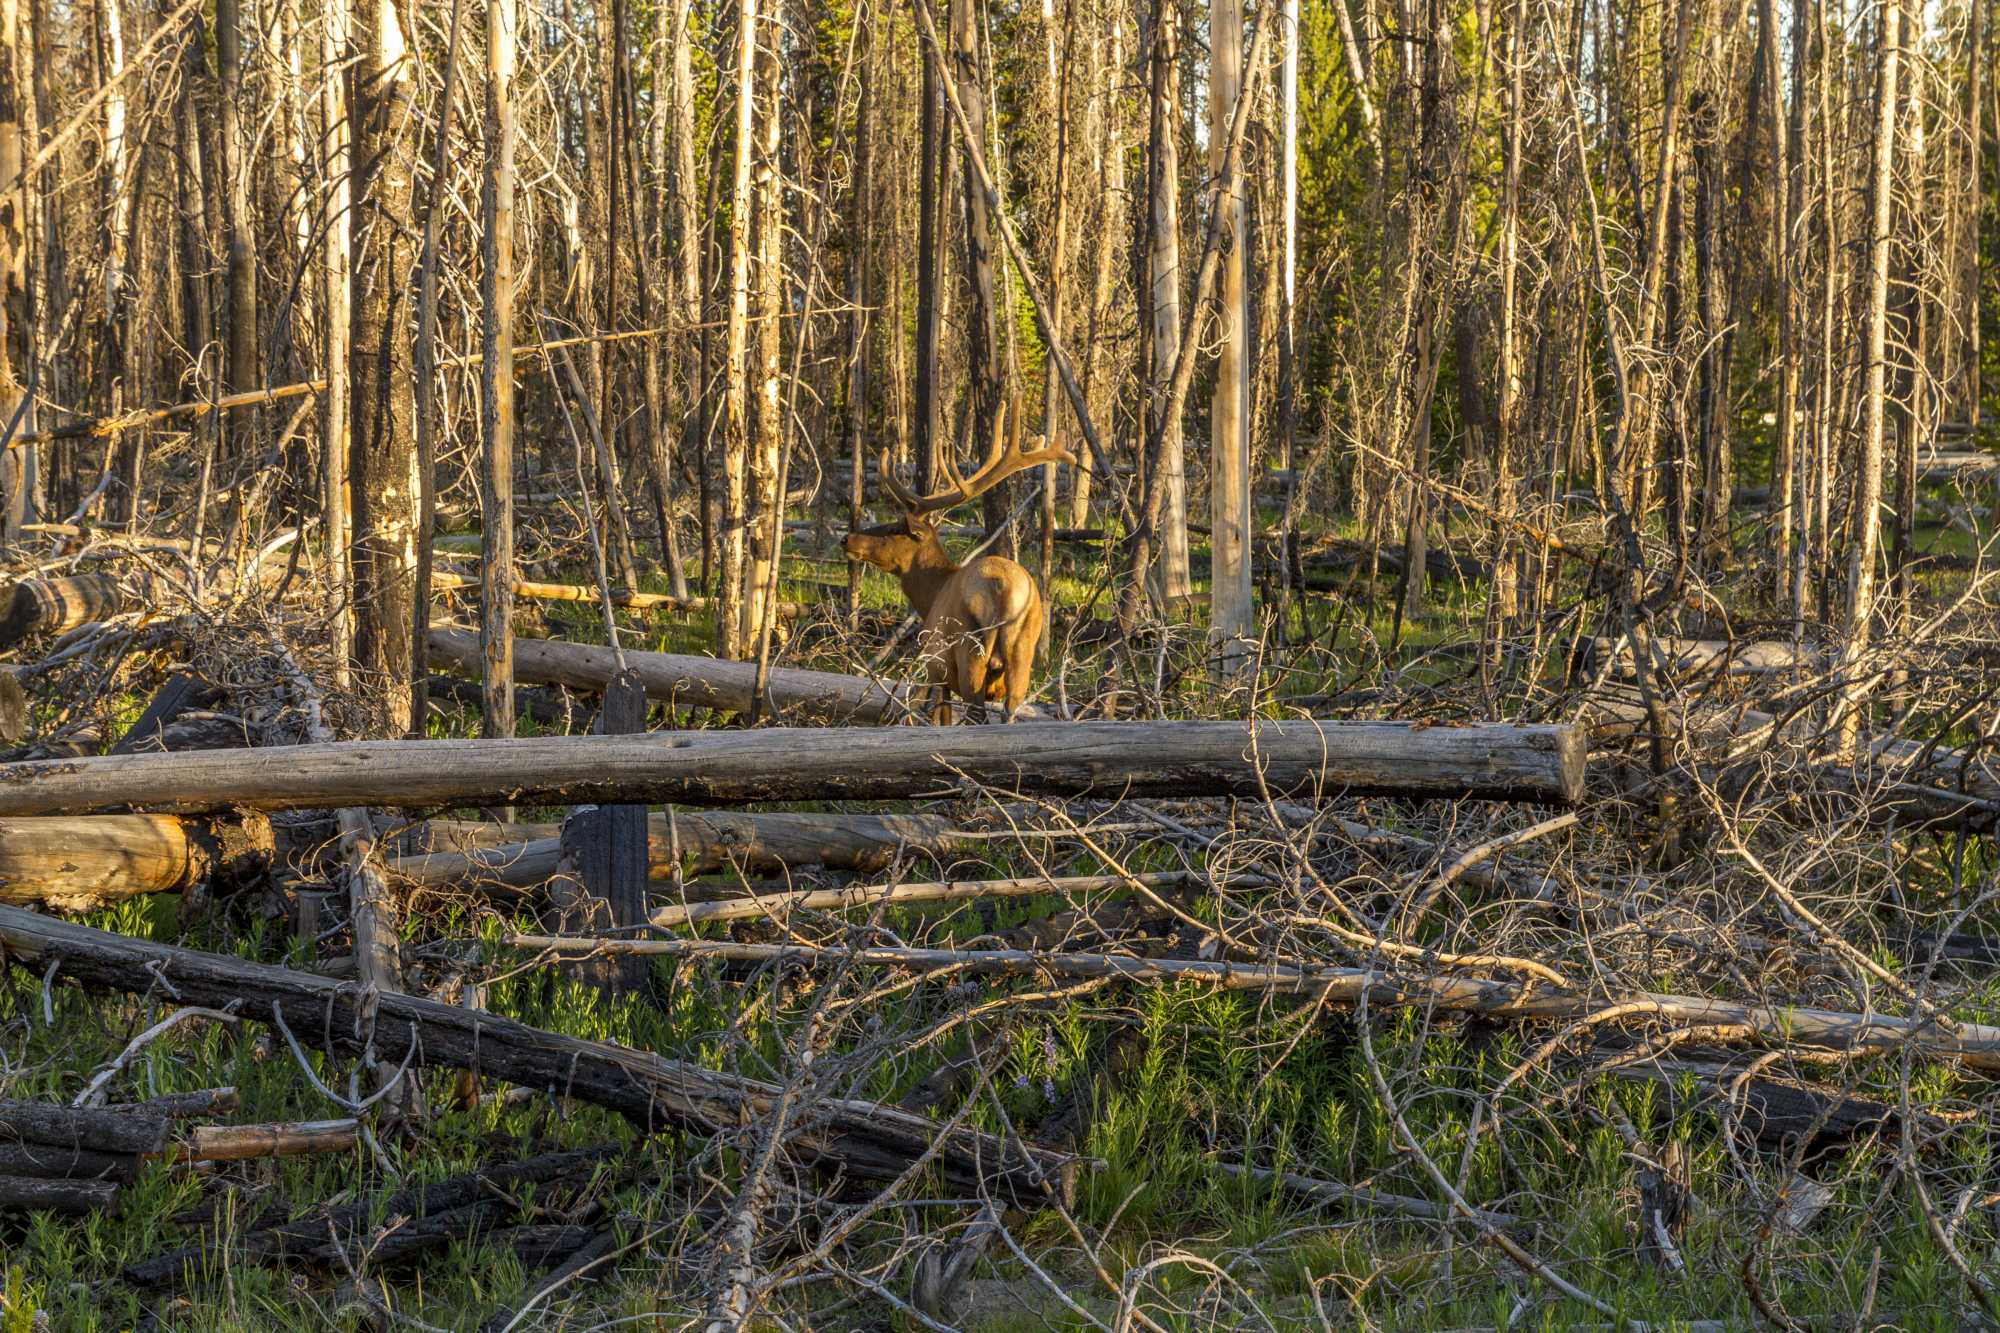
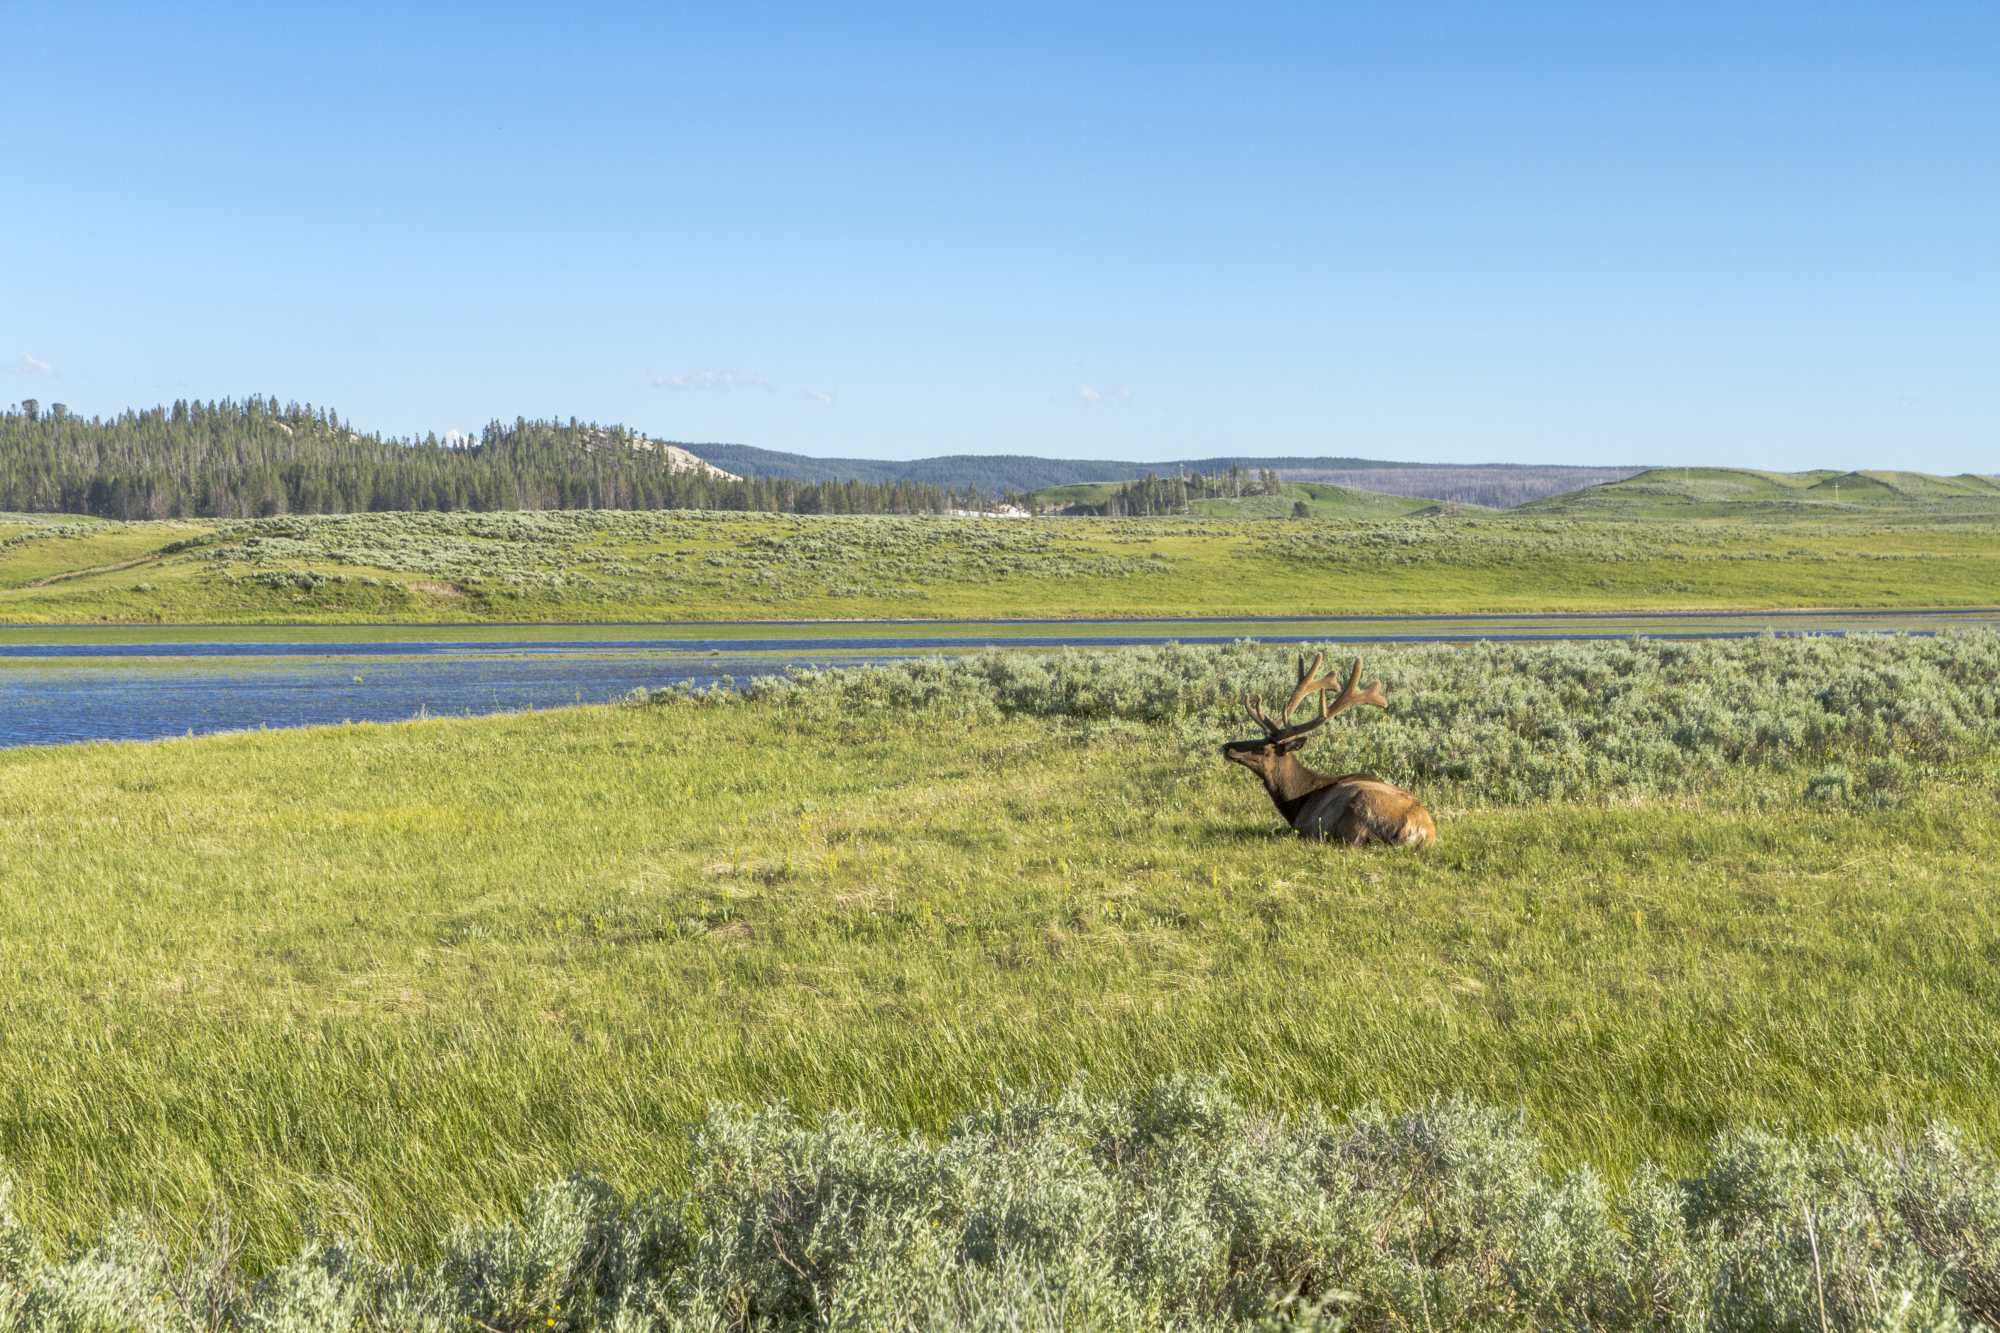
More wildlife next to the road.

_mg_6263_

_mg_6211_

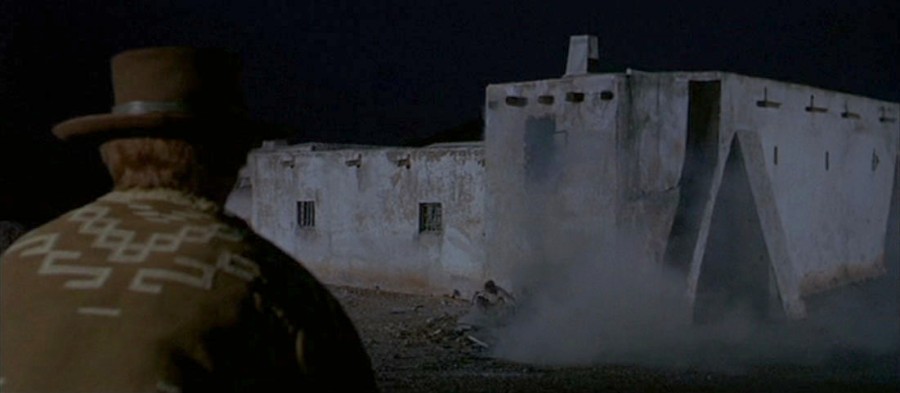
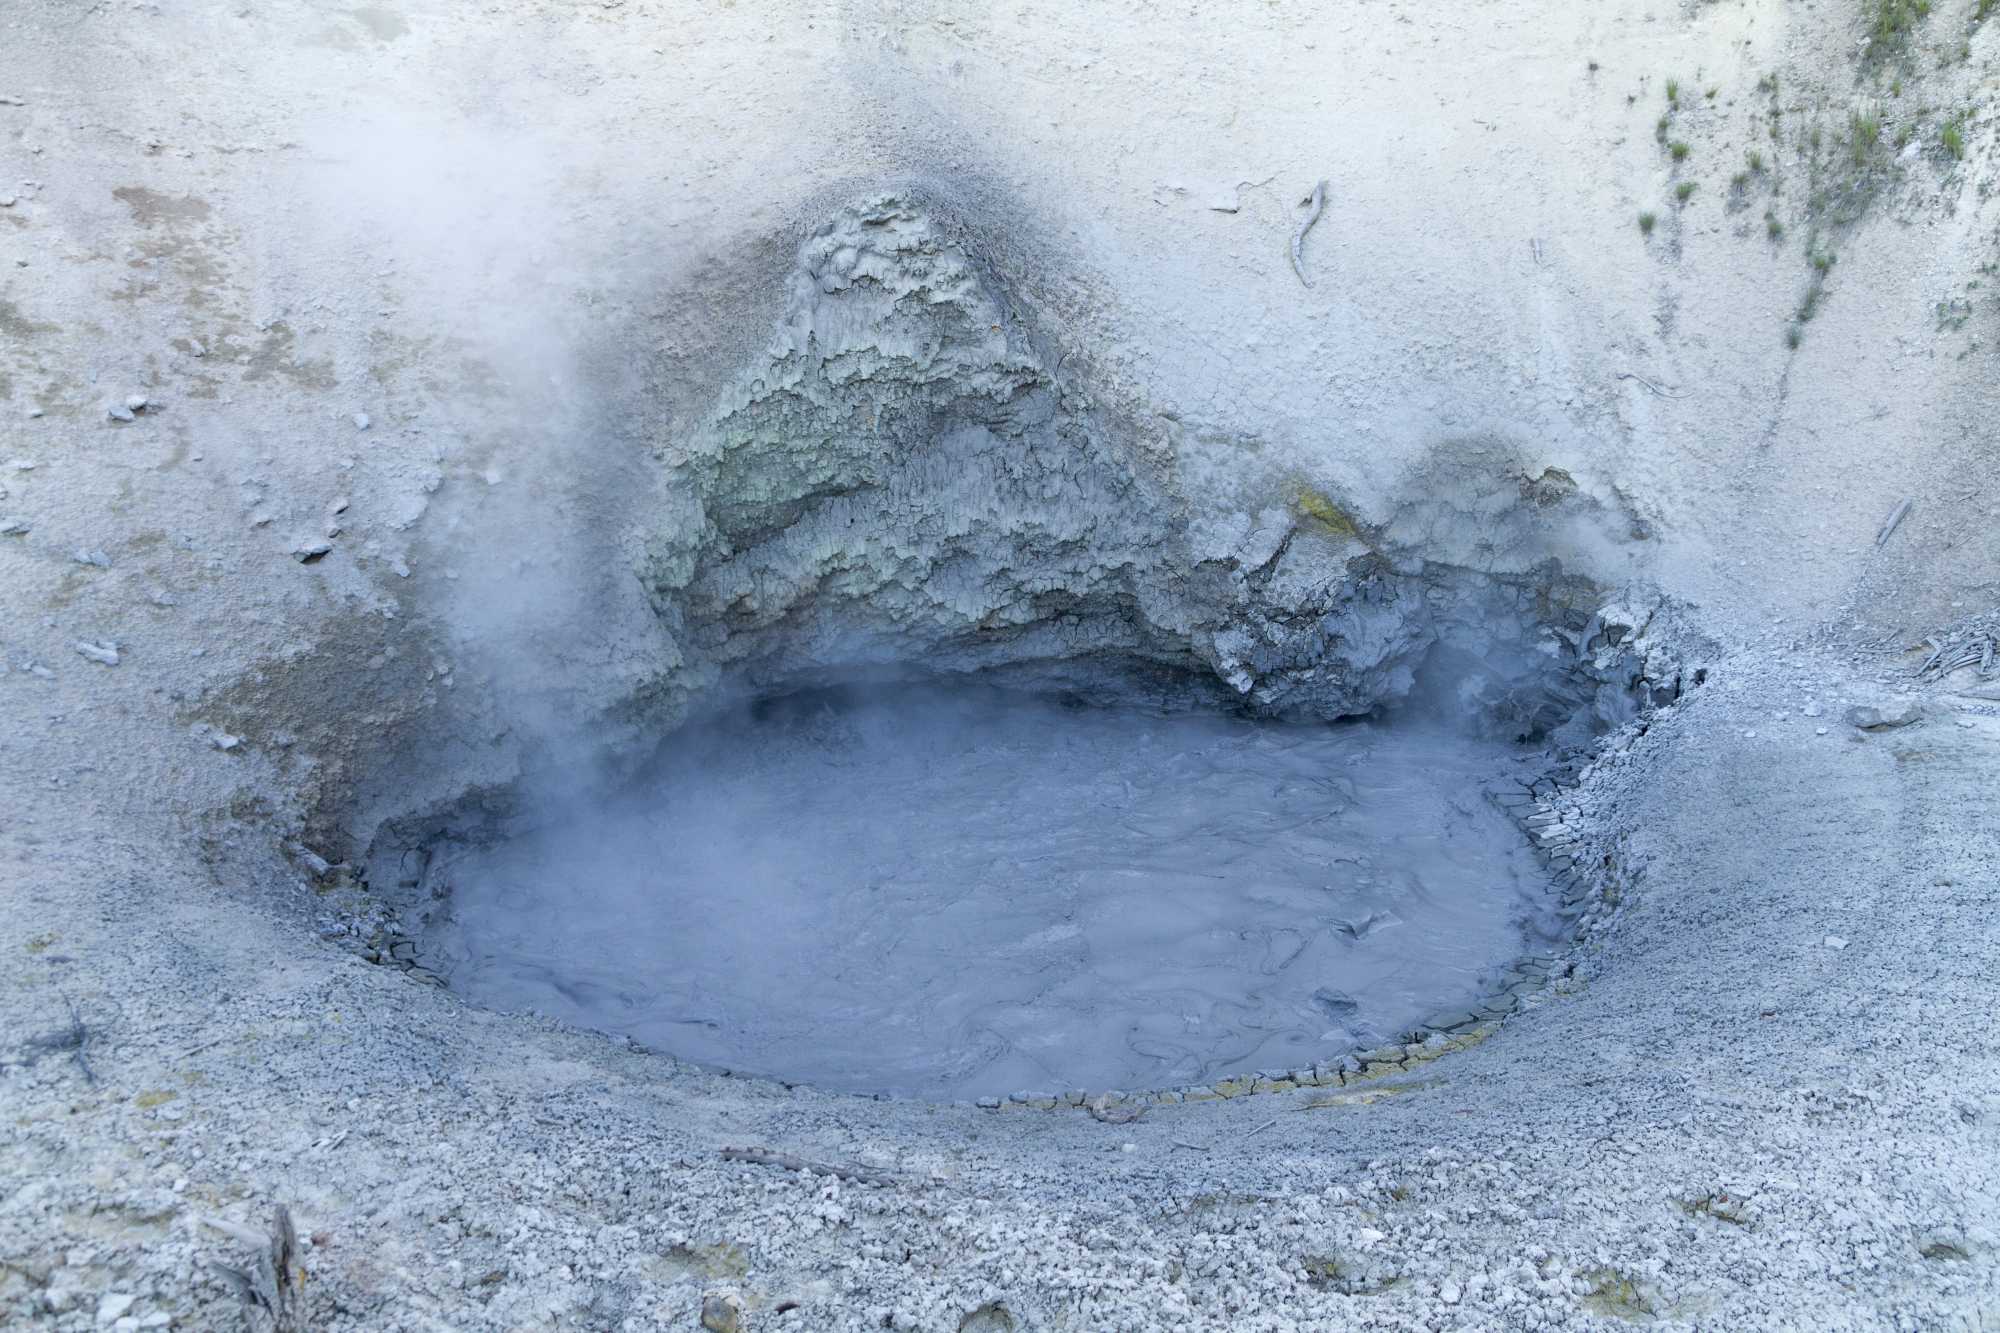
A last hellish reminder of the powerful forces working underneath the thin crust we live on.

_mg_6252_

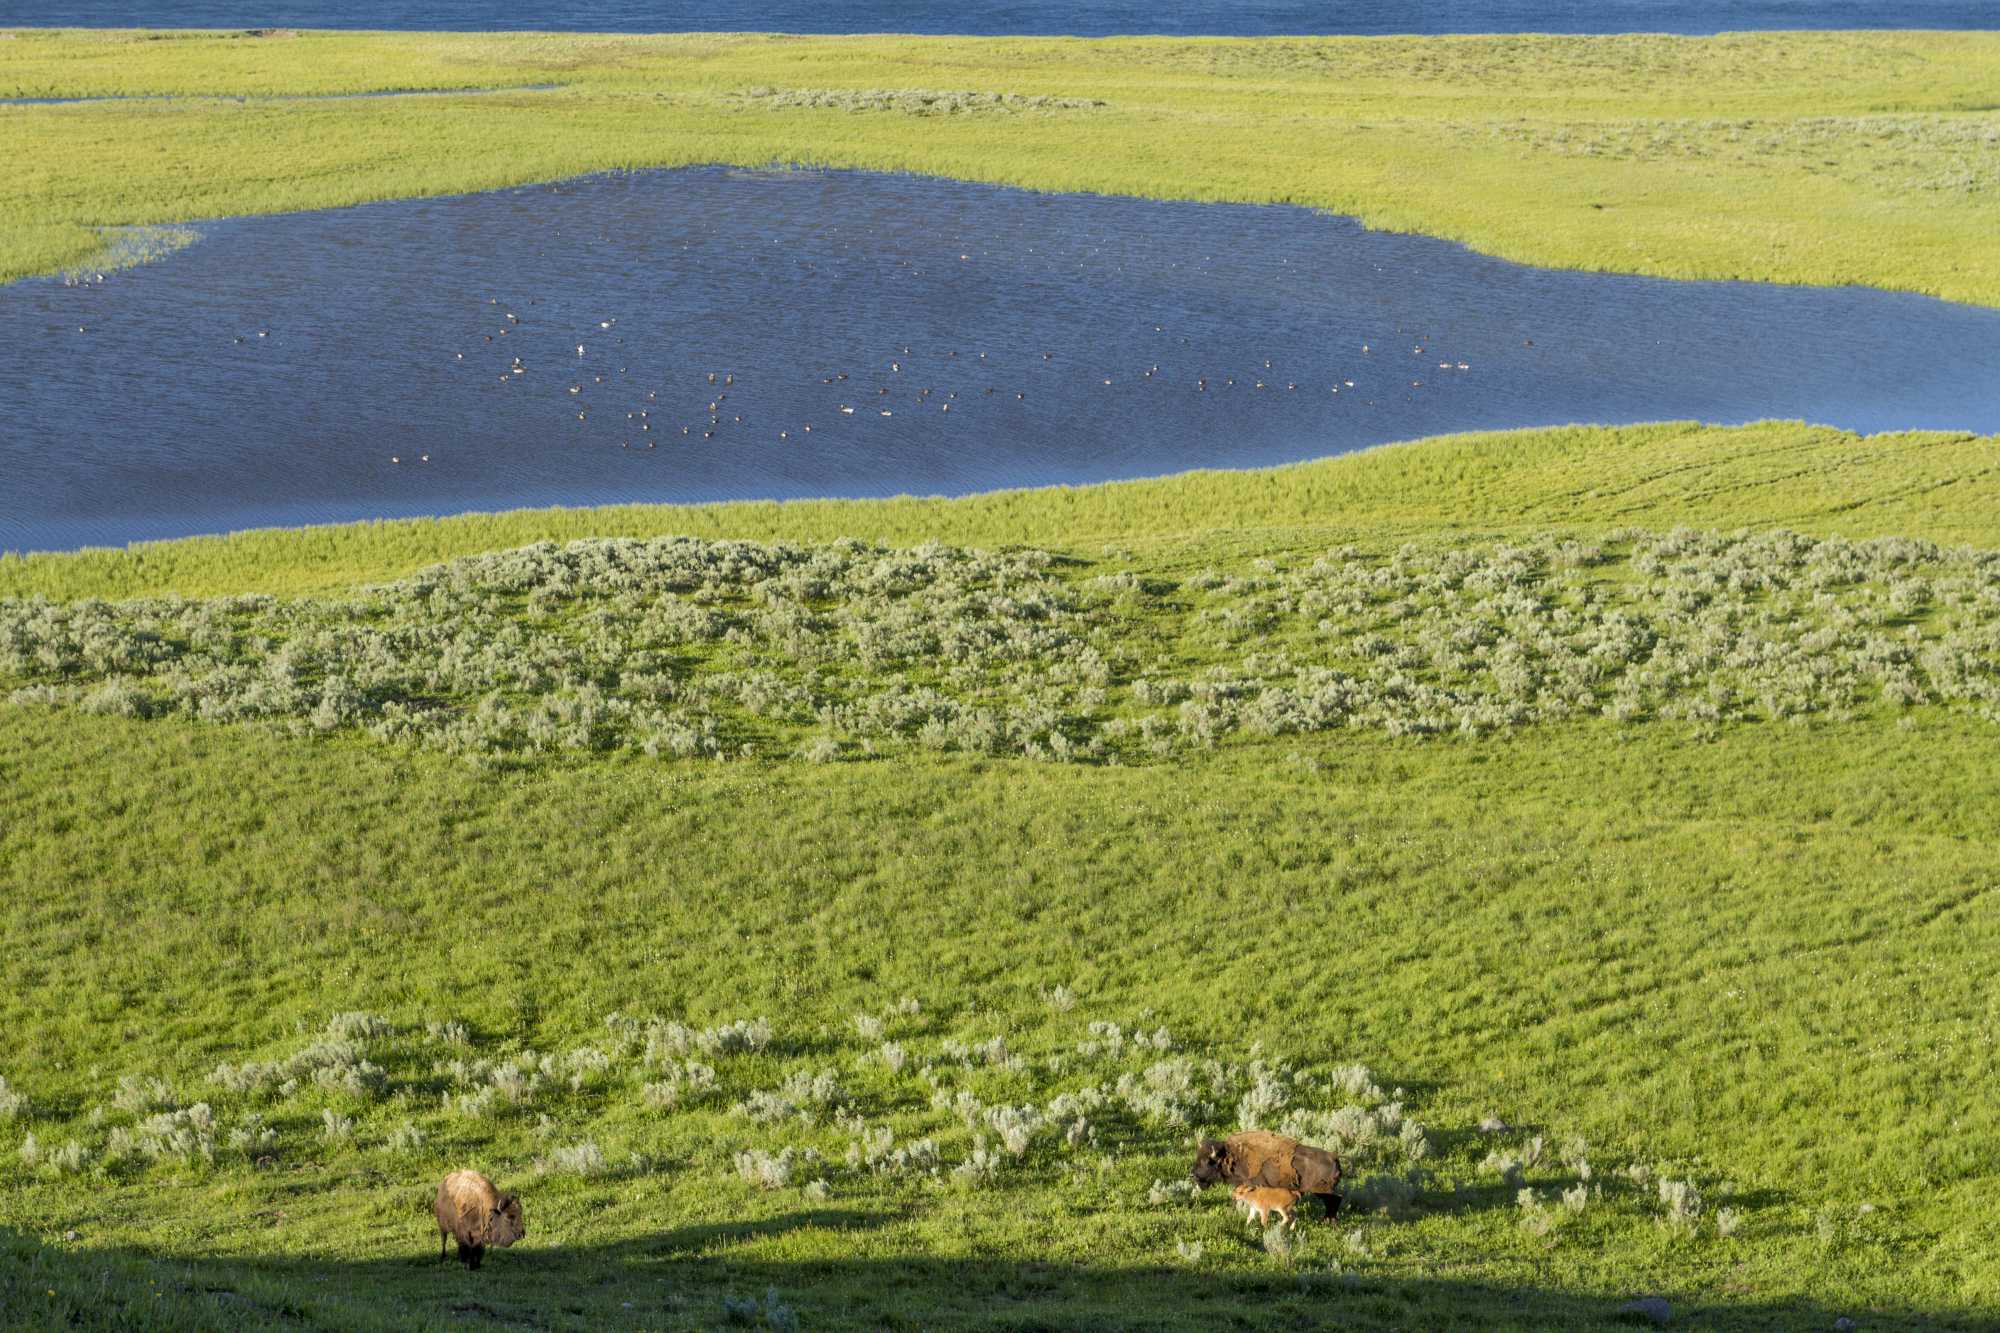
One last time I saw a few buffaloes in the park. This time there even was a calf.

_mg_6239_

_mg_6223_

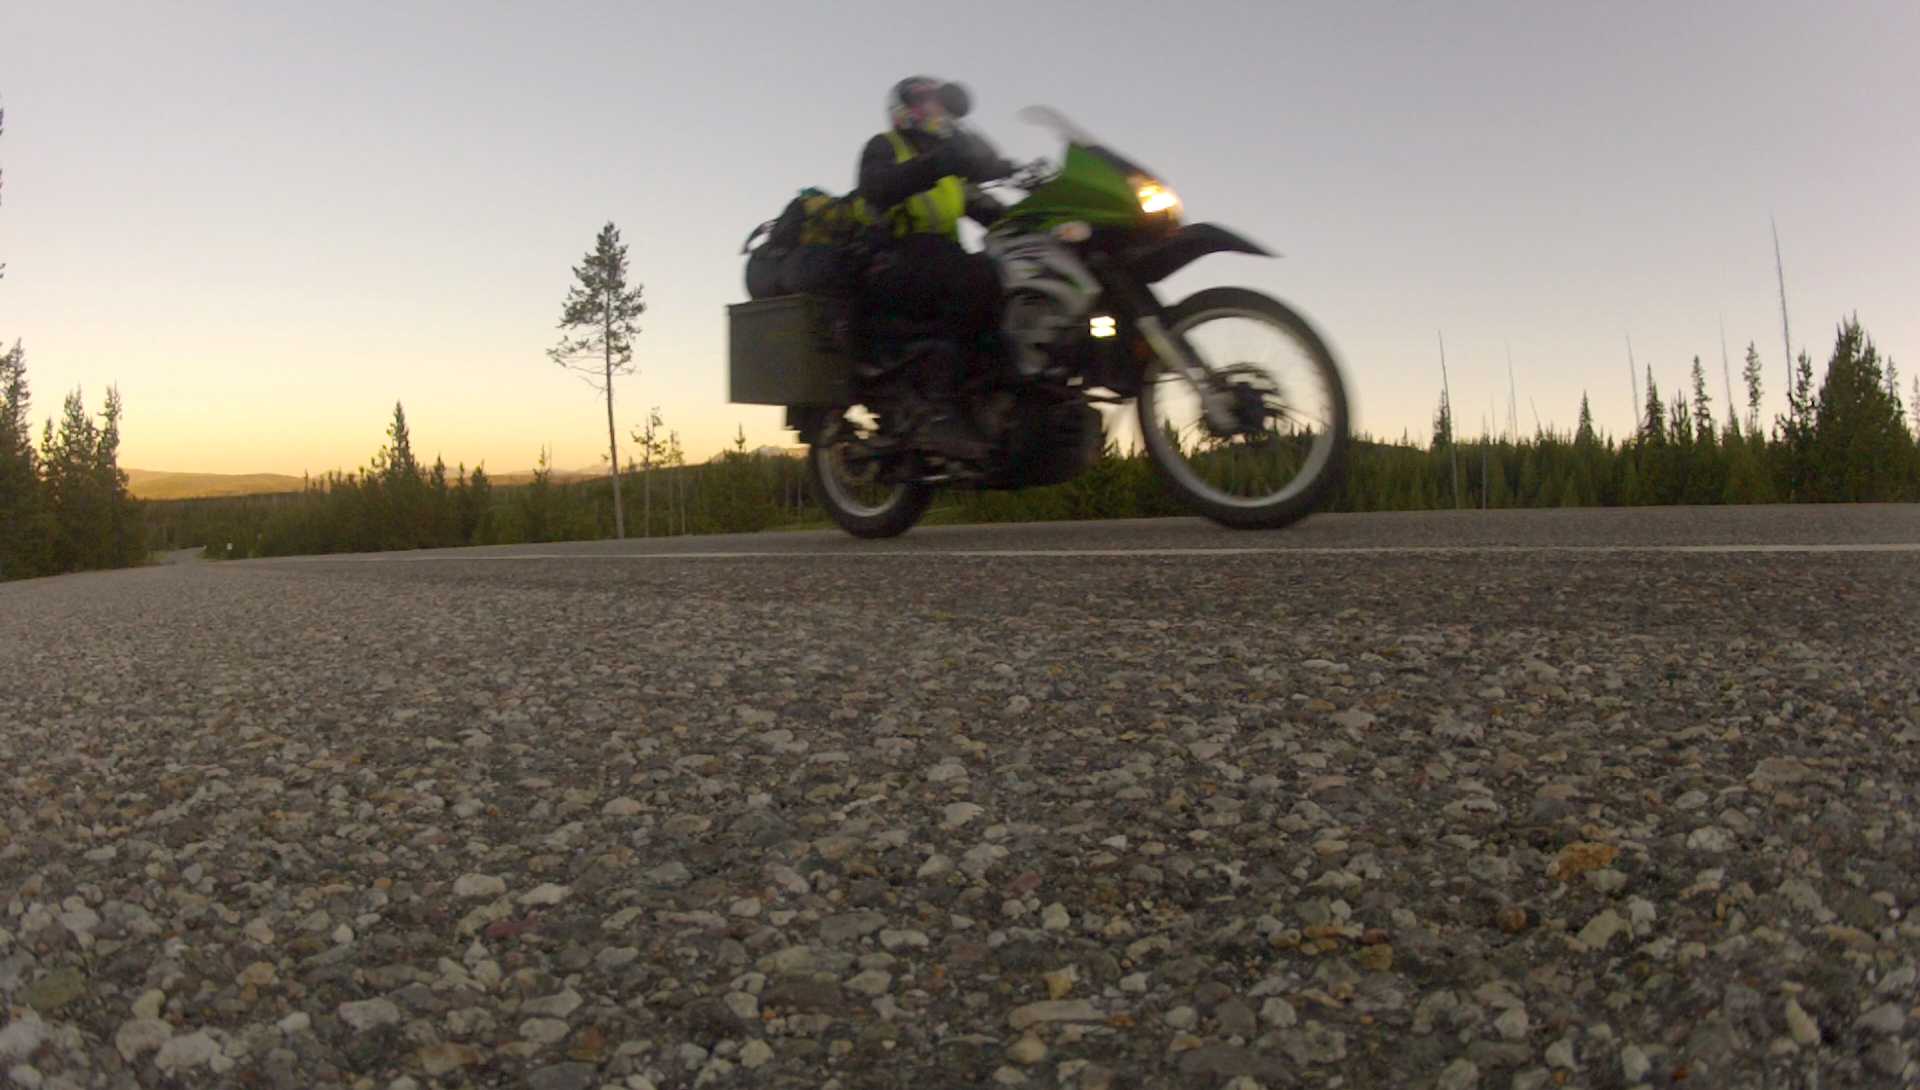
The sun was about to set as I headed further south looking for a place to spend the night.

vlcsnap-2016-06-30-22h32m03s868

Installing crash bars and new wiring

To prepare the bike for bigger trips and heavier off-road use I decided to add crash bars to the frame. Doing that requires the bike to be partially taken apart. Because this is an annoyingly time consuming task I decided to catch two birds with one stone and also work on the wiring of the bike to prepare it for the auxiliary lights I wanted to add later for increased visibility off the road in the dark.

First I had to take off all the fairings of the bike. This is where you can notice the difference between a BMW (expensive) and a Kawasaki (cheap). You have to take the bike apart for everything and they don’t seem to have done anything to make it easier for you.

DCIM100GOPRO

So to access the battery alone you have to unscrew the the luggage rack and the rear fairings. The seat and another cover for the battery. On the BMW I just twisted the ignition key and the seat came off, immediately revealing the battery. Looking at the bright side it is really difficult for any unauthorized person to temper with the internal elements of the bike.

DCIM100GOPRO

Imagine you just want to ‘quickly’ check the voltage of the battery..

DCIM100GOPRO

Anyway once that was done I took of the front fairings …

DCIM100GOPRO

… and the skid plate that protects the underside of the engine.

DCIM100GOPRO

The bike started to get lighter.

DCIM100GOPRO

The last element I had to take off was the gas tank. To do that I needed to disconnect the fuel lines from it.

DCIM100GOPRO

After finally taking off the tank the real work could begin.

DCIM100GOPRO

The KLR doesn’t really offer much room for altering the electrical elements.

DCIM100GOPRO

But I managed to keep everything compact so that I could put the tank back on.

DCIM100GOPRO

Now I could start with the installation of the crash bars.

DCIM100GOPRO

The bars connect to existing bolts that keep individual frame elements together. They needed to be taken out and longer screws put back in in their place so that they would secure not only the frames elements like before but also the added crash bars. These original bolts are fastened with extreme force so the bike doesn’t fall apart on the road due to the intense vibrations that can otherwise easily loosen a screw. So to loosen these bolts I applied a big amount of force thus actually breaking my bit socket before the first screw came loose.

IMG_20160703_183015

This was the last weekend before my next big trip and I had to get this work done quickly so I went to the home depot (‘Obi’ in Austria) and got a set of Allen keys. These ones would certainly not break as easily and would allow me to apply even more pressure due to the leverage they provide by their shape alone.

IMG_20160612_134937

Finally the bars were mounted.

IMG_20160612_115700

I reattached all the parts I had taken off before. Besides the added protection this new setup would now provide me with a place to mount auxiliary lights.

IMG_20160612_121712

Now the KLR was ready for adventure.

IMG_20160612_141515

Oil and filter change

A little while ago I had noticed that the oil level on the KLR was extremely low. I hadn’t checked it much previously because I didn’t think it would be necessary after just a few hundred kilometers. The 2008 series of the Kawasaki KLR 650 however is known for burning oil like crazy and despite the previous owner claiming that this particular example does not suffer from this condition it turns out it very much does.

IMG_20160430_202455

Driving with low oil is of course very dangerous and can lead to damaging the engine and possibly locking up the piston(s) and as a result the rear wheel while driving. On a motorcycle that wouldn’t be exactly great. So the engine needed more oil. The gauge on the engine block shows empty but simply adding fresh oil is not a good idea. There is always some old oil left in the engine block. Much more than what the gauge might lead you to believe. On the one hand that means that possibly the situation is not as bad as it looks and you might still be able to drive but on the other hand it also means the remaining oil has to come out before adding fresh oil. The oil consistency and quality degrades under the extreme stress in a running engine and again would eventually clog up and damage the engine if it was left in there and just filled up with additional fresh oil.

So the proper procedure is to always drain the engine completely and refill it with (in this bike’s case 2.5 liters of) fresh oil. From time to time the filter which assures the cleanliness of the oil in the engine should also be replaced with a new one. Since I had no idea when the filter had last been changed on this bike (if at all) I decided to do that too while I’m at it.

I used an empty laundry detergent container to catch the oil from underneath the bike after screwing off the plug at the underside of the engine.

DCIM100GOPRO

After a few minutes the flow had reduced to a trickle and eventually stopped completely. Just like honey the oil flows easier when it’s warm because it gets thinner so it is a good practice to run the engine for a few minutes before an oil change. Not too long though so you don’t burn yourself when you open the cap and it starts flowing all over your fingers which is almost unavoidable.

IMG_20160430_203556

Next I took off the cap on the side of the engine that revealed the filter and removed it.

IMG_20160430_204603

I cleaned the filter barrel (not sure what it is called) …

IMG_20160430_204812

… lubricated the new filter with fresh oil …

DCIM100GOPRO

and put it back into the barrel.

IMG_20160430_213134

The last step waso t close the barrel again …

IMG_20160430_213419

… and put 2.5 liters of fresh oil into the engine via the opening on the top right above the clutch compartment. As you can see the little gauge at the bottom of the engine is now filled to the top line again.

IMG_20160430_214609

New motorcycle and center stand install

I decided to get a Kawasaki KLR 650. The cheapest powerful enough dual sport bike on the market. As you can imagine it’s balance between power, quality and cost. But it does what it is supposed to do and has proven itself over the past two decades during which this model has only gone through one major update which to a large degree was a cosmetic one. Never change a running system Kawasaki probably though. It’s the most popular dual sport bike in North America.

My brother (who also lived in Canada until recently) had a KLR and since he happened to move I was in luck and ‘inherited’ his bike.

Motorcycle insurance is stupidly expensive in British Columbia. It’s so expensive that if you were to get full comprehensive coverage for two years you’d be better off buying a new (used) bike every two years. The cost drop by 80% (!!!) if you have had your car drivers license for 10 years (I still need 3 more years). Yes, don’t ask me how that makes sense.

vlcsnap-2016-05-15-02h43m21s638

My brother had bought old (empty!) ammunition cans from the US and mounted them to the bike as panniers. They are just the right dimensions, surprisingly sturdy and even water sealed. Just a lock is missing but there’s a solution for that too.

vlcsnap-2016-05-09-18h08m25s069

To get the bike ready for adventures I installed the SW Motech center stand he had gotten but not yet mounted. Having a center stand is crucial for maintenance work on the road like changing tires, changing the oil, adjusting/changing chain and sprockets,…

vlcsnap-2016-05-08-19h26m49s056

The procedure was simple. I took off the foot pegs on both sides to put two mounting plates between them and the frame which would serve as attachment points for the stand.

vlcsnap-2016-05-08-19h22m01s708

vlcsnap-2016-05-08-19h30m21s108

vlcsnap-2016-05-08-19h32m19s112

This was quickly done and the only thing left was to attach the two springs which keep the stand off the ground when the bike is not currently sitting on it.

vlcsnap-2016-05-08-19h36m51s343

To lift up the weight of the bike there is a leaver on the stand on which you can place your foot and put your whole body weight on it while simultaneously yanking the bike up and backwards with your right hand.

vlcsnap-2016-05-08-19h40m36s019

With the necessary force and leverage the bike slides back lifting the rear wheel off the ground. And because the stand is almost exactly in the middle it is also possible to easily tip the bike to the back to access the front wheel allowing maintenance on both wheels.

vlcsnap-2016-05-08-19h39m23s432

Changing chain and sprockets

The weekend after my chain had snapped I went about changing it.

vlcsnap-2015-11-23-11h44m30s150

I started by loosening the screw of the front sprocket. To do that I put a broomstick with cloth wrapped around it through the rear wheel. It stops the wheel from turning when you yank on the front sprocket screw to get it to loosen while in neutral. You could also stop the wheel from moving by putting the engine in gear but that can damage the gears inside the engine once you apply pressure on the sprocket screw.

vlcsnap-2015-11-23-11h49m11s223

To be able to get more leverage and for using the right amount of torque once I put the screw back on I got a torque wrench. Though only to find out that the previous owner or probably rather the shop I had bought the bike from hadn’t fastened the front sprocket screw properly and it came lose without applying too much force. According to specifications it is supposed to be a huge effort to get that screw off. After all its what keeps the chain from flying off.

vlcsnap-2015-11-23-11h46m26s17

Next I loosened the rear wheel axle bolt to be able to push the wheel a bit towards the front to loosen the chain and give it some play to handle it.

vlcsnap-2015-11-23-11h49m33s60

With a chain breaker tool I went about breaking the connection of one of the chain links. This physically destroys the chain and is what is needed to get the chain off. I It works by driving a little rod through the chain link pushing out the rod that connects connects the two links.

vlcsnap-2015-11-23-11h54m10s30

I had read that this was a considerable effort and these tools were built so poorly that they too often get destroyed in the process.

The rod just didn’t want to move so I used a leaver to apply more force.

vlcsnap-2015-11-23-11h58m03s53

Thus breaking the chain – and the tool.

vlcsnap-2015-11-23-11h59m51s118

But I had achieved what I wanted, the chain was free and I could take it off.

vlcsnap-2015-11-23-12h00m08s28

I now went back to the front sprocket which I noticed had gotten rusty over the years and was now fused to the shaft. A little WD-40 took care of it …

vlcsnap-2015-11-23-12h01m41s207

… and I could put on the new sprocket.

vlcsnap-2015-11-23-12h02m59s199

Next I took off the rear wheel to be able to access the rear sprocket.

vlcsnap-2015-11-23-12h05m12s14

I loosened the screws which keep the rear sprocket connected to the base which connects to the wheel.

vlcsnap-2015-11-23-12h08m39s20

The last step before attaching the new chain was bolting on the new rear sprocket. The new set of sprockets had a different gearing ratio. The rear one had one less tooth than before (thus making it a little smaller in diameter) and the front one had one tooth more so it was even again. This means that it doesn’t make a difference for the chain length but it makes one for the bikes handling. Less teeth on the front sprocket (and more on the rear) basically give you more power when accelerating from lower gears. This is also good for driving off road because you have more power for say starting on a steep hill or trying to slowly roll over a big rock under your wheel. In turn more teeth on the front give you less power for acceleration but more for driving faster at higher gears. So for me this was actually a step in the wrong direction but it was back to stock specification. And since I was planing to sell the bike anyway I didn’t mind that.

vlcsnap-2015-11-23-12h11m21s94

What I did mind however was that when I put the screws back into the new sprocket’s holes I realized that they were the wrong diameter. 10mm screws vs. 8mm holes. At the shop I had bought the sprockets from they told me that these were the (only) ones for this bike. I had asked three times to really make sure. Apparently they were wrong.

vlcsnap-2015-11-23-12h16m45s33

It took two weeks for the new parts to arrive so on another cloudy weekend I continued with the maintenance. This time the new rear sprocket fit perfectly.

IMG_20151010_173409

I screwed it on and reattached the wheel and the break caliper.

vlcsnap-2015-11-23-15h38m27s170

Finally I wrapped the new open chain (it’s not actually a loop yet) around the two sprockets. I took the single separate chain link that came with the otherwise connected chain and attached it with the supplied gaskets.

vlcsnap-2015-11-23-15h49m53s150

Now the only thing left to do was to rivet the two ends of the newly connecting link to the ends of the chain. This could be done with the same tool used to break the chain. After much fiddling around I got the strange contraption to work even though everything about it felt wrong, as if it were to break the chain and the tool (again).

vlcsnap-2015-11-23-15h27m29s22

Lastly I fastened all bolts on the rear…

vlcsnap-2015-11-23-15h33m49s240

… and the front …

vlcsnap-2015-11-23-15h34m50s91

… and gave the new setup a try on the center stand.

vlcsnap-2015-11-23-15h40m14s12

To my delight the horrible sounds the old chain had been making were gone and later on a first test drive I could feel the bike accelerating, decelerating and shifting smooth as butter once again.

Maintenance

Since I bought my BMW F650GS Twin 8 months ago I had been riding it for 15 000 miles. During that time the maintenance I performed on it was limited to lubricating the chain and checking individual parts for wear. The dry Spanish summer was a strain on the bike overall but particularly on the chain. In hindsight I believe I should have lubricated it a lot more often than I did. Towards the end of my trip the bike didn’t perform as well as it should have. There was a strange noise coming from the chain as soon as it moved. Accelerating was only possible with much sensitivity on throttle and clutch as a regular immediate acceleration had become impossible without the chain yanking on the gears due to the fact that the chain had started to stretch – unevenly. That meant that I could not simply keep widening the gap between the front and rear sprockets by moving the rear wheel more and more to the back to compensate for the longer chain. So as a result of the unevenly stretched chain links the chain was jumping up and down dangerously when accelerating and decelerating, sometimes even skipping a tooth on a sprocket.

An old or even damaged chain usually damages the sprockets as well. Only changing one of the elements of this little ecosystem means that the unchanged ones will war down the new part very quickly.

A few days after I had received the parts I had ordered I was driving home from work late at night when the inevitable happened. On a little hill at just over 20km/h I heard and felt a tension on the engine building up and suddenly being released. I immediately lost all power and no matter how much I twisted the throttle I was not accelerating. Luckily the street was empty I had just rolled towards a red traffic light. I glanced down onto the chain and saw that one of the double sided chain links had snapped and the chain had jumped off both the rear and front sprocket.

(Photos taken after the fact.)

IMG_20151010_145650

IMG_20151010_115802

Unlike a bicycle chain it should be impossible to lift the chain off the rear sprocket. About a millimeter is OK. With great effort I got the half broken chain back around the rear sprocket but it didn’t want to stay on. This should not be possible:

IMG_20151010_144811

Luckily I was just 500 m from home at that point so I pushed the bike up the little incline and to the parking lot. It was time for some bike maintenance.

Spain 30 – Santiago de Compostela

I reached Santiago in the late afternoon. I didn’t actually want to stay in Santiago for more than a few hours but the fact that there was no big enough green patch on the map that looked like I could hide a tent made me decide to go find a hostel in Santiago for the night. This also gave me some time to explore the city a bit. Before I could go sight seeing or start searching for a hostel I needed to take care of my bike. It badly needed the chain adjusted. And because I thought I had forgotten the wrench I had prepared for this kind of maintenance task at home in London I started looking for a tools shop which carried the 24mm wrench I needed. After two hours of searching I found one and could finally stop worrying about my chain which had been a concern for the last few hundred kilometers.

IMG_20150729_185545

I parked the bike somewhere on the sidewalk as everybody does and walked to the main square where the goal of many catholic pilgrims is. Unfortunately the church to which many pilgrims travel by foot from far away was largely covered up for restoration but it still looked impressive.

IMG_20150729_192652

The view from the opposite side.


IMG_20150729_193615

IMG_20150729_193626

There were many beautiful little medieval streets and buildings in the old part of the city.

IMG_20150729_192200

IMG_20150729_195257

IMG_20150729_200324

After enjoying the quiet peaceful village feeling for a little while I decided it was time to take care of my accommodation for the night. Unfortunately I was a bit late to find out that all hostels had been booked a long time ago. After all this was one of the most important catholic pilgrimage sites. I put all my hopes into the last hostel on my list but they were also booked. However they had this old shack in their garden which they offered me for 5 Euros. It was just as comfortable as camping but at least it meant I didn’t have to get out again and start looking for camp site knowing that it was unlikely to find one withing the next 100 kilometers.

Instead of sleeping on one of the mattresses in the shack and having some spiders under my cover in the morning I decided to put up my tent inside the shack.

IMG_20150730_092439

It was actually a very comfortable solution.

Before going to bed I decided to take care of my bikes chain.

I first loosened the rear wheel axle and pulled the wheel back a few millimeters thus tightening the chain.

IMG_20150729_215030

From this…

IMG_20150729_215204

… to this

IMG_20150729_215309

The discoloration of the chain is not rust but soil particles. However the chain and sprockets were still in bad shape.

Lastly tightened the screw which limits the distance the wheel can move to the front and also the nut I had loosened first to reposition the wheel.

IMG_20150729_215047

The next morning I also lubricated the chain.

vlcsnap-5353-01-20-00h30m13s204

Spain 13 – Mini Hollywood

The next day early in the morning I packed my things and went to the beach to wash my cloths. In the heat of the early morning hours everything dried quickly.

IMG_20150710_090628

Also I had to lubricate the chain of my bike again.

vlcsnap-2015-07-23-11h57m50s125

The break pads seemed to hold up well enough so I decided they would probably last me until the end of my trip and I would get new ones once I was home in London again. I did however also notice that the chain had gotten a little lose. Unfortunately the tool necessary to tighten it was the only tool missing to complete my basic custom tool kit. I suspect that the mechanic who swapped the sprockets a two months ago had not tightened the screw well because the chain should not be this lose so quickly after having been adjusted. Anyway I had to leave it for now.

I set course for the desert to visit the first of the three western towns. Oasis Mini Hollywood as it is called.

DCIM100GOPRO

With a Confederate flag, a Union flag and a Texan flag and the surrounding desert landscape it was difficult not to think that you were in the United States.

Huge cacti like these along the past thousand miles were a constant reminder that I was in a completely different part of Europe now but it didn’t feel like Europe at all.

DCIM100GOPRO

IMG_20150709_163904

Entering Mini Hollywood the first thing greeting you is a collection of “Indian” tents which I didn’t find terrible interesting and they looked a bit out of place right next to their enemies.

Passing the tents and a cacti garden the town center revealed itself. Some buildings are locked, some contain little exhibitions and some simply a fitting interior for their time.

DCIM100GOPRO

One building contained an exhibition of wagons, coaches, and carriages. Below is the typical stage coach which can often be seen in the movies being robbed because they often transported valuables besides people.

DCIM100GOPRO

Some parts of the town look more authentic than others and not all buildings still are or look the same as they did when they were captured on film a long time ago. They were constantly altered to suit different productions and to avoid buildings becoming recognizable. After all there were not many western towns like this in Europe so they were reused often.

_MG_2053

But even if the buildings themselves didn’t reveal the film historic identity the landscape did.

_MG_2184

Clint Eastwood riding into town eventually rivaling Lee van Cleef in “For a few dollars more” by Serigio Leone, 1965. As you can see the view and the landscape indicate the same location.

fdm09

In some cases you can even see the buildings which played an important role are still there.

Like the “El Paso” bank which is being robbed in the same movie.

elpaso05

_MG_2135

Groggy - For a Few Dollars More

_MG_2118 (another copy)

(Unfortunately the focal length is completely off.)

The now yellow bank building can also be seen here in the background in the middle in “The good, the bad and the ugly” when Tuco is about to be hanged. The facade was changed but the general layout remained the same.

gbubank

And again the same building this time as Monterey Bank in yet another movie.

bmbank

What is now The Yellow Rose saloon is where Clint Eastwood and Lee van Cleef checked in in For a few dollars more.

_MG_2076

elpaso01

Walking through movie history like this was a great but eerily melancholic feeling realizing that all of this is really a museum now with no life in it left. A museum of not just the wild west as it used to be 200 years ago but also of the time when western movies were still in demand. Most movie legends who had their big success acting in this genre are now forgotten.

This became particularly apparent walking through the little exhibition inside the bank building showing film projectors from 40 years ago and on the walls posters of the movies shot in this town. The silence and faint movie score music playing from the loudspeakers in the distance together with the dark light in the room made the place (fittingly) seem like a mausoleum.

_MG_2288

One of my all time favorite movies which had been shot here with my two all time favorite actors had a special place next to the entrance.

They Call Me Trinity – 1970, with Bud Spencer and Terence Hill.

_MG_2274

Time had passed very quickly. It was already late in the afternoon and I still had two more towns ahead of me. My expectations here were exceeded by far so I left Mini Hollywood happy in search for more wester movie history.

Spain 12 – Almeria

That day I continued south-west to Cabo de Gata, the town which shares it’s name with the national park which encompasses it. The town was tiny but there was an endless seeming beach where people were lined up as far as the eye could see. Everybody had a good 50m of beach to themselves. I wanted to stop and take a break but the landscape didn’t look at all like I would be able to find a spot to make camp because still there was no vegetation to hide. To make matters worse just when I thought my last hope was a little hill a KM away from me it turned out to be a bird sanctuary complete with an observatory. So I would camp in a national park (that’s a no) and bird sanctuary (a big no) and there would be people scouting my location. A bit inconvenient I thought. So I kept going. Instead of focusing on the front of the hill I now went around it and discovered an amazing road which offered a breathtaking view. It was a bad spot to stop but I had to take some pictures. Unfortunately they don’t do the perspective (the deep drop) justice.

vlcsnap-2015-07-22-11h54m30s9

DCIM100GOPRO

I followed the little serpentine road a few hundred more meters until I noticed a little gravel road towards the mountain.

DCIM100GOPRO

There was a little bare spot just a hundred meters into the gravel road. It was a bit exposed but I knew I wasn’t going to find a better spot before nightfall. I didn’t set up my tent yet though, instead I went back to the beach to enjoy the sunset there.

IMG_20150708_204550

After returning to my bike I noticed that there was a nice KTM bike with a German license plate parked next to my bike. It was great to see that I wasn’t the only foreigner traveling by motorcycle after all. I had already covered close to 50% of Spain’s circumference but this was the first foreign license plate I had seen. Coincidentally the owner, Tano just returned to his bike from the beach as well and we exchanged experiences and advice. It was a pleasure to find a like minded spirit in the middle of nowhere. He told me of his adventures in Africa which added fuel to my desire to go there as well.

I had wanted to return to my camp site before the sun had set but we parted ways wishing each other good look well after the sun had set and it had already been pitch dark.

Tano had told me that on his trip he once woke up to a wild dog aggressively circling him in the darkness. He only had his knife as a defense but this reminded me to also keep my knife closer during nights. Until now I had always left it at the bike. But there are lot’s of wild dogs and also cats which seem to have very little in common with the cute pets we love.

I set up the tent in the darkness with my flash light and hoped to fall asleep right after but the heat kept me awake for longer than I had hoped. The rhythmically flashing light beam of the light house close by illuminating the hills was a welcome distraction until I eventually did fall asleep.

The next morning I woke up from the heat once again. I packed my things while a friendly musician was watching my every move.


IMG_20150709_071819

IMG_20150709_074441

This guy was at least six centimeters big. I’m not really sure though if they are actually the ones making the shrilling sound of the desert.

Just before I got back onto the bike after having had a quick cereal breakfast I decided to finally add a new camera perspective to my GoPro camera recordings by attaching a new mount to my helmet. This would give the viewer a kind of 1st person perspective which should be particularly interesting on video recordings.

vlcsnap-2015-07-23-11h34m15s56

It was a nice idea but a bad execution as I later realized that I would not be able to open the visor anymore. OK in winter – NOT OK in the oven that is Spain in summer. So it came off at the next stop.

vlcsnap-2015-07-23-11h37m37s37

The next stop was Almeria. The city itself was not hugely interesting except for a Muslim fortress which unfortunately seemed to have no accessible entrance.

IMG_20150709_163216

What nonetheless made Almeria important to me was the fact that it was the closest city to the three western towns I had added to my route. They were in the middle of the desert. Literally. The Tabernas desert is the only real desert in Europe and it was the shooting location of more than 400 movies. Among them most of the great Spaghetti Western movies. These three towns are kept partially in their original shape for tourists and there is a ticket fee to get in. Since I didn’t want to rush things and I wanted the merciless high noon sun for photos I decided to start my western movie history tour the next day and start looking for a camp site right away because I knew that the terrain around me was going to make this a difficult task.

I had to ride west to the next town to find out that there still wasn’t any hint of cover so I decided to return and go east hoping to find more remote places there. The opposite was the case but behind a busy parking lot of a busy beach I found tall bushes behind which I set up my tent as soon as the the sun had sat. I have camped at more inviting places but this was the best I could find. The photo doesn’t show the many bugs, the strange wires on the floor and the weird smell making me want to spend as little time there as possible.

IMG_20150710_084721

Spain 11 – Prison break

The next morning I got up before sunrise to avoid being discovered. I was still tired …

vlcsnap-2015-07-22-11h02m03s13

… but everything worked out well and I could pack up my tent and and everything else without being seen.

vlcsnap-2015-07-22-11h04m23s143

In town everything opened after 10am so I still had a lot of time left before I could go to the tourist information office to ask about Maestro Leone and his work. Besides the fantastic scenery as mentioned before one of the reasons why I wanted to come to this area of Spain was that the great western movies, in particular the Spaghetti Westerns of the 60s and 70s have been shot here.

DCIM100GOPRO

In the mean time I rode through the little lanes of the town during sunrise. The beautiful warm yellow tint of the morning sun was a good trade-of for not getting enough sleep.

IMG_20150708_074943

On my stroll I discovered that unfortunately the vibrations from riding off-road had cost me a screw of one of the hand guards. Nothing a zip-tie couldn’t fix though.

IMG_20150708_134829

Prior to leaving London I had read that San Jose was the location of some scenes of “A fist full of Dollars” but later at the tourist information office nobody had heard of San Jose having been the shooting location of any movies whatsoever. However they gave me some flayers advertising three separate western towns farther north which I happily added to my checkpoint list.

I didn’t want to give up San Jose just yet and after some internetting I found what I had been looking for.

I had actually already passed it twice but hadn’t known what to look for. The off-road track to the beach had a right turn which I hadn’t paid any attention to earlier. This time however I did.

My disappointment was big when I saw the “not trespassing, no driving” sign. It was private property.

vlcsnap-2015-07-22-11h28m25s212

I had already turned around when I reconsidered my decision. I hadn’t come this far just to turn around now, as they would say in the movies. So I parked the bike further down the main road and walked across the flat plane towards a building which I could see in the distance.

Along a little path I found this platform. Though this particular one wasn’t part of any western movies I know, platforms like these often appeared in them. Unfortunately I don’t know exactly what they are for but seeing this got me excited for what I might find next.

vlcsnap-2015-07-22-11h30m22s119

vlcsnap-2015-07-22-11h33m44s81

fdm10

This was it! The house where Monco (Clint Eastwood) was busting out one of Indio’s men from prison in Sergio Leones western from 1965 “For A Few Dollars More”.

vlcsnap-2015-07-22-11h37m13s96

For the movie they had extended the top floor to be able to blow a whole into it but other than that it’s still the same building and still in use.

Finding this place in the middle of nowhere thousands of miles from where I started my journey was a great feeling and I took a minute to enjoy the moment before I got back on my bike in order to not disturb the people who might be living there any longer.