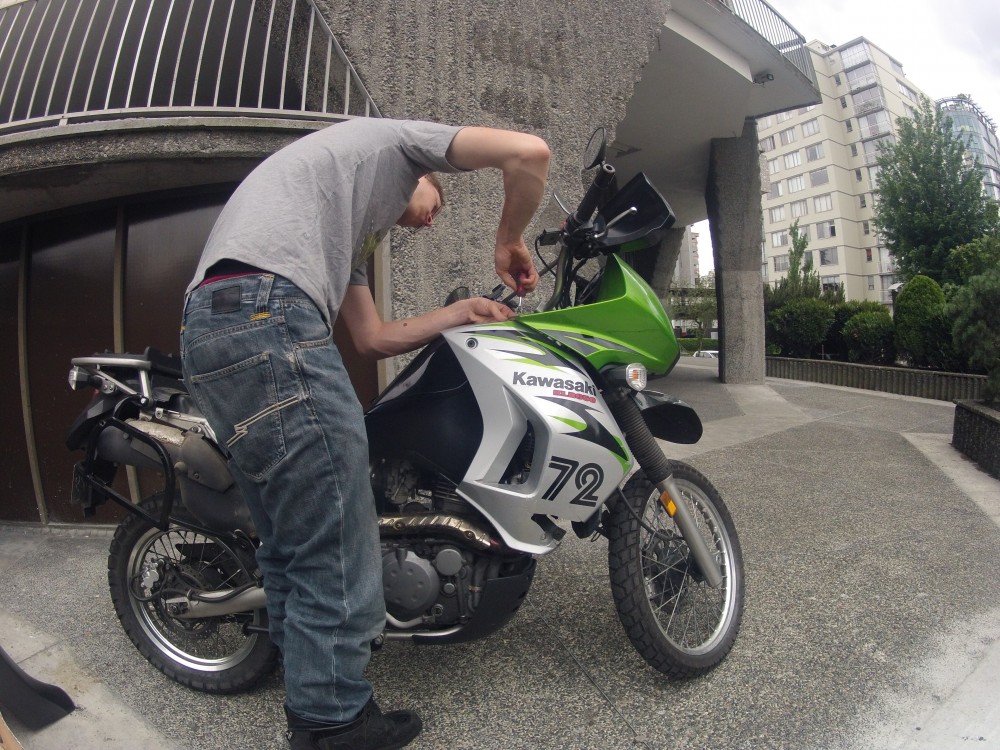
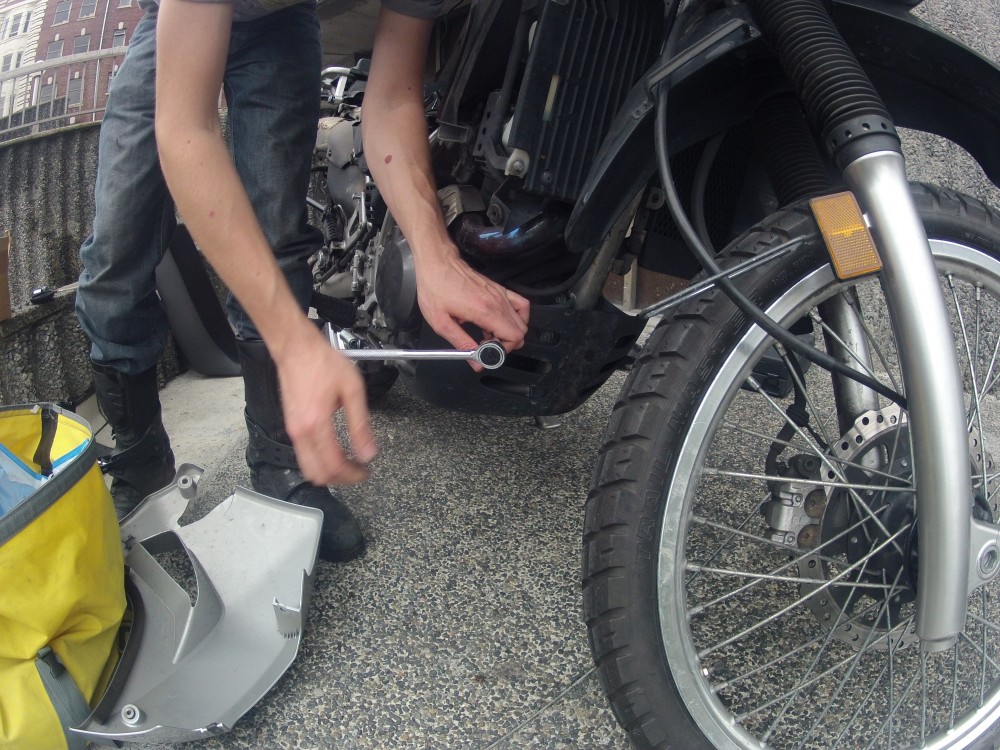
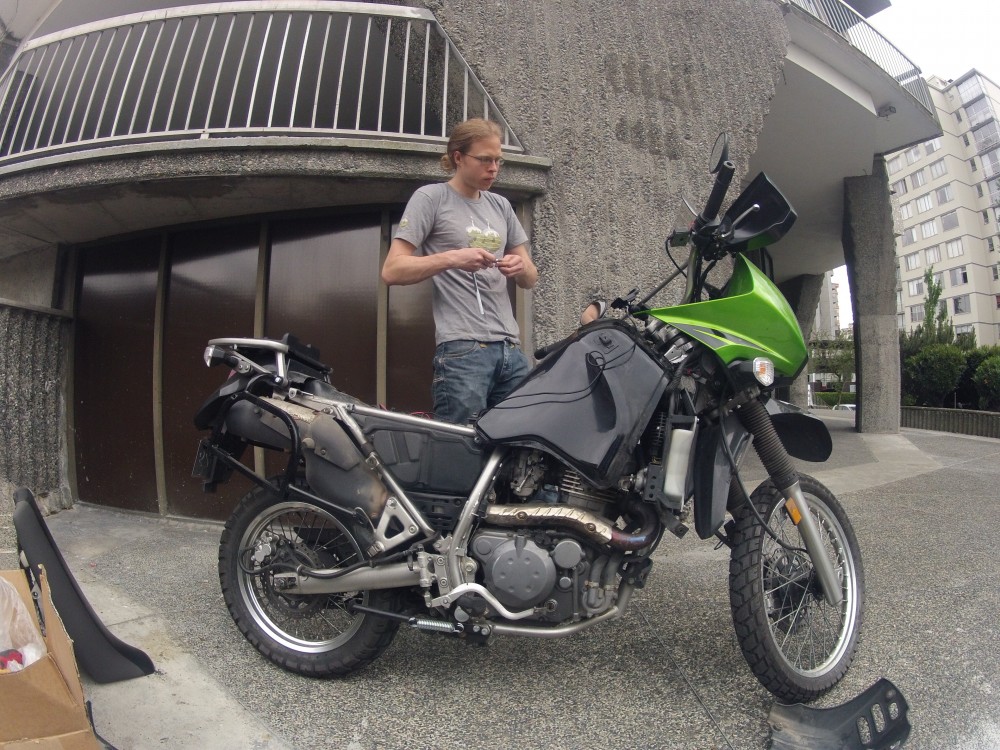
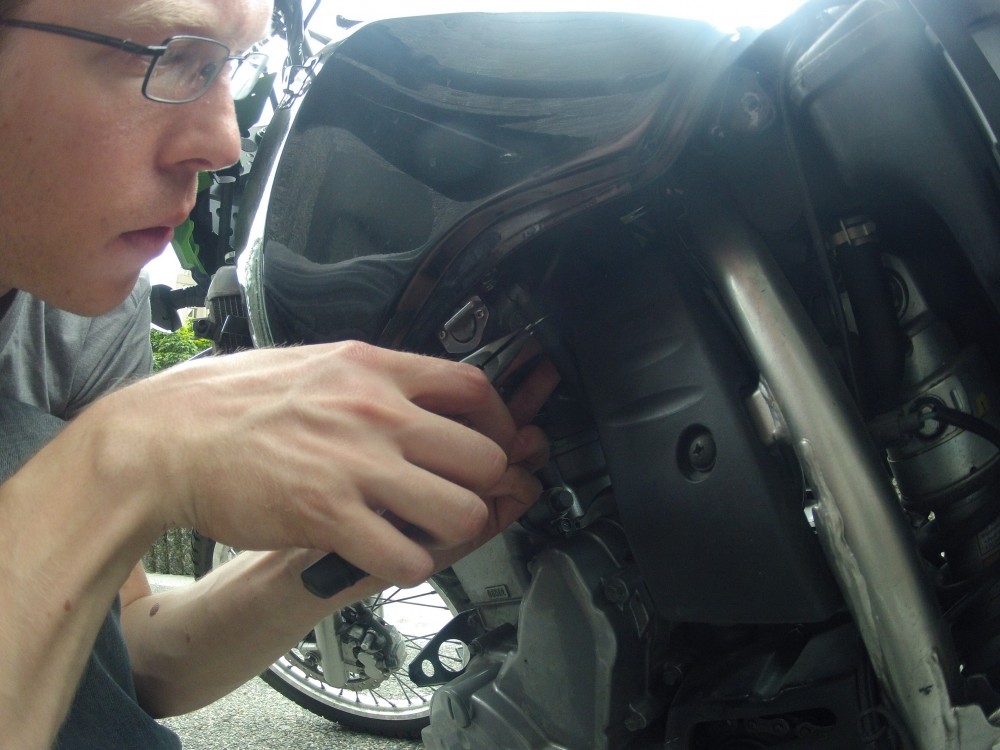
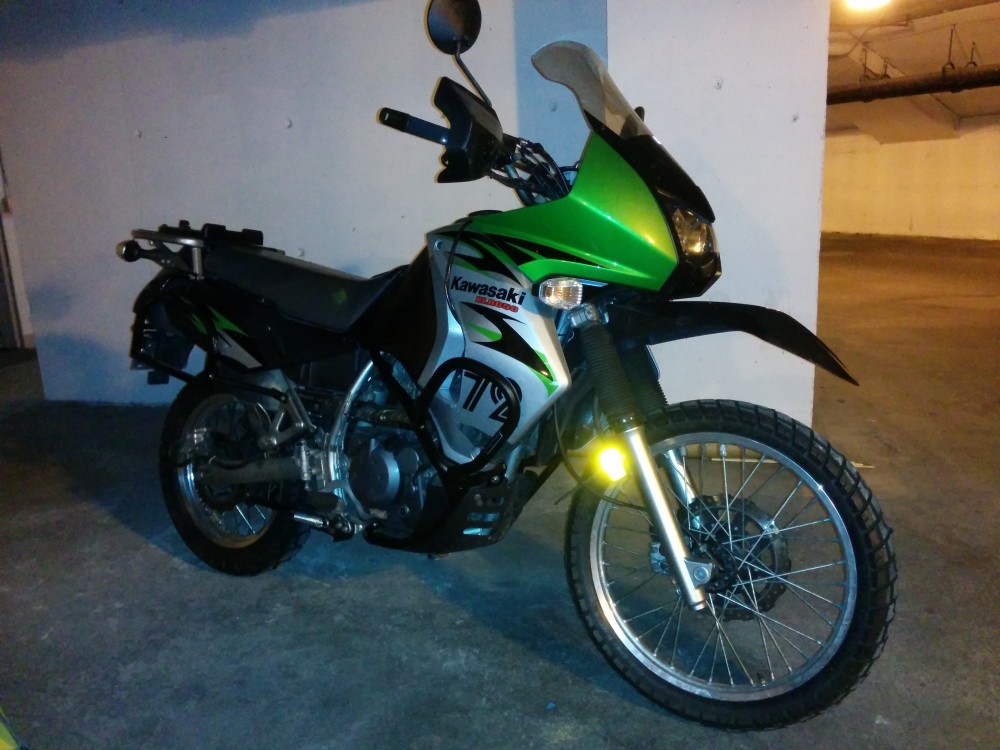
One of the main reasons for me to return back to North America last year was my wish to explore the breathtakingly diverse landscapes of this continent. High up on my list was Yellowstone National Park. After a lot of hassle getting my gear together and the bike ready for a longer trip I was almost ready to set off to Yellowstone National Park, Wyoming, USA.
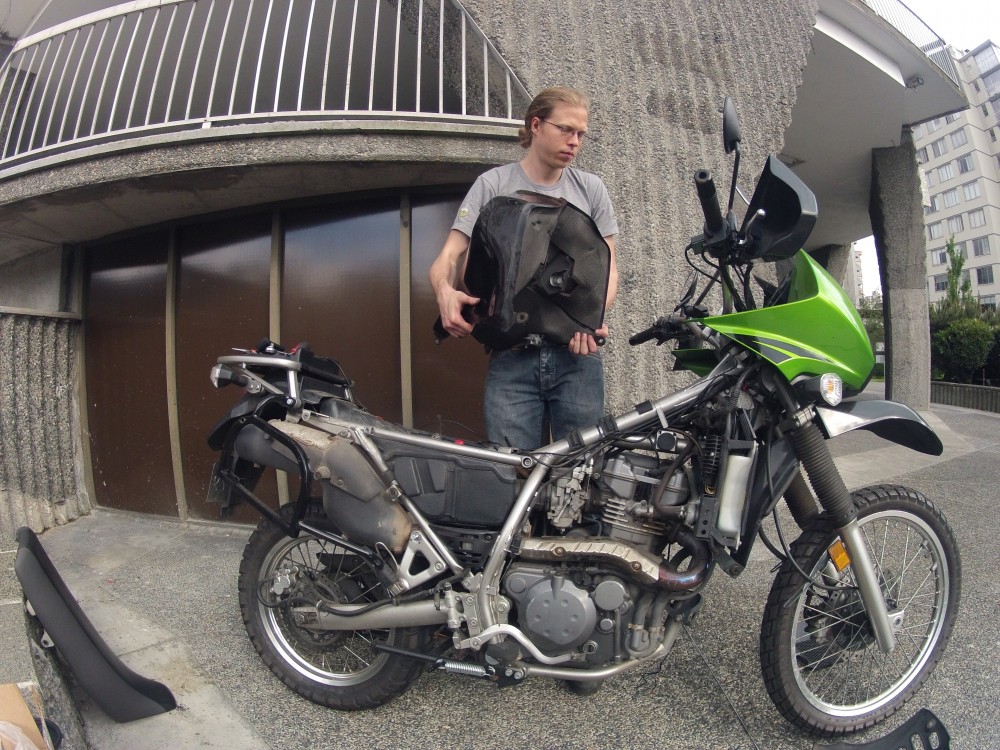
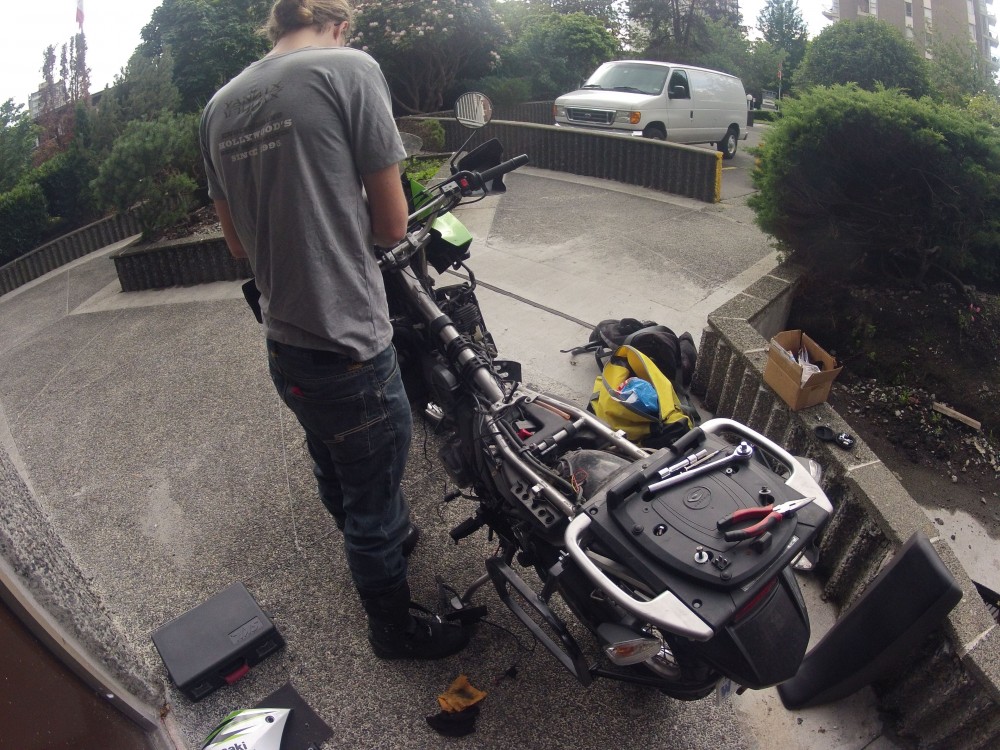
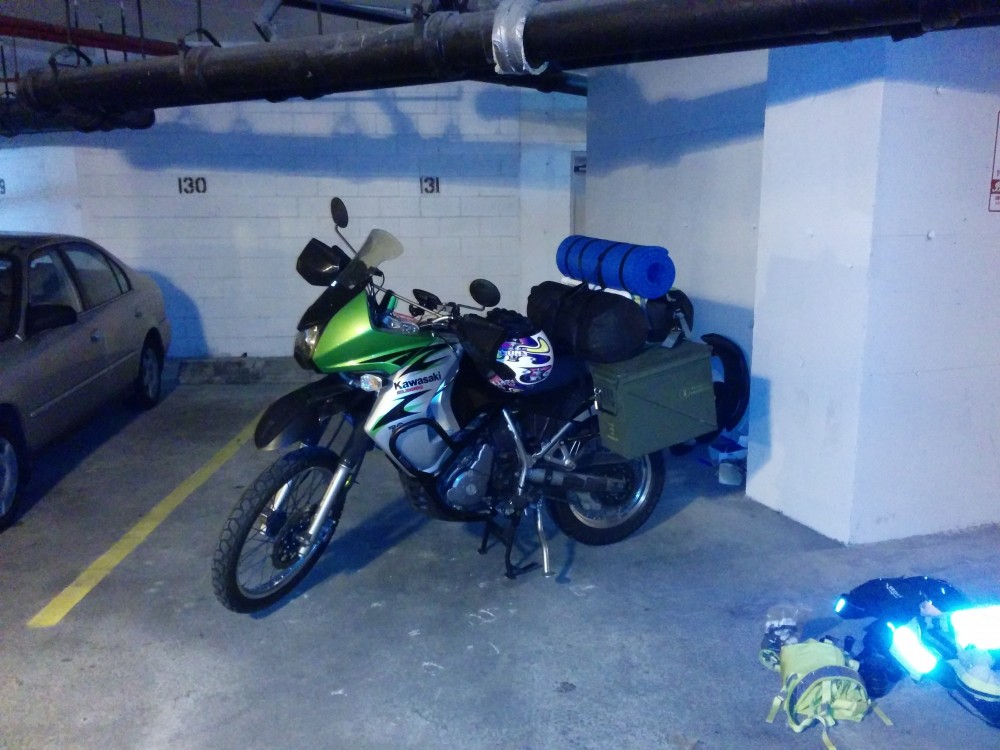
Before leaving Vancouver in early July however the first challenge was to pack the bike. On a motorcycle there are several things to consider in regards to your travel luggage. One being the balance of the bike. The weight has to be distributed evenly which is particularly important at higher speeds, off road, in corners and during strong winds. And at normal speed. Yes and always. The next thing is of course the weight of the luggage. You have to leave things behind that you might consider essential. There simply ins’t enough room. However I actually like this aspect because it makes you realize and decide what you truly need and what you don’t. Not just on a journey but altogether. If you don’t need it on such a longer trip you probably don’t need it at all. I have reduced my kit to a bunch of mechanical tools, emergency medical equipment, camping gear, toiletries and the bare minimum of clothing. The only non essential equipment I always take with me is my camera gear.
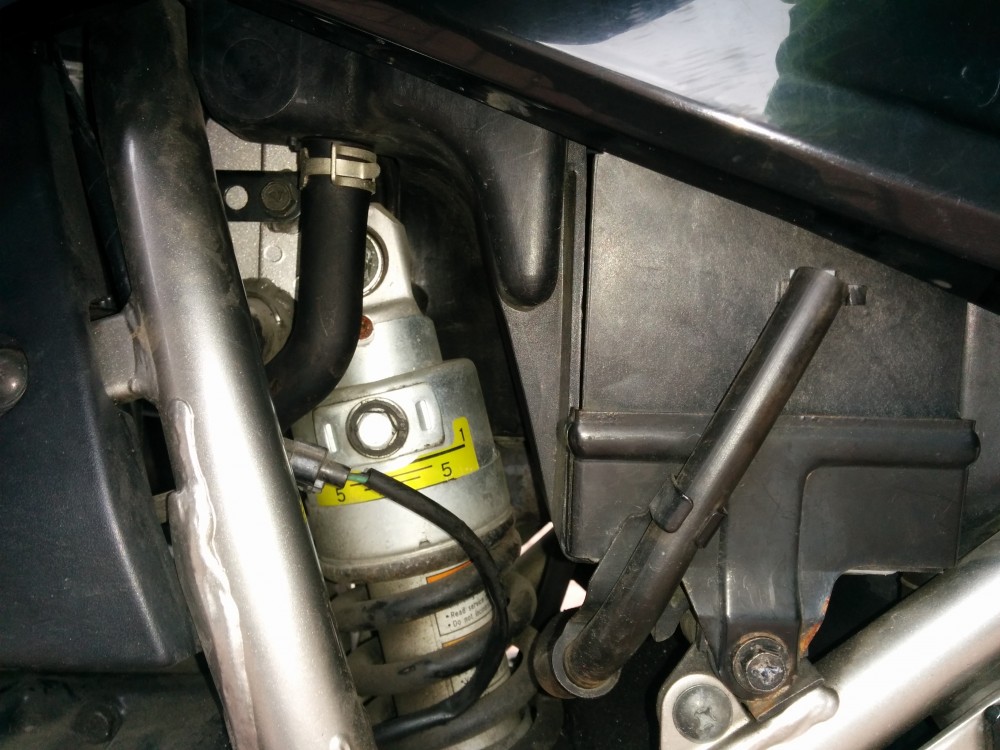
The biggest issue with weight for me usually is the suspension travel. The suspension (essentially the big metal spring on the rear wheel) has to be capable of supporting the added weight without ever compressing fully. Not off road and especially not on road. Unfortunately the KLR doesn’t have a greatest of suspensions.
I set the hardness from it’s original level 1 to the maximum 5. But the difference was barely noticeable.
A few extra pieces of equipment like two 1.5 liter jerry cans (additional fuel) I had already discarded. The only thing non essential left was my camera equipment. My DSLR camera is heavy and together with additional lenses it added 10 pounds to my luggage. Because safety always goes first reluctantly I decided to leave my camera equipment at home too.
The final aspect of packing a motorcycle is ease of access to your gear on the road. Stopping on the way to get a small piece of your equipment out and back stowed away safely so you don’t lose it on the next bump may take 15 seconds in a car but 15 minutes on a bike. Every stop you make on the bike takes that into account. So things like Passport, rain cloths, extra layer for warmth, water.. go at the top. I find that this issue of accessibility is probably the most exhausting and draining part of travelling on a motorcycle.
After having found a setup that worked (so-so) I tested the suspension on last time by letting myself fall onto the saddle as hard as possible, set the GPS target to the US border and I was on my way to a new adventure.
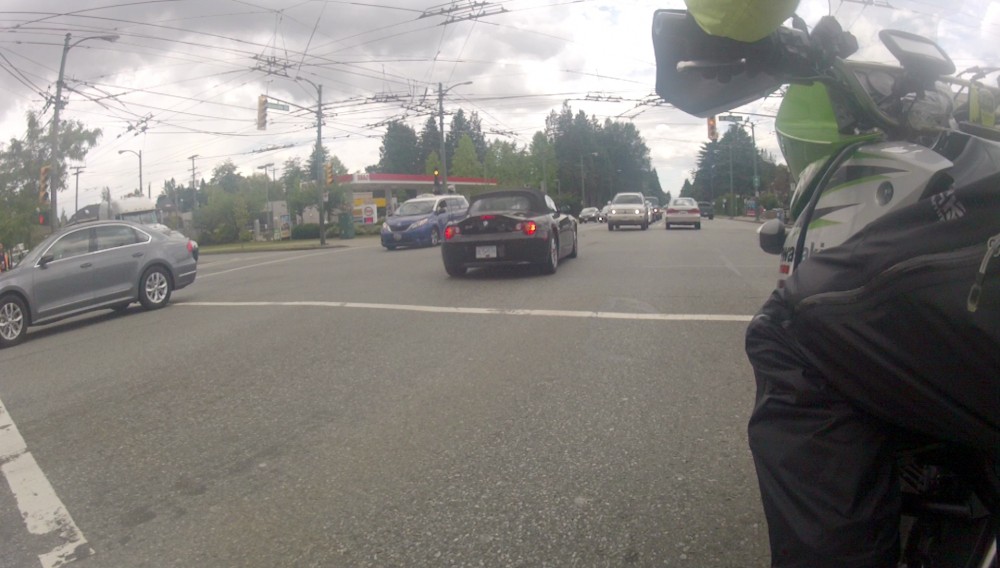
The weather was just semi great (=bad). It was already raining lightly and it was supposed to get worse. In anticipation of a wet first day I had already started the trip in my full rain gear and all warm layers just to be safe. Once you are caught in the rain there is no quickly slipping into another layer. It’s too late by then you’ll be wet.
The weather report promised heavy rain once I would cross the border.
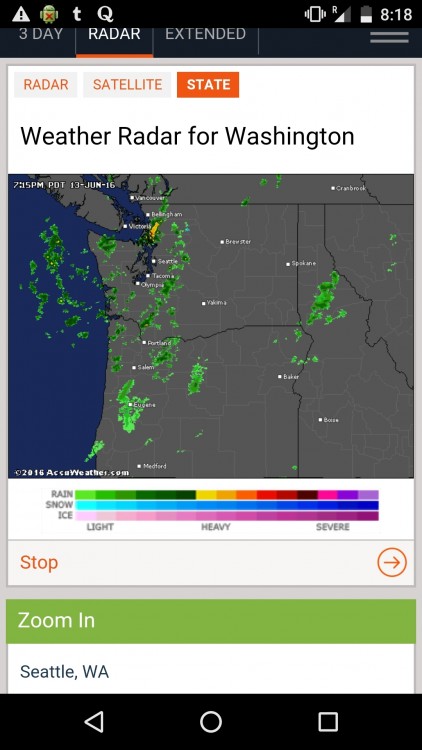
Luckily that didn’t prove to be true so after crossing the border I took a little break to take off my weather armor. It’s not the most comfortable feeling to be stuck in so many layers which really restrict your movement.
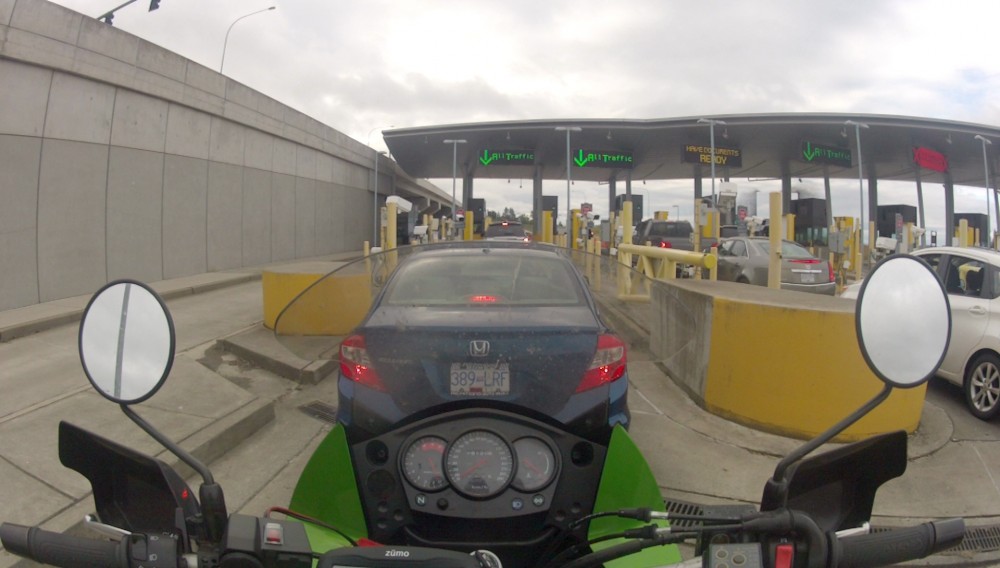
All along the way I had kept a close eye on the suspension trying to get a feeling for how bad things really were. I had now done a few docents km and reached the conclusion that there still was some suspension travel left. So little that I would feel every bump but not too little to be overly concerned. In fact I became confident enough that I actually decided to turn around to go get my DSLR camera. Everybody who knows me knows that not having a camera is a real problem for me so I didn’t think about it twice. Luckily the border is quite close and I only lost two hours until I was back again in the US and on my way towards Seattle.
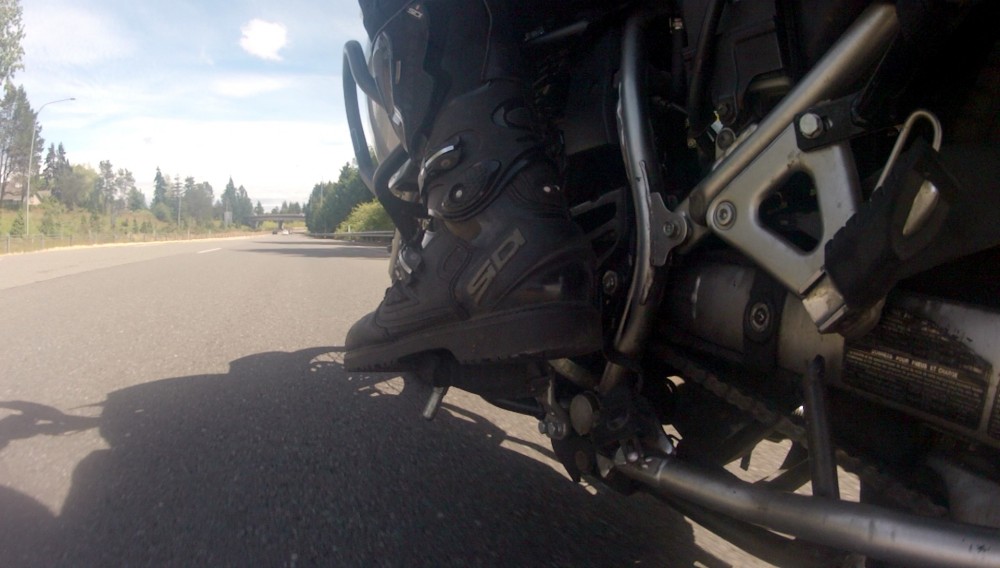
Of course I was soon putting my rain gear back on because the weather started getting bad again.
Not a second too soon.
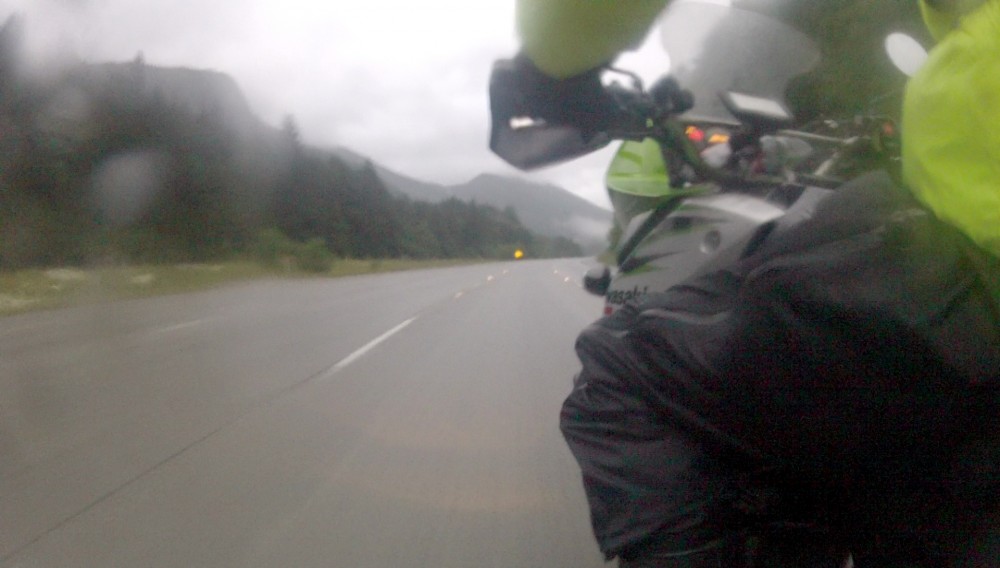
When planing my trip the only thing that had worried me was whether the time frame I had for it was a little too early to have good weather throughout. Now it seemed like that was the case. But since there wasn’t any point in complaining I kept pushing on to get as far as I could across the mountain pass I was now on. It was the reason for the drastic change in weather. Within 20 minutes I had climbed from sea level to 1000m.
Luckily I didn’t need to stop for gas very often thanks to the KLR’s gigantic 23 liter fuel tank. The gas prices weren’t too inviting anyway.
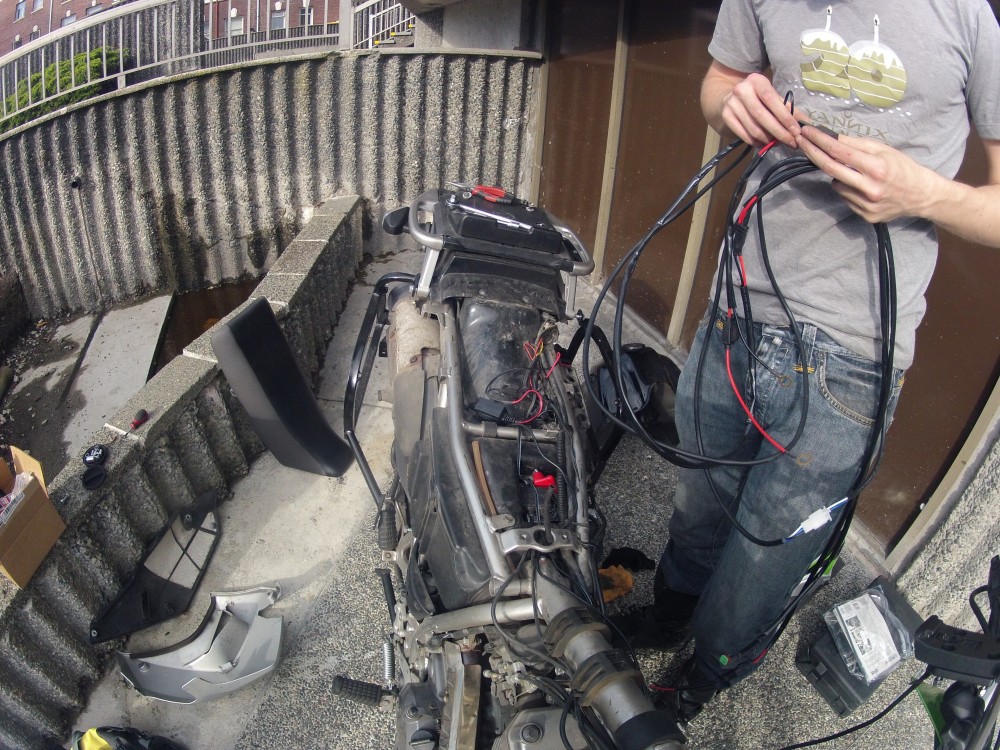
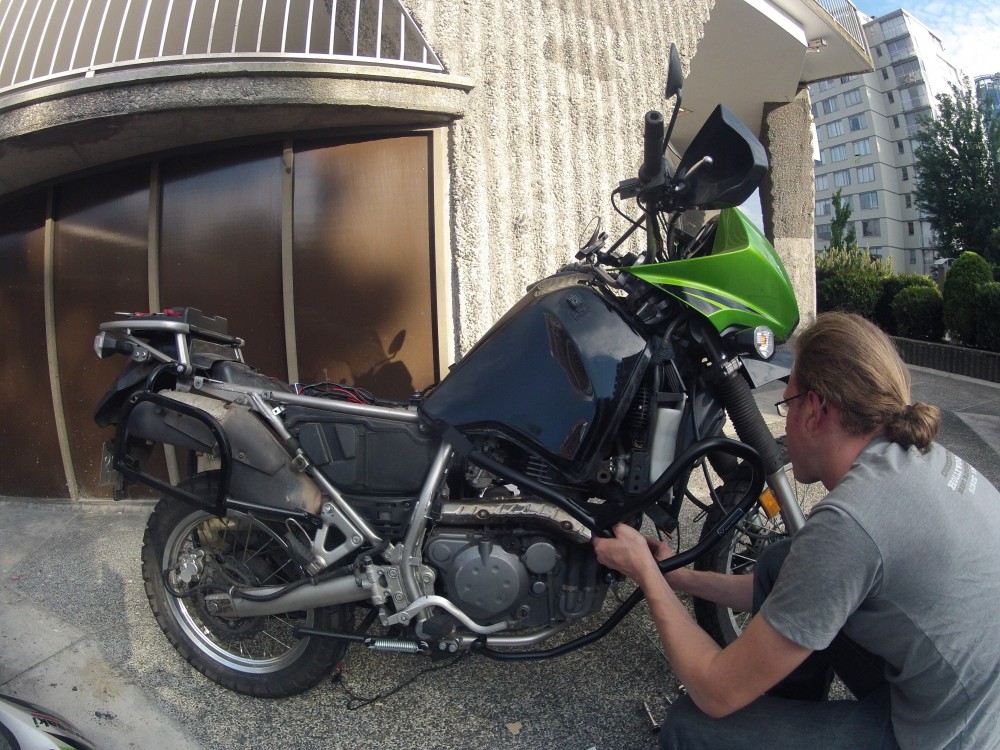
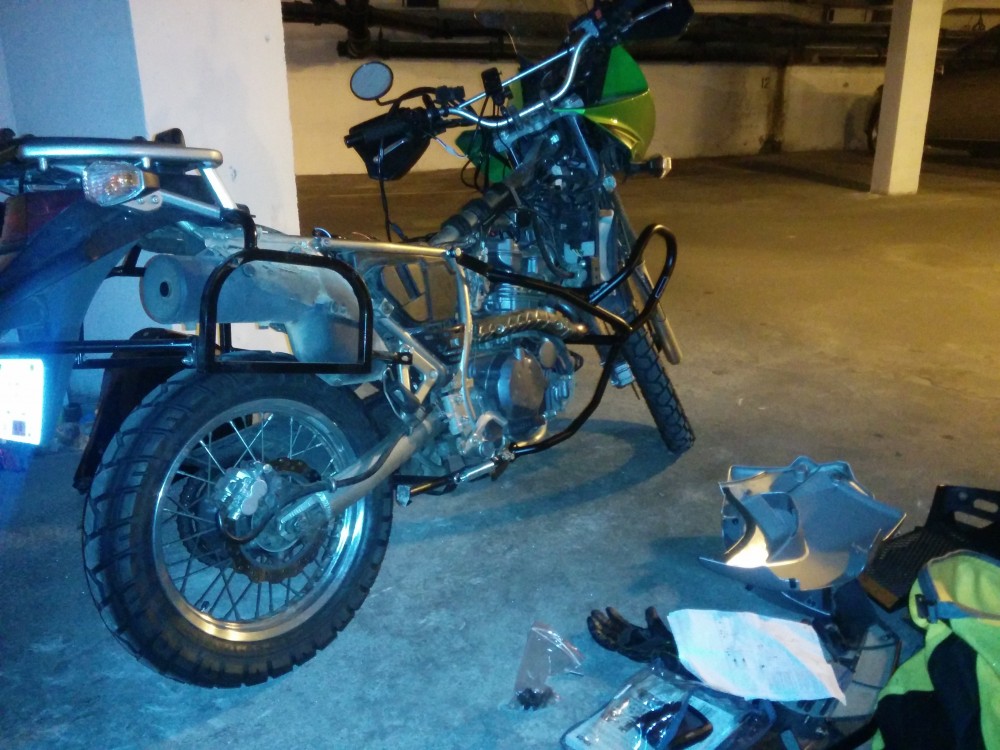
I was now looking for a camp site in the pouring rain and to my surprise I found one not too far off the main road after a kilometer of pothole filled dirt road. I wished I had already had my auxiliary lights installed to help me see in the dark. Especially because the heavy load on the rear of the bike lifted the angle of the regular lights. Of course the lights should be adjusted after packing the bike but I didn’t think about this before I left. I would have had to take the bike apart too and I didn’t have time for that on the trip. Especially not now.
The camp site I had found was not what a European would expect from a camp site. In Europe camp sites are usually fenced in, with facilities, probably a power outlet, maybe even a kitchen, and certainly somebody to welcome you and take your payment. Avoiding this was the reason I chose wild camping in Spain but to my delight there was no choice here. This camp site was just a road branching off in the forest and a hand full of clear spots marked with little numbers on wooden signs. You were supposed to take an envelop from a sign post at the ‘entrance’, providing your details, put the fee in it and deposit it in a letter box. Then you would just go and pick any spot and put up your tent. Very simple. I liked that. So I chose a spot -I was the only one there anyway-, put my bike in front of the particular space I wanted to put my tent on and started pitching it in the light cone of my headlight. It was still raining so I felt a bit miserable but having done this a few times before it only took 10 minutes to set it up and soon I was laying in my dry comfy sleeping bag falling asleep to the sound of the rain pattering on my tent.


